
By Rob Kavanagh · ex-telco tech · connectivity, comms and keeping remote places reachable
“After losing two satellite dishes to a Queensland cyclone, I learned that only fibre-fed mesh networks survive Australia's off-grid storms.”
Out here, nobody reads your meters for you. If the tank runs dry, the battery bank sags, or the gate's been open since Tuesday, the first you know about it is when something's cooked, dead or gone. You can't manage what you can't measure — and measuring is exactly what a sub-$50 ESP32 node does all day without complaining.
An ESP32 is a microcontroller the size of a matchbox with WiFi and Bluetooth baked in. Bolt on a sensor, feed it from a scrap of solar panel and an 18650 cell, and it watches your water, your power and your place around the clock — no cloud subscription, and most don't even need an internet connection. Below are the ten builds I rate, plus a bonus project that ties the gate, camera and intercom together: every one a real, documented build by a named maker, with the source link, the bill of materials, and a build video in ten cases out of eleven. Bundle the shared bits into the kit builder below and a starter kit lands at about around A$180 all-up — priced live, not guessed.
TL;DRThe short version
Per-cell visibility of your LiFePO4 bank in Home Assistant — the most useful ESP32 job on an off-grid place.
Know your litres from the couch; deep-sleeps for months off a tiny panel.
Volts, amps and harvested energy from your array, on your phone, powered by the panel itself.
Temp, humidity, pressure, UV, wind and rain — a proper homestead instrument.
A fuel gauge for the mains side — clamp it on the inverter output and watch the kWh.
Waters when the soil's dry; refuses to run the pump when the tank's low.
Schedules live on the ESP32 — watering survives WiFi and Home Assistant falling over.
Pan/tilt, motion PIRs, night IR, microSD recording — no subscription, ever.
The end-of-driveway gate on your phone — in production on three gates and two garage doors since 2020.
Encrypted house-to-shed texting over licence-free LoRa — no internet, no cell coverage, no subscription.
Knows someone's coming before they knock — phone ping + in-house beep, no cloud.
How we chose these
- Real builds, not content-farm fiction. All eleven — the ten plus the bonus — are documented by named creators — deba168 (Open Green Energy), J-Rat Techworks, Circuit Digest, How2Electronics, syssi, Max Imagination, alengwenus, Emanuele Pagliari, the Meshtastic project, diffeq.com and Kiril Peyanski — and each links to the original source. Ten link a build video (where it shows the same hardware or idea rather than the exact build, we say so); the ESPHome irrigation controller has a forum thread and full repo instead.
- Component listings verified live on Amazon, 17 Aug 2026. Ratings, stock and owner-review themes checked live; where a listing is thin on reviews, rated average, or nearly out of stock, we flag it.
- The watch-outs are in the open. Fried charge boards, 5V echo pins feeding 3.3V GPIOs, active-low relay boards, mains safety — wherever the original makers hit a wall, there's a callout box next to the build.
As an Amazon Associate, OffGrid Masterplan earns from qualifying purchases made through links on this site. It keeps the tools free and changes nothing for you.
And because we'd rather you hear it from us: "One bloke runs it: me, plus a stack of AI tools I use openly. I research and edit every article by hand; the drafting gets AI assistance. The bylines on the articles are deliberately declared editorial personas — 'pretend humans', each with a public inception date in their author note. That's a joke I'd rather tell you about than have you find later and feel daft."
Category 1Know your power
Your power system is the heart of the show and the thing most off-gridders check least. These three give you the array's output, the AC side's appetite, and the battery bank's individual cells.
1. DIY solar panel monitoring system (V2.0)
Debasish Dutta — deba168 of Open Green Energy — built this to answer the question every off-gridder asks at 4pm: what did the panels actually do today? A XIAO ESP32-C3 reads panel voltage through a divider into an ADS1115 16-bit ADC, current through an ACS758 Hall sensor, and panel temperature off a DS18B20, showing it all on a local OLED and a Blynk 2.0 dashboard. It powers itself from the panel via a buck converter, which is pleasingly self-reliant. Full write-up: DIY Solar Panel Monitoring System V2.0 — Open Green Energy.
On parts: INA219 modules get recommended for this job a lot, but the chip tops out at 26V and 3.2A — fine for a small 12V setup, too small for a real PV array, hence the ACS758. Difficulty: intermediate (PCB soldering and a calibration step). For the commercial gear this undercuts, see our solar panel monitoring systems guide.
| Part | Qty | Get it |
|---|---|---|
| XIAO ESP32-C3 board | 1 | Search Amazon |
| ADS1115 16-bit ADC module | 1 | Search Amazon |
| ACS758 Hall current sensor module | 1 | Search Amazon |
| XL7015 buck converter (powers the node from the panel) | 1 | Search Amazon |
| 0.96" SSD1306 OLED display (I2C) | 1 | Amazon AU |
| DS18B20 waterproof temperature probe | 1 | Amazon AU |
| INA219 module (small 12V systems only — 26V/3.2A ceiling) | 1 | Amazon AU |
Video: DIY Solar PV Monitoring System by Using New Blynk 2.0 — Open Green Energy (watch on YouTube)
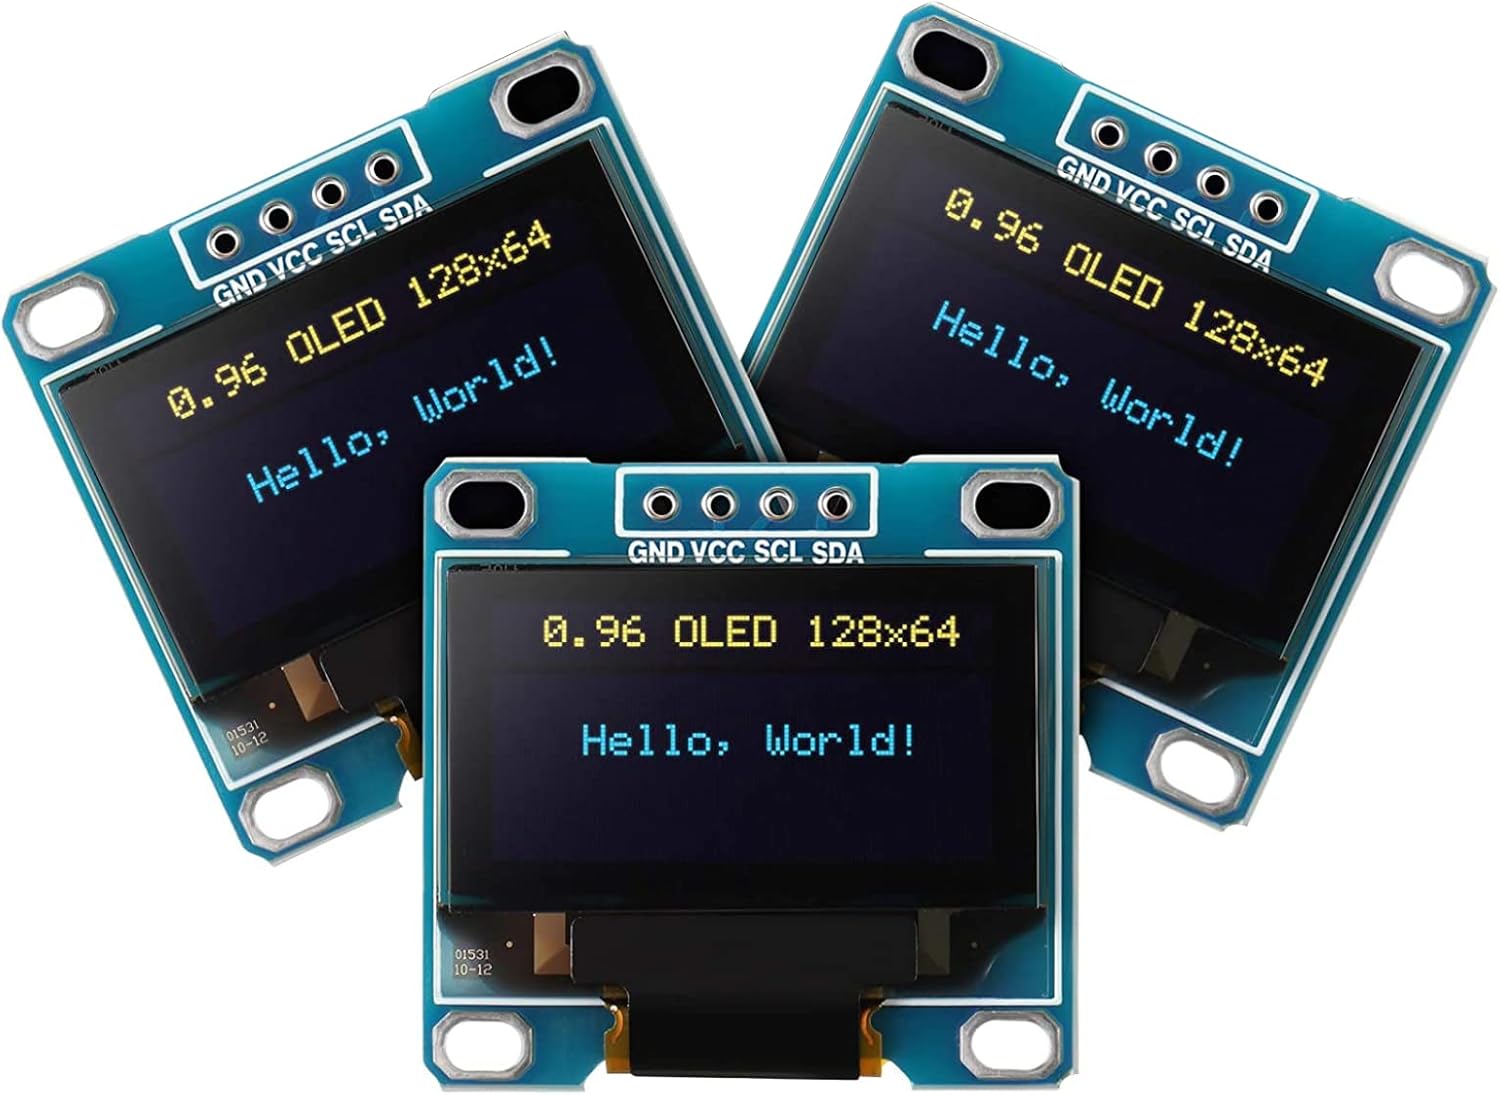
SSD1306 OLED display (3-pack)
- Works well once you've got the right library sorted, per owners
- Three per pack — one for the bench, one for the node, one spare
- Instant local readout for voltage, tank % or watts without opening an app
Watch out: One owner flagged iffy display longevity — treat these as consumables, not heirlooms.
Size the voltage divider for your array's real open-circuit voltage, and expect to calibrate the ACS758 in code — out of the box it's ballpark at best. And note this is V2.0 because Blynk killed the legacy app the original ran on; cloud platforms move house whenever they like.
2. Whole-system AC energy meter (PZEM-004T + ESP32)
This How2Electronics build is the fuel gauge for the mains side of your place. A PZEM-004T v3.0 module talks to an ESP32 over UART and reports voltage, current, power, accumulated kWh, power factor and frequency on a web dashboard hosted on the ESP32 itself. Clamp the CT on the live conductor at your inverter output and you'll finally know what the shed actually drinks. Source: IoT AC Energy Meter with PZEM-004T & ESP32 WebServer — How2Electronics.
Running Home Assistant? Same hardware, cleaner path: ESPHome's official pzemac component, or the enclosed build at jepnoda/ESP-Smart-Energy-Meter, both of which drop readings into HA's Energy dashboard. Buy the v3.0 with the detachable clamp CT, not the v1 fixed coil. Difficulty: beginner–intermediate, no soldering strictly required.
| Part | Qty | Get it |
|---|---|---|
| ESP32 development board | 1 | Amazon AU |
| PZEM-004T v3.0 module with split-core CT (buy v3.0, not v1) | 1 | Amazon AU |
| Jumper wires / hookup wire | 1 set | Amazon AU |
Video: ESP32 and PZEM-004T: How to retrieve multiple PZEM-004T readings using Arduino? — DonskyTech (watch on YouTube). Honest note: the How2Electronics article has no video of its own; this is the same hardware and wiring by a different creator.
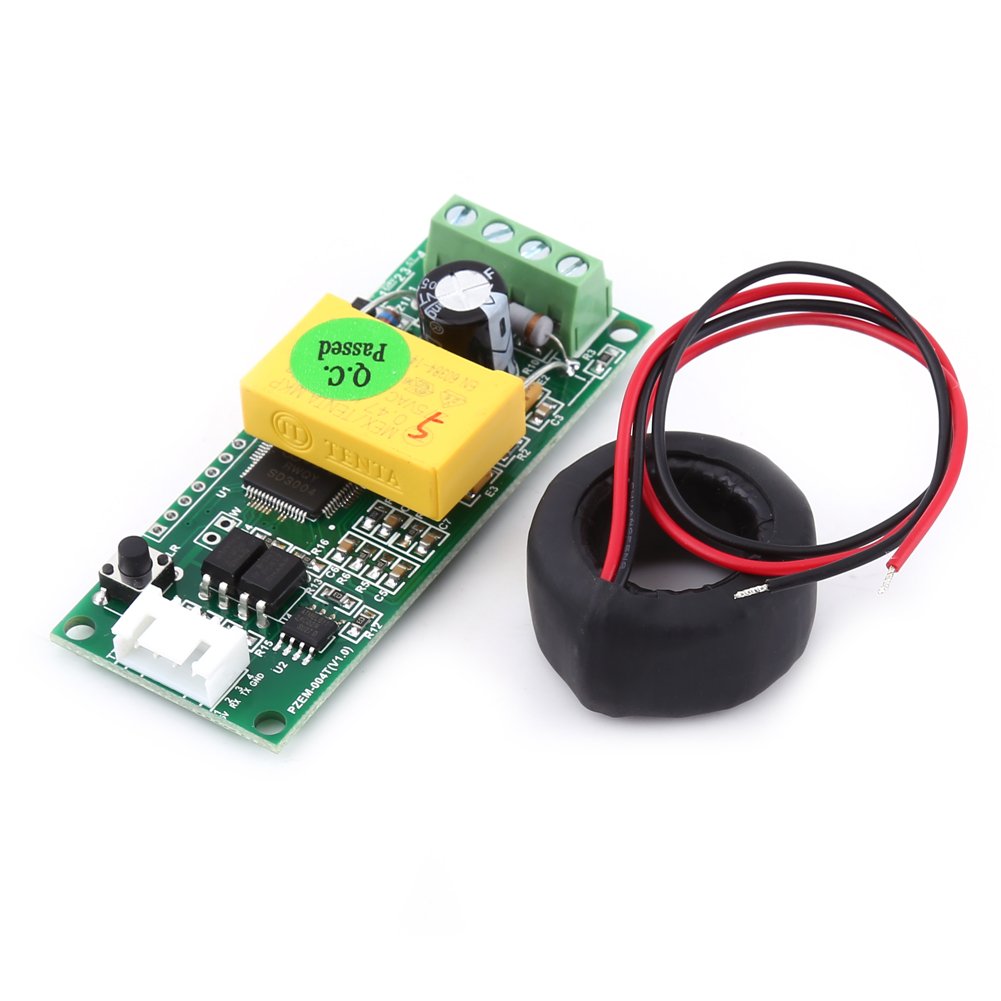
PZEM-004T AC energy meter
- Owners: works fine and measures reasonably accurately once configured
- Simple UART interface — well documented in the ESPHome/Arduino world
- Split-core CT clips on without breaking the circuit
Watch out: Can't tell current direction — useless for grid import/export math. One owner reported a unit burning out on mains after the return window. Only 4 left in stock at check time.
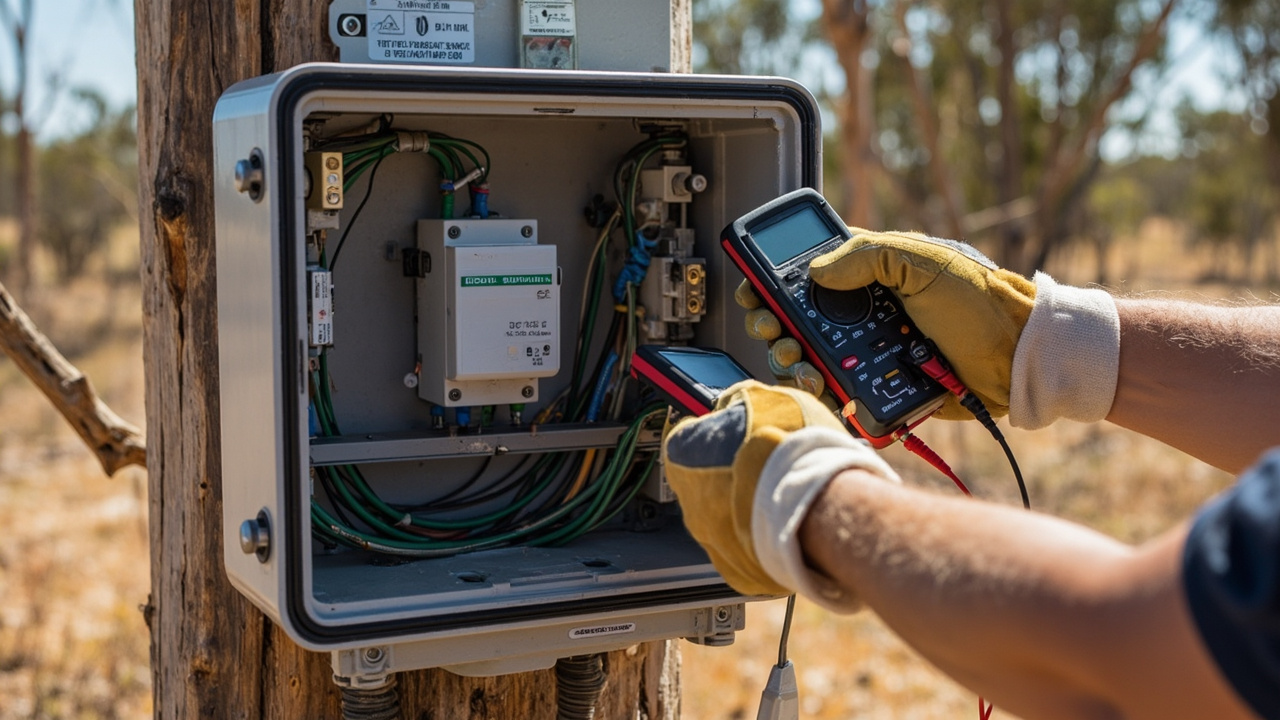
The PZEM needs 5V and the right UART pins (GPIO16/17) — wrong pins and you'll get "error reading" all day. Clamp the CT around one conductor only; active and neutral together reads zero. Owners note it can't tell which way current flows, so no import/export sums, and stock was thin when checked. Anything touching mains gets its own lecture below.
3. JK-BMS battery monitor → Home Assistant (ESPHome)
If your lithium bank runs a JK-BMS — and plenty of DIY LiFePO4 builds do — Sebastian Muszynski's esphome-jk-bms is the pick of this article. Flash the ESPHome component onto a spare ESP32 and it pulls cell voltages, state of charge, current, temperatures and balancing status off the BMS over its 4-pin UART-TTL port, or over Bluetooth with no wires at all. Everything lands in Home Assistant: dashboards, alerts when a cell drifts, even flipping the balance switch from your phone. Per-cell visibility is the difference between catching a lazy cell early and buying a new battery. Background: our lithium battery BMS guide.
Difficulty: intermediate — ESPHome YAML and a JST pigtail; the BLE variant is genuinely easy. Honest note on the video: it's the same author's sibling component (esphome-pace-bms) walked through by Solar Integrations — identical workflow, and no dedicated English video of the JK repo exists. If your BMS speaks genuine RS485 Modbus (some Renogy-type units do), that's when you need a MAX485 — the JK's "RS485"-labelled socket isn't one.
| Part | Qty | Get it |
|---|---|---|
| JK-BMS (software version 6.0 or newer) | 1 | Search Amazon |
| ESP32 development board (ESP8266 works wired-only; BLE needs ESP32) | 1 | Amazon AU |
| 4-pin JST 1.25mm pigtail cable (wired option) | 1 | Search Amazon |
| MAX485 module — only for true RS485/Modbus BMS units, NOT the JK | 1 | Amazon AU |
Video: Home Assistant - Pace Battery BMS — Solar Integrations (watch on YouTube). Sibling component, same author, same workflow.
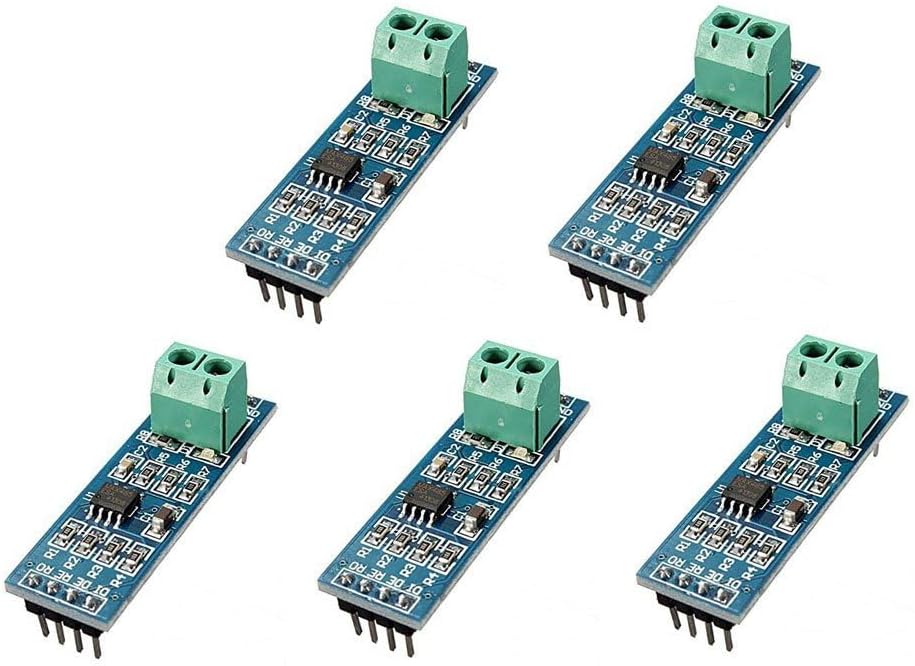
MAX485 TTL→RS485 (5-pack)
- 4.7★ across 202 ratings — compact, cheap, does USART→RS-485 properly
- Runs on 3.3V logic if you feed VCC 3.3V (owner-tested to 2 Mbit)
- The exact module used in ESPHome/Home Assistant BMS-Modbus builds
Watch out: One buyer got 2 dead modules out of 5 (seller replaced them fast). It's a five-pack partly because of that lottery.
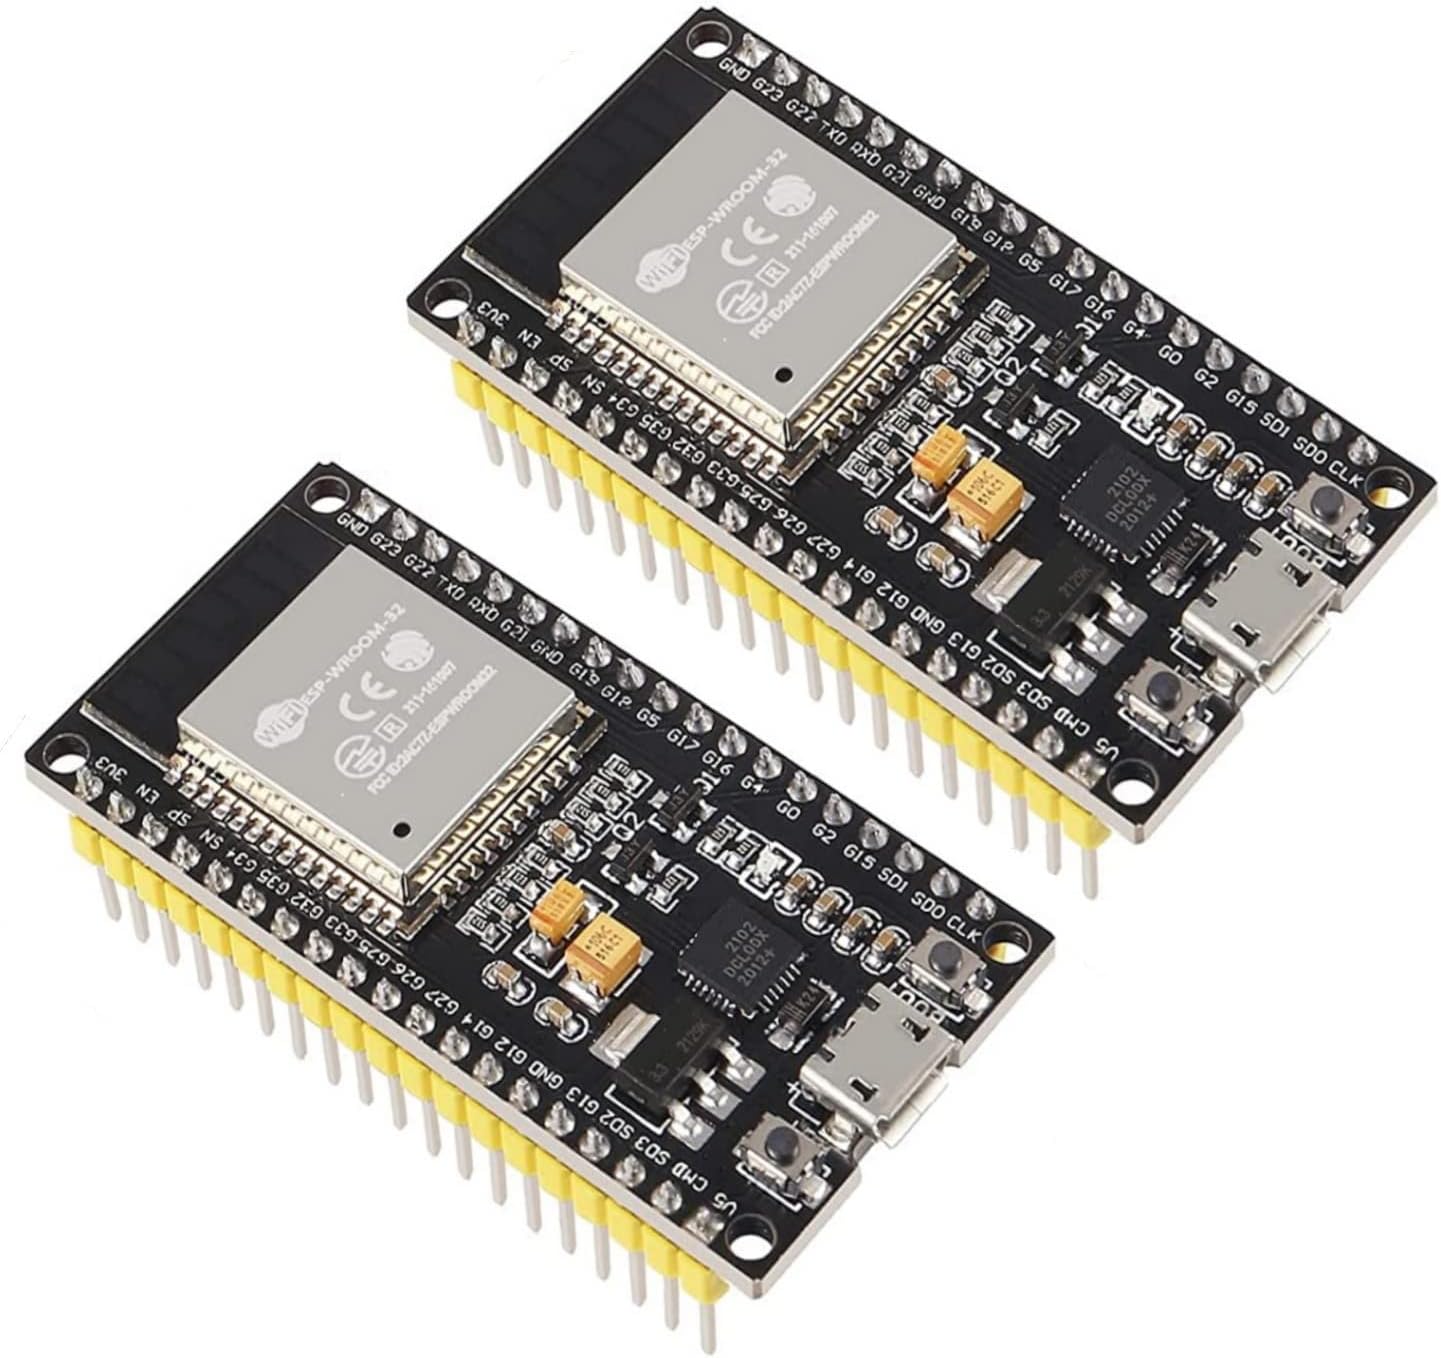
ESP32 DevKit 38-pin (2-pack)
- Owners run Home Assistant and IoT bridges on these boards without drama
- Simple to flash — plays nice with PlatformIO and the Espressif toolchain
- Solid build quality for the price, and a USB cable is in the box
Watch out: Multi-pack QC lottery — one buyer got a dead board in their two-pack (refunded). Test both on arrival.
Three traps from the repo and community: only JK-BMS software version 6.0+ speaks this protocol; use a hardware UART because 115200 baud is too quick for software serial; and that "RS485" socket is actually UART-TTL — no converter needed. First flash, hold BOOT while plugging in USB; after that it's OTA all the way.
Category 2Water and the garden
Water's the thing that actually runs out. These builds tell you how much you've got, then spend it on the garden without you holding a hose.
4. Solar water tank level monitor (ESPHome)
J-Rat Techworks built the sensor every rain-fed household wants: an ESP32-C3 in a box on the tank lid, a waterproof ultrasonic sensor (JSN-SR04T or AJ-SR04M) pointed at the water, distance converted to fill percentage, reported into Home Assistant via ESPHome. It deep-sleeps between readings and charges off a 6V panel through a TP4056. Write-up: J-Rat Techworks; code: github.com/kane5432/ESP32-Water-Level-Sensor.
Valid range is roughly 20–600cm, which covers most tanks mounted near the lid. Because the node sleeps, HA shows it "unavailable" between readings — handled with a persistent last-known value plus a "prevent deep sleep" switch for OTA updates. Difficulty: beginner–intermediate; soldering plus YAML, no coding. Pairs well with our off-grid water pumping guide. One quirk: the repo implies the battery via the TP4056 rather than listing the cell — don't forget to order one.
| Part | Qty | Get it |
|---|---|---|
| ESP32-C3 Super Mini (or compatible ESP32 board) | 1 | Search Amazon |
| Waterproof ultrasonic sensor (JSN-SR04T / AJ-SR04M) | 1 | Amazon AU |
| 6V 1W solar panel | 1 | Search Amazon |
| TP4056 USB-C charge module (with protection) | 1 | Amazon AU |
| 18650 Li-ion cell (implied by the TP4056 in the BOM) | 1 | Search Amazon |
| 5V boost converter (the sensor wants 5V) | 1 | Search Amazon |
| 1kΩ + 2kΩ resistors, 470µF capacitor | 1 set | Search Amazon |
Video: I Built a Solar-Powered Water Tank Level Sensor — J-Rat Techworks (watch on YouTube)
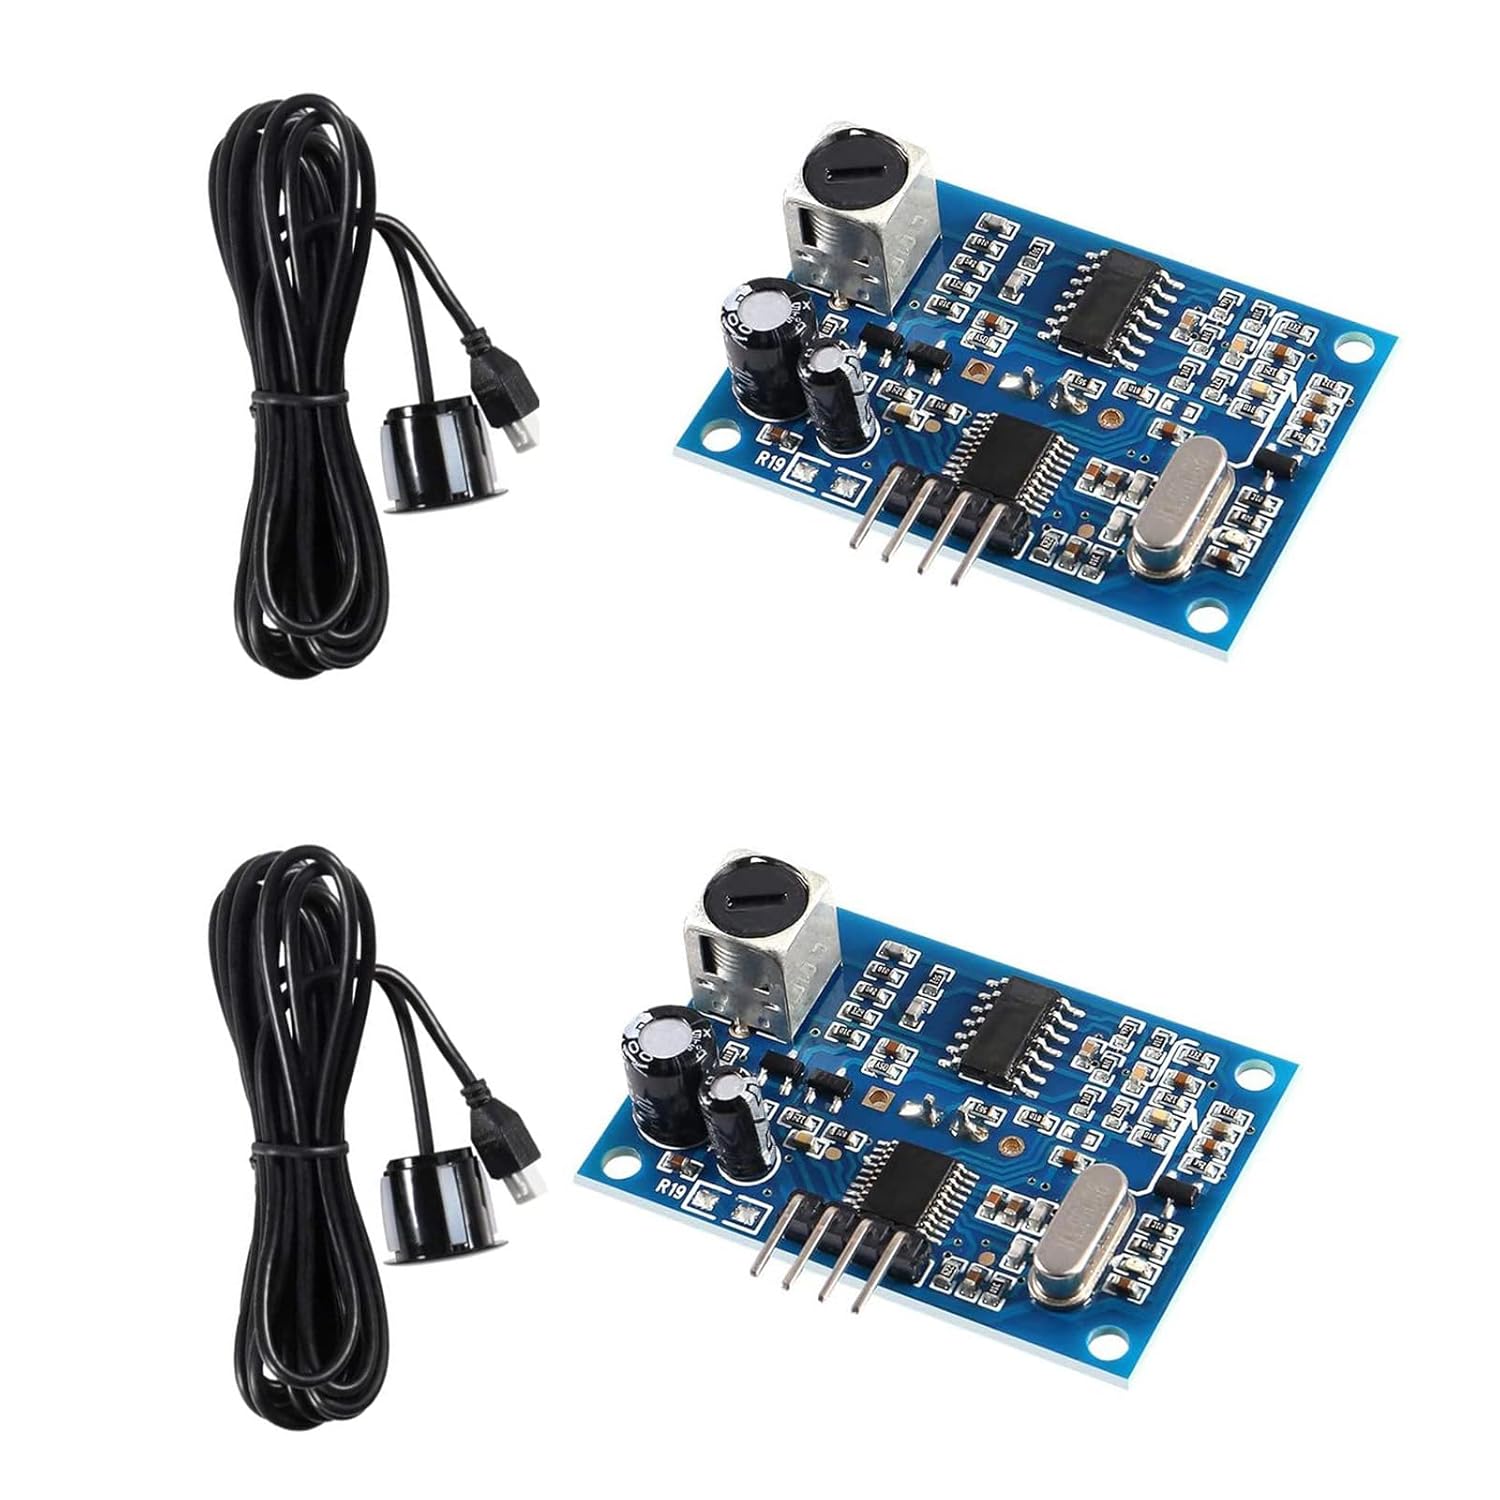
JSN-SR04T tank level sensor (2-pack)
- The go-to for ESPHome tank-level builds — owners report correct readings
- Tip from owners: use UART/serial mode instead of trigger-echo for better accuracy
- Waterproof probe head mounts through the tank lid
Watch out: 4.0★ on 30 ratings: probe cable is too short for tall tanks, and one buyer was sent the less-accurate JSN-SR04M variant instead. Check the board printing on arrival.
The JSN-SR04T's Echo pin outputs 5V — feed that into a 3.3V GPIO and you're slowly killing the pin, so the 1kΩ/2kΩ divider is not optional. Owners report the probe cable runs short for tall tanks, and one buyer was shipped the less-accurate "M" variant — check the box before mounting. Reviewers also reckon serial/UART mode reads truer than trigger/echo.
5. Smart irrigation system (ESP32 + Blynk)
Circuit Digest's build is the classic gateway drug: a capacitive soil moisture sensor in the bed, a level sensor in the reservoir, a DHT22 for air temp and humidity, and a 5V relay switching a small submersible pump. Automatic mode waters when the soil dries past your threshold and — crucially — refuses to run the pump when the reservoir drops low. Manual override and live readings come through the Blynk app. Source: Smart Irrigation System Using ESP32 & Blynk — Circuit Digest (code on their GitHub).
Prefer to skip the cloud? A fully documented ESPHome/Home Assistant version lives at emackinnon.io/projects/watering-system — calibrated sensors, solenoid valves, HA automations, no video. Difficulty: beginner–intermediate. Sourcing truth: the AU market for capacitive soil sensors is weak — the best verified listing sits under four stars with DOA units reported, so buy the 5-pack, expect to bin one, and calibrate each sensor (dry air vs a glass of water). The DHT22 listing is similarly thin. The original ran its pump off the Li-ion cell; we'd take the 12V pump below with a proper supply.
| Part | Qty | Get it |
|---|---|---|
| ESP32 development board | 1 | Amazon AU |
| Capacitive soil moisture sensor (calibrate each one) | 1 | Amazon AU |
| Water level sensor (resistive rain/level board) | 1 | Search Amazon |
| DHT22 / AM2302 temperature-humidity sensor | 1 | Amazon AU |
| 5V relay module | 1 | Amazon AU |
| Submersible pump (12V unit = sturdier than the build's cell-powered pump) | 1 | Amazon AU |
| 3.7V Li-ion cell | 1 | Search Amazon |
Video: How to Build your own Smart Irrigation System - DIY Project — Circuit Digest (watch on YouTube)
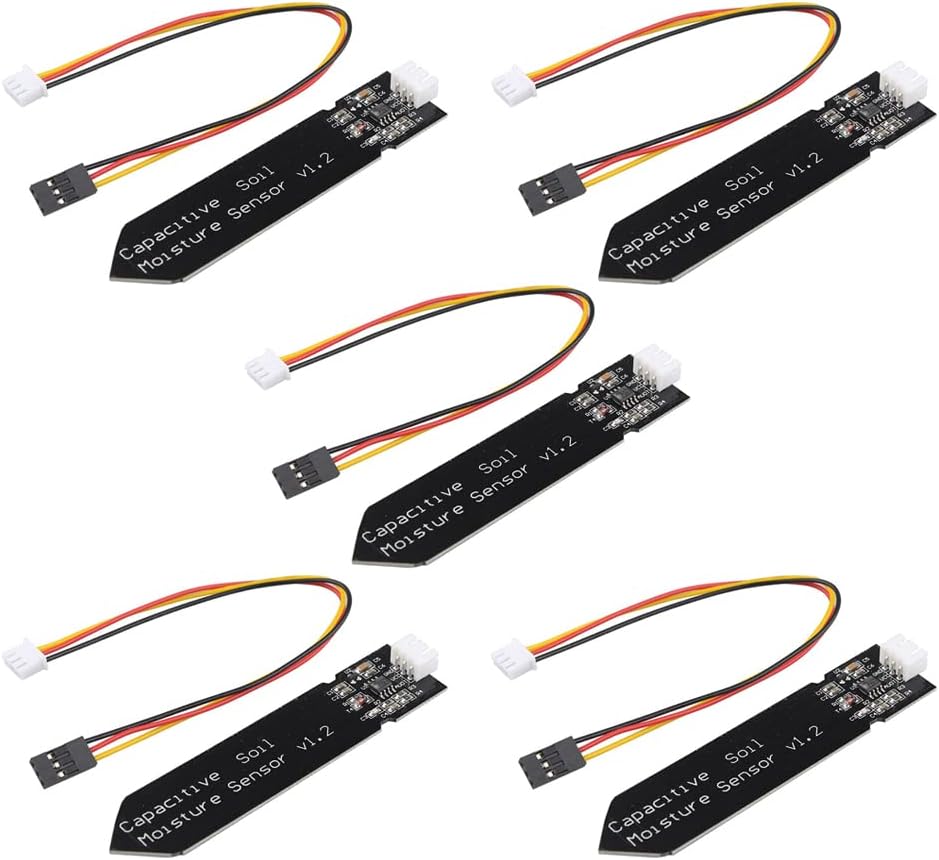
Capacitive soil sensor (5-pack)
- Capacitive beats resistive — no probes corroding away in the bed
- Consistent readings once you calibrate each unit (dry air vs cup of water)
- Owners have run automated watering builds on these
Watch out: Honest flag: 3.9★ is the BEST the AU market offers for this part — DOA units in packs are a known lottery, and the NE555 chip wants ≥4V so true 3.3V operation is marginal. Price shown is from third-party offers (no Amazon buy box).
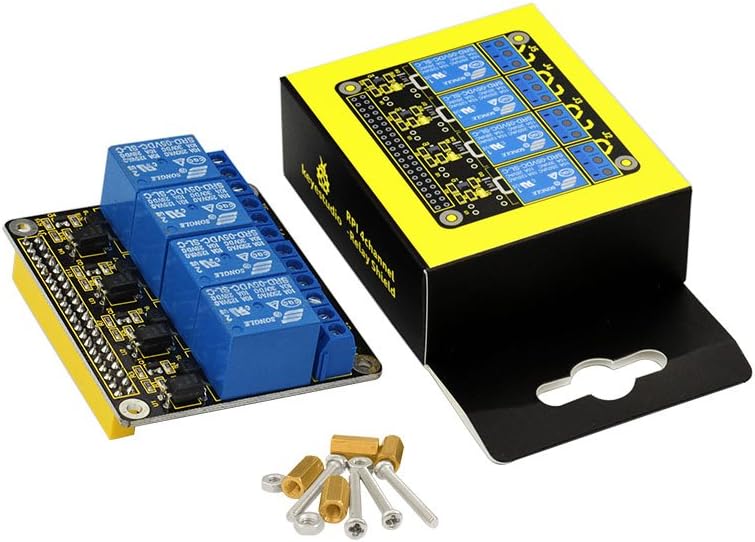
4-channel 5V relay board
- Deepest review base on this page — 235 ratings at 4.5★
- Owners switch 220V/10A loads (printer power control, pumps) reliably
- Optocoupler-isolated inputs keep your ESP32 away from load-side noise
Watch out: Ships as a Pi-hat with no usable docs and a reportedly wrong online pinout — works fine with an ESP32 on jumper wires, but verify the mapping with a multimeter first.
Never run the pump from a GPIO pin — only through the relay. Raw soil-moisture numbers are meaningless until calibrated (the build maps its own dry/wet endpoints). And the low-reservoir pump lockout isn't a nicety: a submersible pump run dry is a pump you're replacing.
6. ESPHome irrigation controller (schedules survive the apocalypse)
Andre Lengwenus (alengwenus) made irrigation properly off-grid-proof: an ESP32 plus an 8-channel relay board driving six valves and the main groundwater pump, with every schedule stored persistently on the ESP32 itself. Home Assistant is just the dashboard. Router dead? HA box unplugged? Watering runs anyway, and schedules survive power cycles. Source: the Home Assistant community thread and full YAML at github.com/alengwenus/hass_esp_irrigation.
Honest gap: no build video exists — the thread and repo are the documentation, so follow those (read the replies; other builders' fixes are in there). Difficulty: intermediate; ESPHome YAML plus a Lovelace dashboard needing the custom multiple-entity-row card via HACS. Two spare relay channels are handy for 12V yard lights or a shed fan — same pattern as our solar pump controller write-up.
| Part | Qty | Get it |
|---|---|---|
| ESP32 development board | 1 | Amazon AU |
| 8-channel opto-isolated relay module (our catalogue card is the 4-ch sibling — fine for fewer zones) | 1 | Search Amazon |
| 12V irrigation solenoid valves | 6 | Search Amazon |
| 12V pump (switched load) | 1 | Amazon AU |
4-channel 5V relay board
- Deepest review base on this page — 235 ratings at 4.5★
- Owners switch 220V/10A loads (printer power control, pumps) reliably
- Optocoupler-isolated inputs keep your ESP32 away from load-side noise
Watch out: Ships as a Pi-hat with no usable docs and a reportedly wrong online pinout — works fine with an ESP32 on jumper wires, but verify the mapping with a multimeter first.
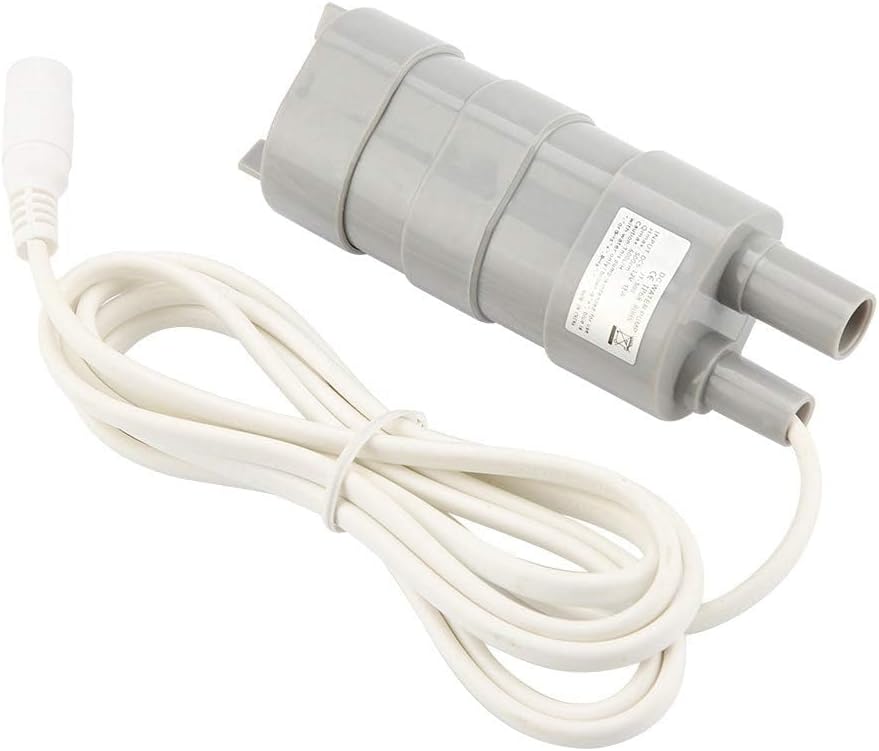
12V submersible pump (600 L/H)
- 600 L/H from 12V — straight onto the off-grid DC bus (listing specs)
- Submersible and marketed quiet — suits a bed-side reservoir
- Pairs with the relay board for soil-moisture-triggered watering
Watch out: Wattage isn't stated on the listing, only 15 ratings, and stock showed "only 1 left" at check time — have the search fallback ready.
Generic relay boards are usually active-LOW — if relays fire backwards, set inverted: true in the YAML. Use an opto-isolated board for inductive pump and valve loads, and expect the odd ESPHome breaking change to force a config rebuild. Owners of the 4-ch KEYESTUDIO board note it ships with no documentation and a reportedly wrong online pinout — verify relay-to-GPIO mapping with a multimeter first.
Category 3Eyes on the place
The last two are situational awareness — what the weather's doing to your panels and garden, and what's doing laps of the front gate at 2am.
7. Solar-powered WiFi weather station (V3.0)
Another deba168 / Open Green Energy build, and it's a beauty: a fully solar-powered ESP32 station measuring temperature, humidity and pressure (BME280), external temperature (DS18B20), UV index (SI1145) and lux (BH1750), plus wind speed, direction and rainfall off a SparkFun weather meter kit. One 18650 charged by a small panel, deep sleep between readings, publishing to ThingSpeak or Blynk — with battery-voltage monitoring over the air so you know before it dies. Source: Solar Powered WiFi Weather Station V3.0 — Instructables (Gerbers and 3D-printable Stevenson screen files included).
Why it suits off-grid: it's purpose-built for exactly this life — deep-sleep firmware, low-quiescent regulator, solar charging, zero mains. Frost warnings for the garden, rainfall for the tank maths, wind data before you daydream about a turbine. Difficulty: intermediate on the custom PCB; beginner-friendly enough on stripboard with modules.
| Part | Qty | Get it |
|---|---|---|
| ESP32 dev board (build uses the 30-pin DevKit V1; a 38-pin works) | 1 | Amazon AU |
| BME280 temperature/humidity/pressure sensor | 1 | Amazon AU |
| DS18B20 waterproof temperature probe | 1 | Amazon AU |
| SI1145 (GY-1145) UV index sensor | 1 | Search Amazon |
| BH1750 lux sensor | 1 | Search Amazon |
| SparkFun weather meter kit (wind vane, anemometer, rain gauge) | 1 | Search Amazon |
| TP4056 charge module + MCP1700 3.3V LDO | 1 ea | Amazon AU |
| 18650 Li-ion cell | 1 | Search Amazon |
| Small 5–6V solar panel | 1 | Amazon AU |
Video: DIY Solar Powered WiFi Weather Station V3.0 || Monitoring Wind and Rainfall — Open Green Energy (watch on YouTube)
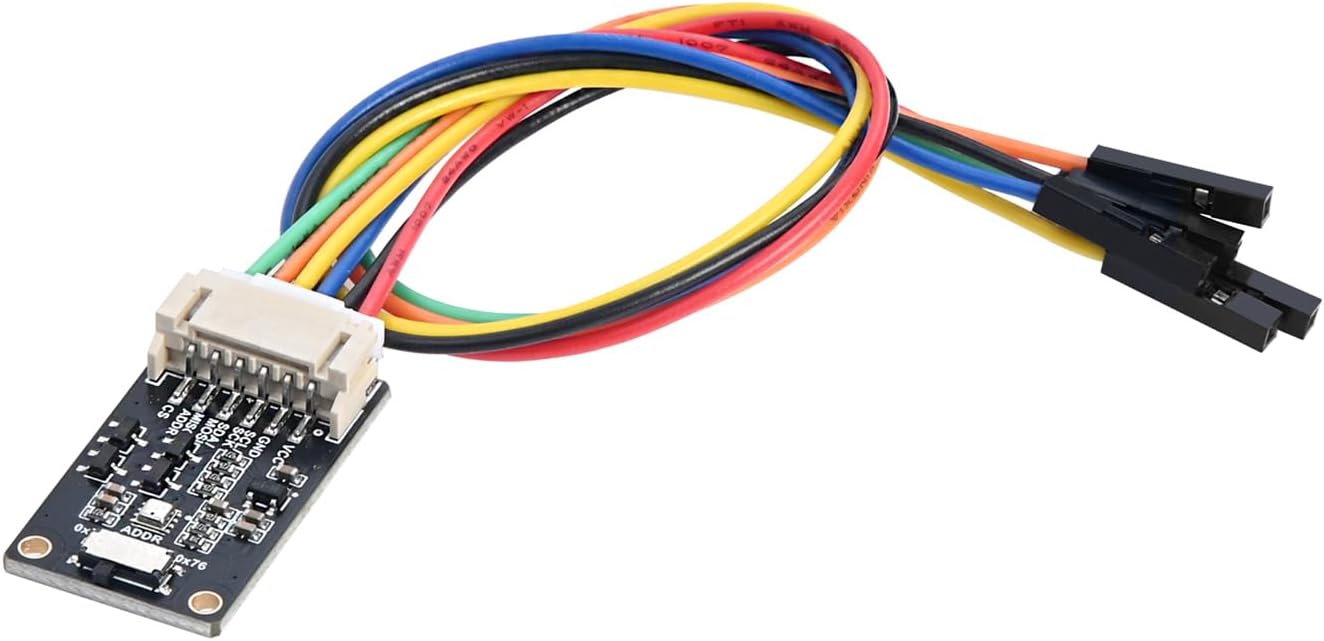
BME280 environment sensor
- Genuine Bosch BME280 chip — owners confirm real pressure + humidity, not a BMP280 swap
- Onboard level shifter: runs on 3.3V or 5V, I2C address switchable, SPI available
- Ships with a genuinely extensive manual — rare for these modules
Watch out: One owner got a DOA unit (dead on I2C and SPI across several boards). Only 21 ratings, so the sample is thin.
ESP32 DevKit 38-pin (2-pack)
- Owners run Home Assistant and IoT bridges on these boards without drama
- Simple to flash — plays nice with PlatformIO and the Espressif toolchain
- Solid build quality for the price, and a USB cable is in the box
Watch out: Multi-pack QC lottery — one buyer got a dead board in their two-pack (refunded). Test both on arrival.
The author's hard-won lesson: a standard linear regulator drops out as the 18650 slides toward 3.7V, so use the low-dropout MCP1700 — and live in deep sleep, because every milliamp counts on a one-cell budget. Reviewers of the BME280 we list note it's a genuine Bosch chip with a switchable I2C address; one owner copped a dead unit, so bench-test before sealing the box.
8. Solar ESP32-CAM security camera (pan/tilt, PIR, night vision)
Max Imagination set out to build "the most equipped security camera with ESP32-CAM" and mostly pulled it off: video webserver, servo pan/tilt, two PIR motion sensors, IR night vision, microSD recording, two 18650s and a solar charging stage, in a 3D-printed, silicone-sealed shell. Battery alone gets five to eight hours; the panel makes it run more or less indefinitely. No cloud, no subscription — footage stays on the card. Covered by Cameron Coward for Hackster: This Wireless Security Camera Runs Entirely on an ESP32. Fair warning: the video below is the primary build doc.
Difficulty: advanced — 3D printing, multiple subsystems, outdoor sealing; the first-gen battery-only version on the same channel is the intermediate stepping stone. Ideal for the gate or machinery shed; our solar-powered gate guide covers the gate's power side. Sourcing note: the verifiable AU ESP32-CAM listing rates 4.1 stars off 33 ratings — thin — and owners report loose ribbon connectors. Reseat the ribbon before assuming it's dead.
| Part | Qty | Get it |
|---|---|---|
| ESP32-CAM with OV2640 + FTDI programmer | 1 | Amazon AU |
| 18650 Li-ion cells | 2 | Search Amazon |
| 18650 holder + TP4056 charge module | 1 | Amazon AU |
| Small 5V solar panel | 1 | Amazon AU |
| PIR motion sensors (HC-SR501 type) | 2 | Search Amazon |
| Servo motors for pan/tilt (SG90 type) | 2 | Search Amazon |
| IR LEDs for night vision + microSD card | 1 set | Search Amazon |
Video: Build The Most EQUIPPED Security Camera with ESP32-CAM — Max Imagination (watch on YouTube)
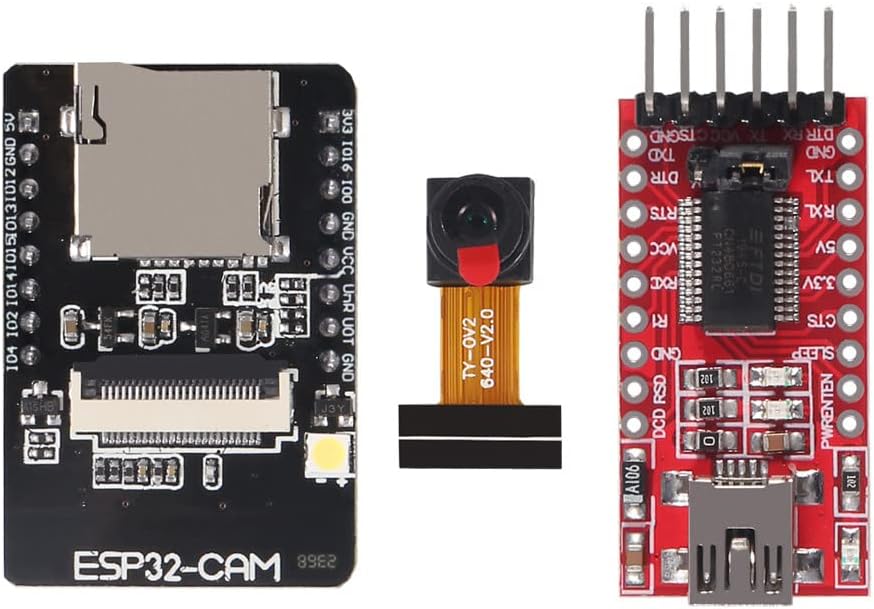
ESP32-CAM + OV2640 + FTDI bundle
- The bundled FTDI adapter means you can flash it with no extra hardware
- Proven in motion-detection and small camera IoT builds
- Cheapest way into a WiFi camera node — but read the watch-out
Watch out: 4.1★ on thin review depth (33 ratings): clone-board QC gripes — one loose camera ribbon connector, one buyer couldn't get theirs working at all. Needs a solid 5V supply and runs warm when streaming.
Max connected his cells backwards mid-build and fried the protection circuitry on the battery-management board — he finished with it bypassed as a plain charge/boost circuit. Check polarity twice before first power-up. Also documented: servos cause current spikes (the rail capacitors aren't decorative), and the usual ESP32-CAM gospel applies — brownouts from a weak 5V supply, "camera init failed" from a loose ribbon, IO0 to GND for flashing.
Category 4The far reaches
Everything so far assumes the thing you're watching sits inside WiFi range of the house. These last two are for when it doesn't: the gate at the end of the driveway that wants opening from the couch, and a way to talk between buildings with no internet at all.
9. Smart gate control with ESP32 (MQTT)
The driveway gate is the classic off-grid automation itch, and Emanuele Pagliari's build scratches it properly. An ESP32 dev board, a two-channel 5V relay module and an adjustable buck converter sit in an IP67 weatherproof box, wired into the low-voltage control terminals of the gate's existing control board — one relay for open, one for partial/pedestrian open. Commands arrive over MQTT from a broker on your own network, so nothing hangs on a cloud account or an internet link. Nor is it a weekend experiment: the same setup has run three gates and two garage doors in production since July 2020, with a watchdog and WiFi ping check so a node can't silently drop off. Write-up: How to Gate Control with ESP32 — Emanuele Pagliari; code: gitlab.com/palia95/iot-and-networking-project.
Honest gap: no video exists of this exact build — the article, schematic and repo are the documentation. The closest video walkthrough of the same idea is ChuckBuilds fitting a RATGDO board to a LiftMaster LA400 swing-gate opener: dry-contact wiring into the gate board's single-button-control terminals, MQTT firmware, Home Assistant on top. Chuck's own board is the older ESP8266-based v2.5, but the current ratgdo32 is ESP32-based and officially supports dry-contact gate openers (wiring docs at ratcloud.llc/pages/wiring) — the technique transfers either way. The node is a ~1W 5V load, happily fed from the gate opener's battery or solar accessory rail; if the gate isn't powered yet, our solar-powered gate guide covers that side. Difficulty: intermediate — control-board wiring, buck adjustment, flashing, MQTT setup.
| Part | Qty | Get it |
|---|---|---|
| ESP32 development board | 1 | Amazon |
| 2-channel 5V opto-isolated relay module | 1 | Amazon |
| Adjustable buck converter (set to 5V BEFORE connecting anything) | 1 | Amazon |
| IP65/IP67 weatherproof enclosure | 1 | Amazon |
| Cable glands (multi-core cable: GND/VCC + one wire per relay) | 1 set | Amazon |
Video: How to Install RATGDO on Liftmaster Swing Gates — ChuckBuilds (watch on YouTube). Not Emanuele's build — the same idea on a swing-gate opener, by a different creator.
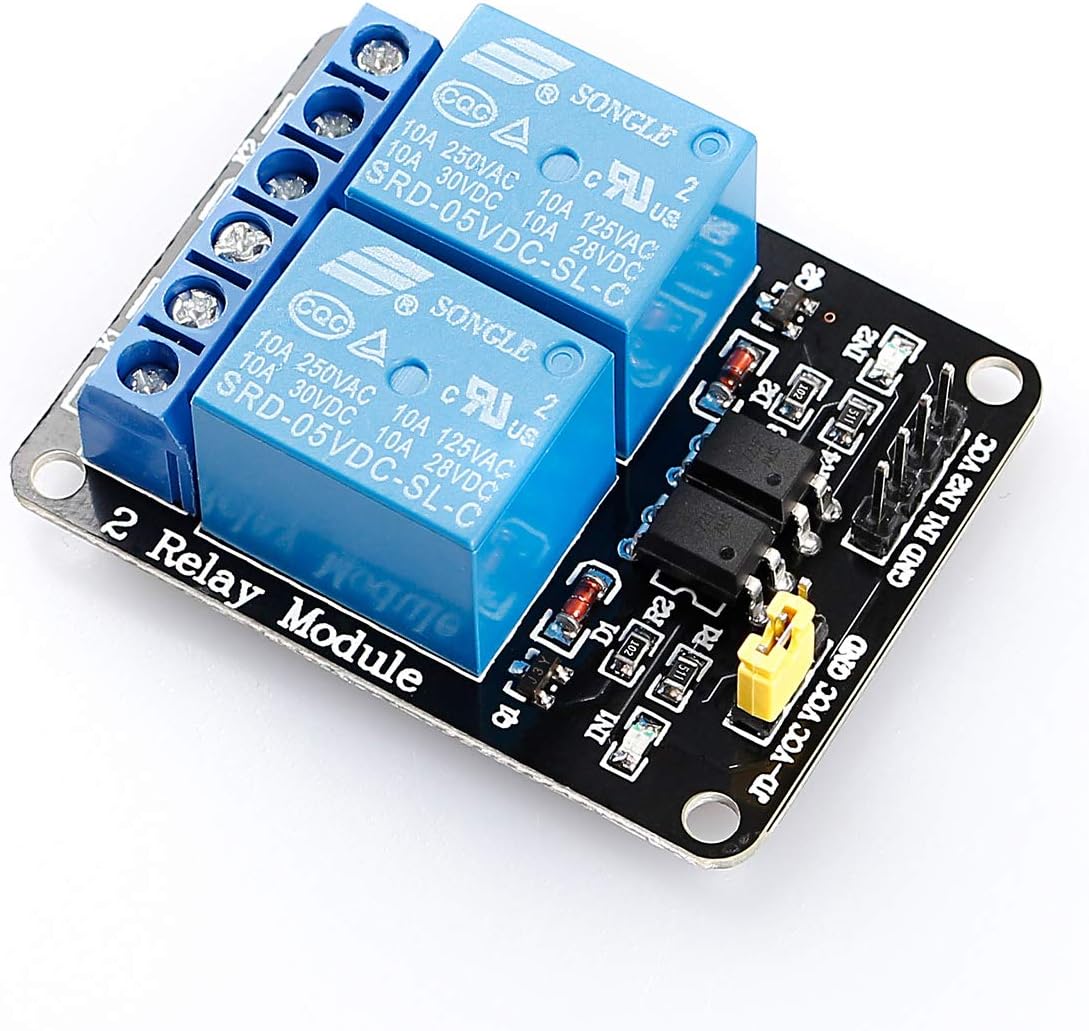
2-channel 5V relay (SunFounder)
- 1,253 ratings at 4.6★ — the deepest review base on this page
- Optocoupler-isolated inputs keep the ESP32 away from gate-board noise
- Two channels is exactly what a gate controller needs: open/close or gate + garage
Watch out: Active-LOW logic trips beginners — relays can fire backwards until you invert them in software. Occasional DOA unit reported. Price from a single-offer listing — re-check at publish.
ESP32 DevKit 38-pin (2-pack)
- Owners run Home Assistant and IoT bridges on these boards without drama
- Simple to flash — plays nice with PlatformIO and the Espressif toolchain
- Solid build quality for the price, and a USB cable is in the box
Watch out: Multi-pack QC lottery — one buyer got a dead board in their two-pack (refunded). Test both on arrival.
Set the buck converter to a verified 5V with a multimeter before the ESP32 or relays get connected — adjust first, wire second, or you cook the boards. Flash the sketch before hardwiring the converter too; USB and converter power together is a conflict. The gate board's STOP input is normally-closed, so pick the right NO/NC relay contact for it. And the one that matters most: this adds remote control, it never replaces safety circuitry — photocells and obstacle detection stay on the certified gate controller, always.
10. LoRa off-grid intercom (Meshtastic)
When WiFi won't reach the shed and there's no cell coverage worth the name, Meshtastic is the answer the off-grid community actually uses: open-source firmware for cheap ESP32 boards with LoRa radios — the LILYGO TTGO T-Beam here — moving encrypted text node to node over licence-free LoRa, with each node auto-relaying for the others until the whole property is covered. No internet, no cell service, no subscription. Two T-Beams is a working intercom: one in the house, one in the shed or your pocket. Each board packs GPS and an OLED screen and runs for days on a single 18650; realistic range is one to five kilometres through buildings and trees, ten-plus line-of-sight, and antenna height beats transmit power every time. Getting-started docs: meshtastic.org.
Setup is genuinely beginner-friendly: a web flasher in Chrome or Edge, then pair to the phone app with the PIN shown on the OLED. The one buying decision that matters is frequency — 868 MHz in the EU/UK, 915 MHz in the US and Australia (the AU listing below is the 915 MHz one). Owner themes from the listing: units can arrive without Meshtastic pre-flashed and won't pair over Bluetooth until you flash them, and the stock ceramic GPS antenna is mediocre indoors. A cheaper fixed-node option is the TTGO LoRa32 V2.1 (no GPS), though its AU listing was out of stock when checked — confirm the band with the seller before buying either board. Our mesh network setup guide covers the wider picture. Difficulty: beginner–intermediate, no coding.
| Part | Qty | Get it |
|---|---|---|
| LILYGO TTGO T-Beam (ESP32 + LoRa + GPS + OLED, 18650 holder) — BUY THE RIGHT FREQUENCY: 868 MHz EU/UK, 915 MHz US/AU; the linked AU listing is 915 MHz | 2 | Amazon |
| 18650 Li-ion cells, unprotected flat-top (the T-Beam holder fits flat-tops only) | 2 | Search Amazon |
| Band-matched LoRa antennas (915 MHz AU/US; 868 MHz EU — skip if bundled with the boards) | 2 | Search Amazon |
| Optional cheaper fixed-node alternative: TTGO LoRa32 V2.1 (no GPS; AU listing was out of stock when checked) | 1 | Search Amazon |
Video: Free P2P wireless mesh networking — Geerling Engineering (watch on YouTube)
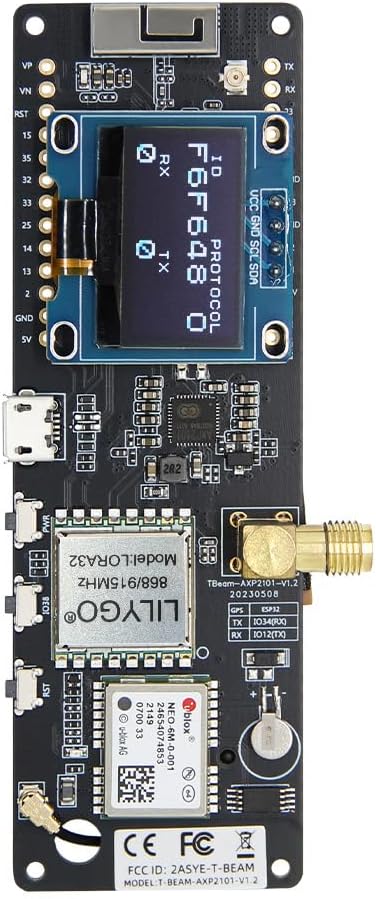
TTGO T-Beam LoRa + GPS (915 MHz)
- The default Meshtastic board — it's named in the listing and all over the owner reviews
- ESP32 + LoRa + GPS + OLED + 18650 holder on one board: a whole node in one purchase
- Owners report solid range between buildings once the antenna is upgraded
Watch out: Buy the frequency for your region (this listing is 915 MHz — right for US/AU, wrong for EU/UK which need 868). Owners report some units arriving unflashed with no Bluetooth pairing, and the stock GPS antenna is weak. Price is from a single-offer listing — re-check at publish.
Never power a LoRa board without its antenna attached — transmitting into nothing can permanently kill the radio chip, and the official docs bold that warning for a reason. Match hardware and app region to where you live: 915 MHz in the US and Australia, 868 MHz in the EU, where a 10% hourly duty-cycle limit will mute a chatty node. Every node must share the same channel preset or they'll deafly ignore each other. And avoid the old TTGO LoRa32 V1 boards — a faulty charge circuit can overcharge the battery; V2.1 or newer only. Flash with a data-capable USB cable, not a charge-only one.
Bonus. Driveway presence alert: phone ping + in-house beep
The last three builds all answer "what's at the gate?" — the gate controller opens it, the camera shows it, the intercom lets you talk to it. This one answers the earlier, better question: "someone just arrived," minutes before they knock. The cleanest documented version comes from the diffeq.com lab blog, and the trick is that half the system already exists off the shelf. A Dakota Alert 4000-series driveway alarm has battery-powered sensor transmitters on the driveway that radio back to an indoor RE-4k Plus receiver, which plays a chime in the house — that's the audible alert sorted, standalone, zero internet, even when everything else is down. The receiver also has two relay outputs that trip when a transmitter fires, and that's the doorway in.
The build wires one of those relays to an ESP32 dev board — GPIO5 to the normally-open contact, GND to COM — running ESPHome with a single debounced binary_sensor called "Incoming Traffic". In Home Assistant, one automation watches that sensor flip off→on and pushes a notification to your phone via the Home Assistant Companion app: "Incoming traffic — Somebody is arriving." Use both relay outputs and HA even knows which driveway sensor fired. Nothing gets soldered into the alarm's radio side — you're just listening to relay contacts — and the full ESPHome YAML and HA automation are published in the write-up, ready to copy. Honest gap, same as the gate build: no video exists of this one; the blog post is the documentation.
No Dakota alarm, or don't fancy buying one? The fully DIY front-end is an ESP32 plus a Hi-Link LD2410C mmWave presence sensor — radar that detects a person standing dead still, not just motion — for a node cost in the well-under-a-couple-of-movie-tickets class. Wiring is solder-free: four female-to-female Dupont jumpers on the C variant's 2.54 mm pins, UART to the ESP32 at 256000 baud on GPIO16/17, then ESPHome hands the whole thing to Home Assistant with live tuning sliders in the HA UI. It's documented three times over: Kiril Peyanski at peyanski.com, Joule P. Kraft at jpk.io, and esp32.co.uk. One catch for gate duty: the module is indoor kit, so it needs a weatherproof enclosure outside — radar sees straight through plastic, so a sealed box doesn't blind it.
Either way, this slots into the same Home Assistant hub from Putting it all together — the phone ping is the Companion app, and the in-house beep is either the Dakota's own chime or a second ESP32 with a cheap active buzzer module inside the house as a little command-centre beeper. If the gate sits beyond WiFi range, the LoRa mesh from project 10 is the backhaul — the sensor node's traffic is exactly the low-rate stuff LoRa eats for breakfast. And if the far end of the driveway has no power at all, our solar-powered gate guide covers getting electrons out there. Difficulty: beginner for the diffeq build — one GPIO sensor and one automation; beginner–intermediate for the mmWave node, because the build takes twenty minutes and the calibration is where the evening goes.
| Part | Qty | Get it |
|---|---|---|
| ESP32 development board | 1 | Amazon |
| Dakota Alert 4000-series driveway alarm (RE-4k Plus receiver — must be a model with relay outputs) | 1 | Search Amazon |
| OR the DIY front-end: LD2410C mmWave presence sensor (the C variant — 2.54 mm pins; the B variant is 1.27 mm and a solder job) | 1 | Amazon |
| Dupont/jumper wires (female-to-female for the LD2410C; short hookup lengths for the relay contacts) | 1 set | Amazon |
| Optional: active buzzer module, 5V (the in-house beep node — LOW-level trigger, needs inverted logic in ESPHome) | 1 | Amazon |
| Optional: HC-SR501 PIR motion sensor (the cheap, simple trigger — but false-fires on sun-warmed vegetation, which a driveway has in abundance) | 1 | Amazon |
Video: Set up Human Presence detection with LD2410B and Home Assistant in minutes — KPeyanski (watch on YouTube). The DIY mmWave front-end — the Dakota-relay build above has no video; the blog post is the documentation.
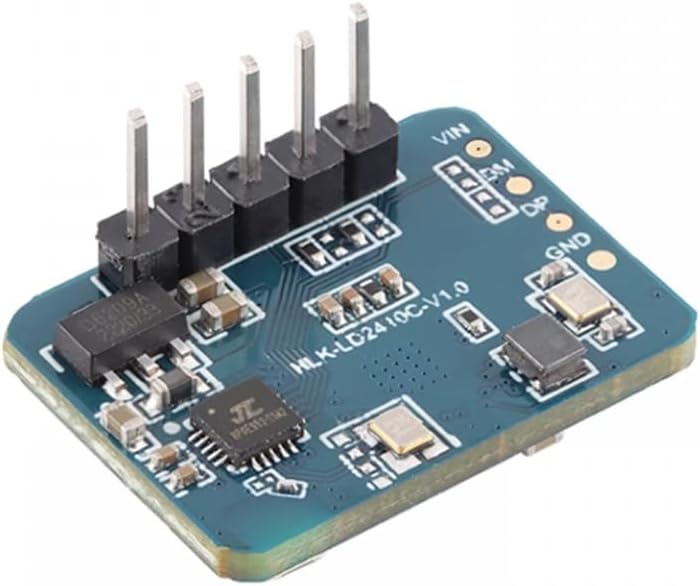
LD2410C mmWave presence sensor
- Owners run it with ESP32 + ESPHome/Home Assistant — presence without PIR false triggers from sun or light
- Catches micro-movements a PIR misses; stable for months, say repeat buyers
- Configurable over Bluetooth; works read via BLE on just GND + 5V
Watch out: Only 9 ratings — thin owner base. Detection field is smaller than its LD2420 sibling, and the price is well above AliExpress street for this module class.
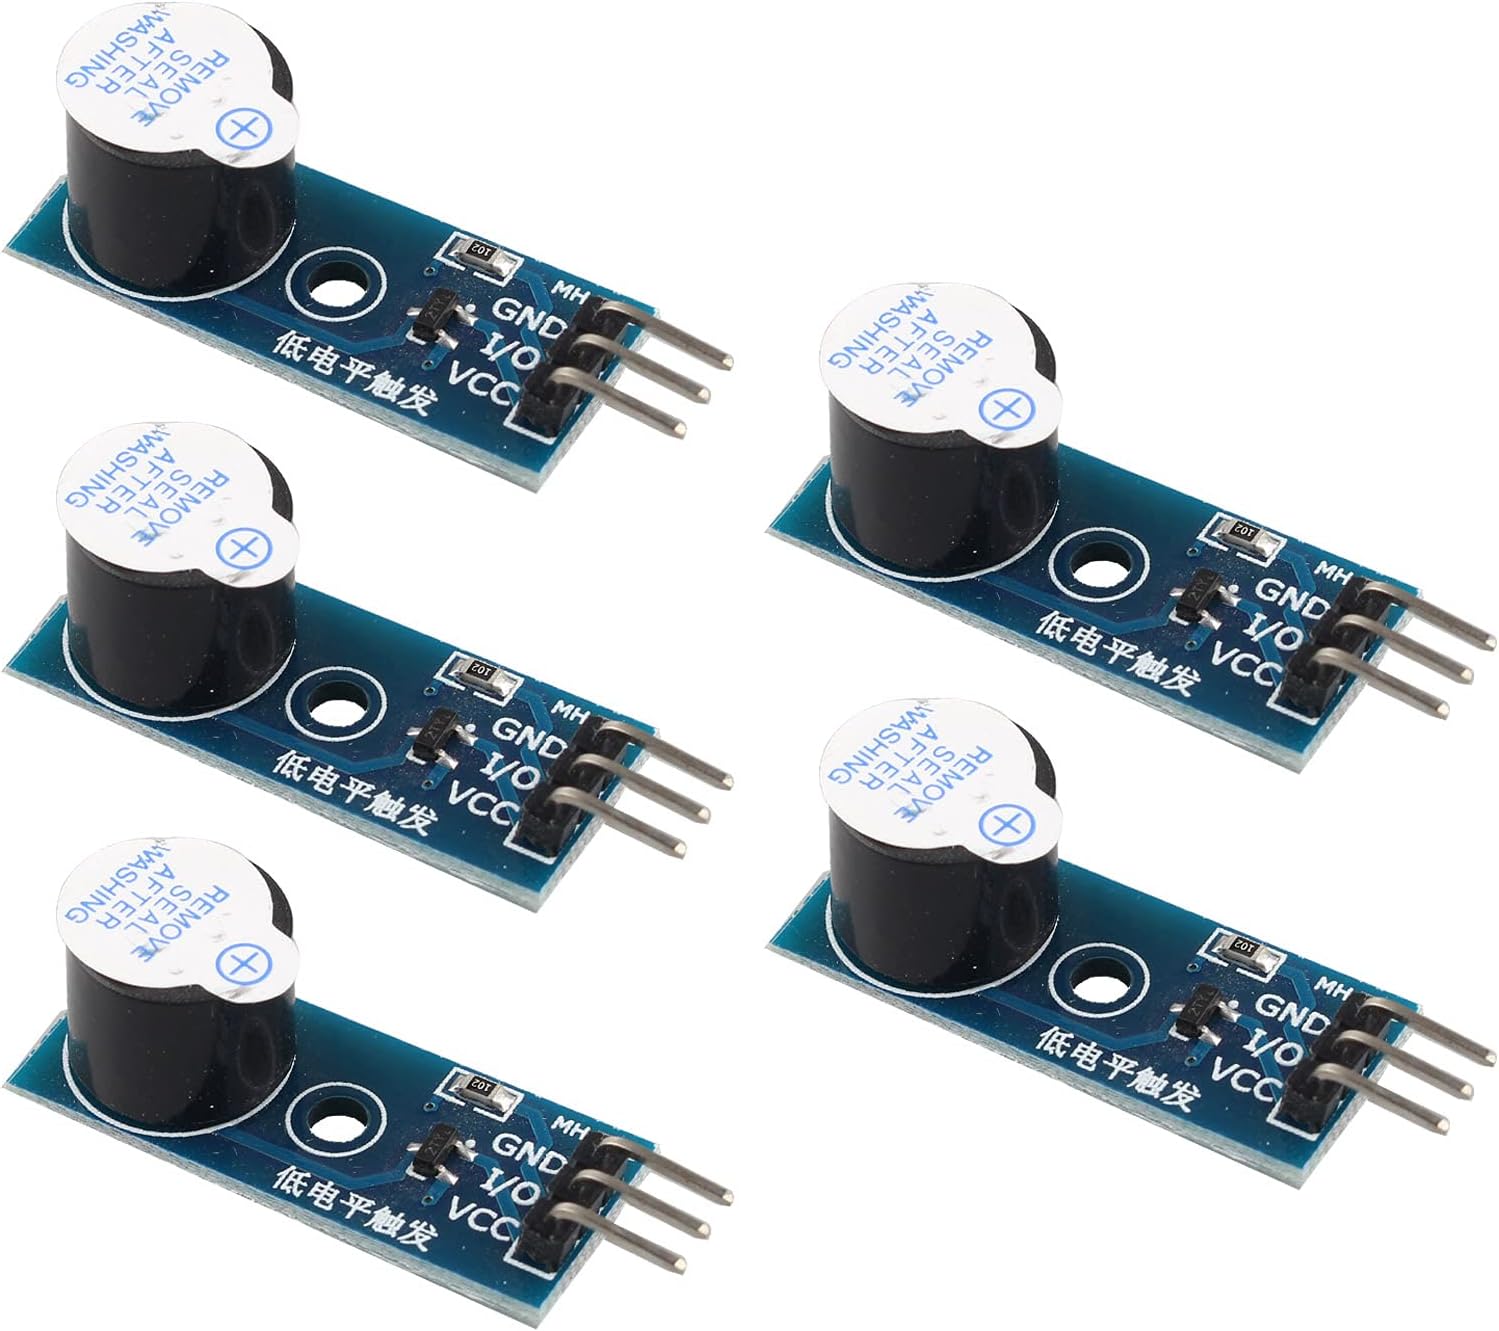
Active buzzer module (5-pack)
- Works flawlessly straight off an ESP32 GPIO, owners report
- Three pins and done — no transistor circuit needed
- Cheap enough to put a beeper in every building
Watch out: It's LOW-level trigger — the buzzer sounds when the pin goes LOW, which surprises buyers. Set inverted logic in ESPHome and you're fine.
Buy the LD2410C, not the B: the C has 2.54 mm pins that take Dupont jumpers, while the B's 1.27 mm pitch means soldering — sellers rarely make the distinction loud. Then wire TX to RX and RX to TX (LD2410 TX → GPIO16, RX → GPIO17); straight-across wiring is the number-one documented reason a sensor "connects but reports nothing". Set logger: baud_rate: 0 in ESPHome so the logger doesn't fight the radar for the UART. And budget twenty minutes for calibration: the radar slices space into ~0.75 m "gates" and the default thresholds fit nobody — enable Engineering Mode, see which gates light up from fans, vents or swaying curtains, raise those, then walk the real zone. Remember mmWave sees through thin walls, so aim it at the driveway, not the house. For automations, trigger on the has_target binary sensor, not the jittery centimetre distances.
Pick your platform: ESPHome, Blynk or standalone?
Three of the eight builds talk to Blynk, two are ESPHome natives, and the rest serve their own web pages. They're not interchangeable religions — they're tools with different failure modes:
| Platform | How it works | Needs internet? | Best for | Honest cons |
|---|---|---|---|---|
| ESPHome + Home Assistant | Nodes report over your LAN to a HA box (old laptop, Pi, mini PC) | No — fully local once set up | The whole-property system: dashboards, alerts, automations, history | Steepest setup; the HA box is one more thing to power; updates occasionally break configs |
| Blynk | Node talks to Blynk's cloud; the app reads it | Yes — no internet, no data | Fastest path from zero to a phone dashboard | Cloud-dependent (one legacy app already killed); free-tier limits; your data on someone else's server |
| Standalone web server | The ESP32 hosts its own page; browse to its IP | No — but same network only | Single-purpose nodes like the PZEM meter or camera | No history, alerts or remote access unless you build them |
My take: local-first wins off-grid. Anything that stops working when the link drops is a liability at the end of a dirt road. Start with Blynk for a quick win, land on ESPHome + Home Assistant for anything you depend on. Nodes beyond WiFi range? Sort the backhaul first — our mesh network setup guide is the place to start. And before you stick a panel on a pole, work out what the node needs — "sips power" still adds up over a cloudy week.
Workshop staples you'll reuse on every build
Notice the BOMs repeat themselves? That's the point. A breadboard kit for prototyping (BOJACK owners rate the value; some report stiff slots and dud jumpers), IP65 boxes with glands for anything outside (the Youmile ships with PG7 glands and a terminal block — stock was thin when checked), an LM2596 buck for 12V-to-5V (treat the "3A" label as optimism; keep loads under an amp), TP4056 modules and holders for the 18650 power plants, and one small USB panel per node. Buy these once and every project above gets cheaper. Running several nodes? Feed them off the property's 12V bus — the DC distribution panel guide shows how.
One sourcing reality: loose 18650 cells are effectively not ranged on Amazon in a lot of regions — dangerous-goods shipping rules — so the battery links go to a search page, and honestly a specialist battery shop in your country is your best bet for protected cells from a known brand. Don't buy no-name cells.
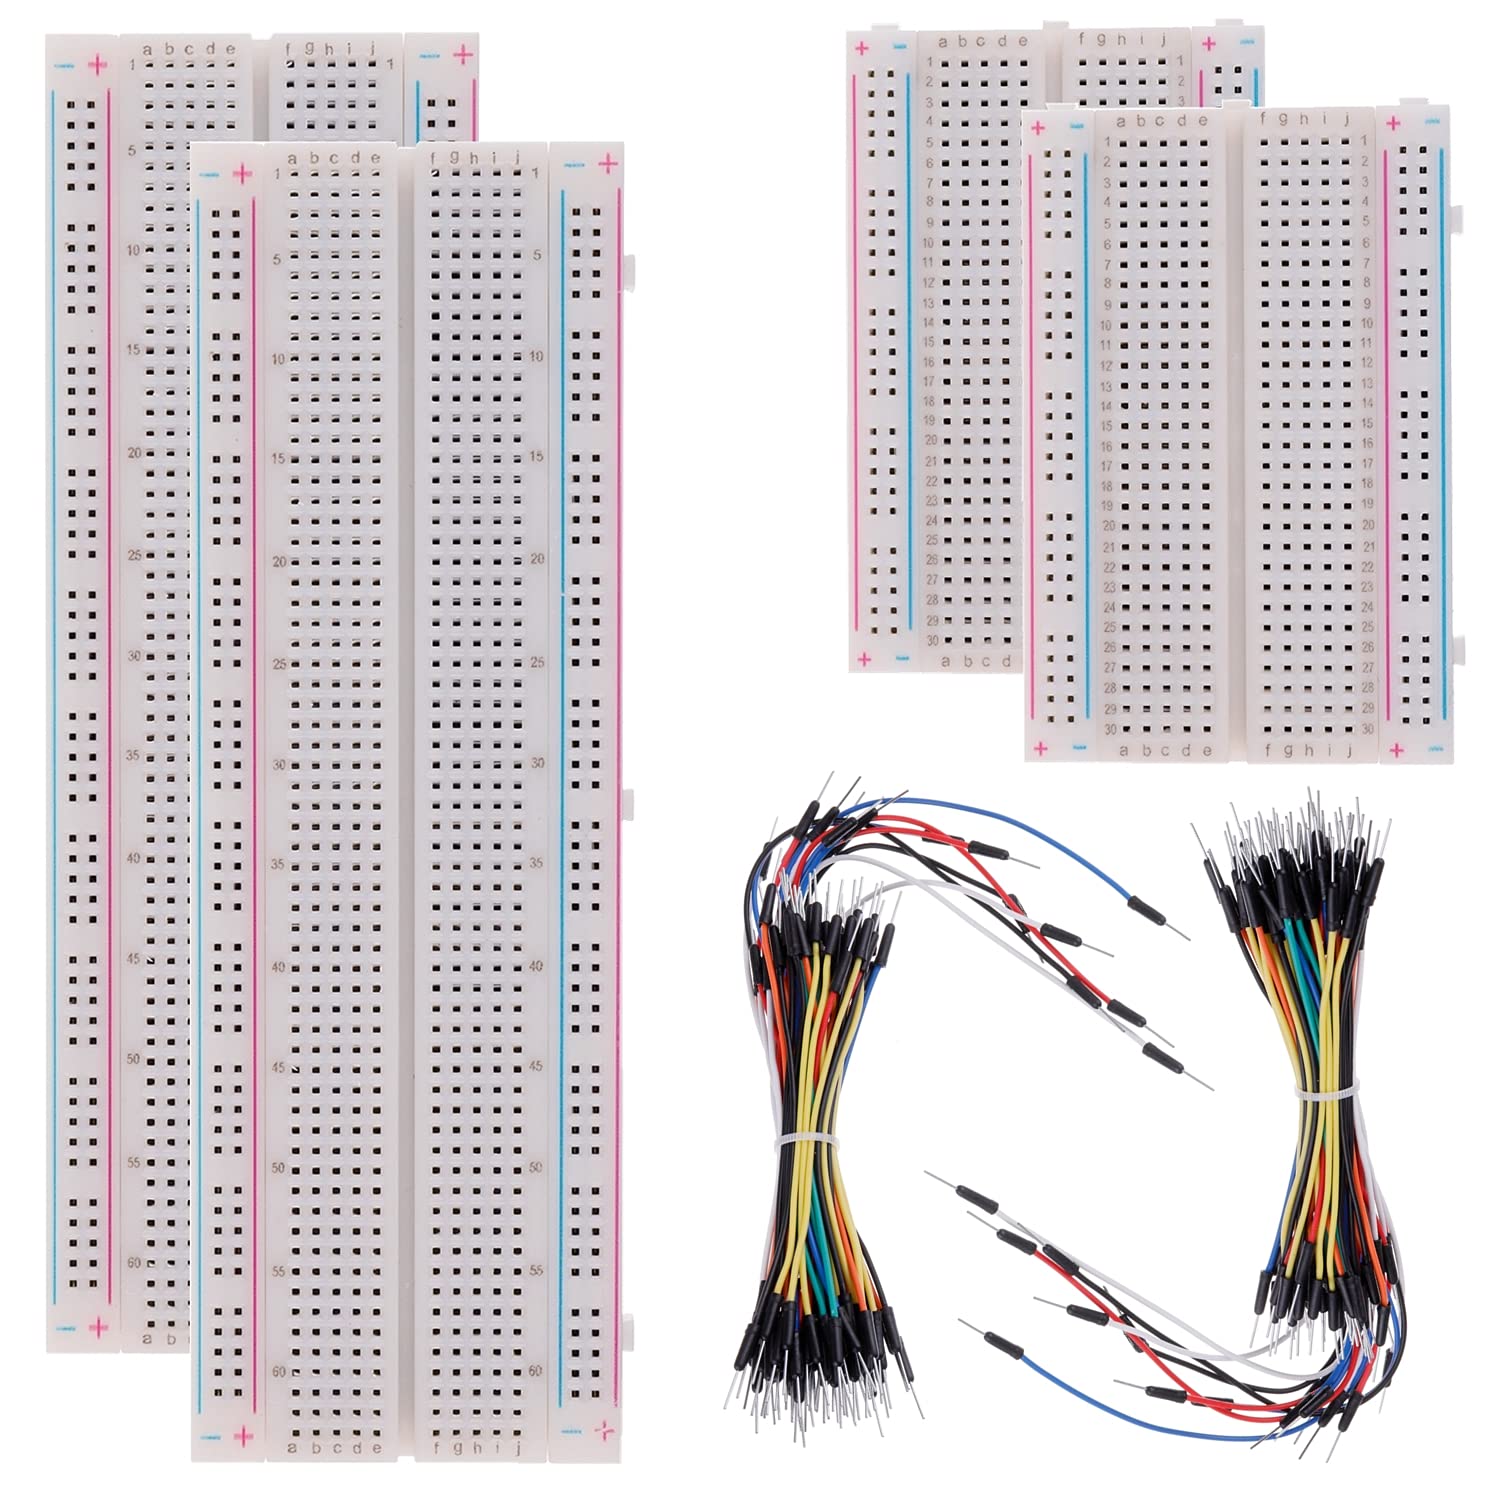
Breadboard + jumper kit
- 497 ratings — owners call it a good-value, complete starter kit
- Boards hold connections well; adhesive backs and interlocking tabs are handy
- A favourite for teaching and getting back into electronics
Watch out: Mixed QC in the reviews: some stiff pins, some intermittent rails, some bendy jumpers. Prototype on it, then solder the keeper.
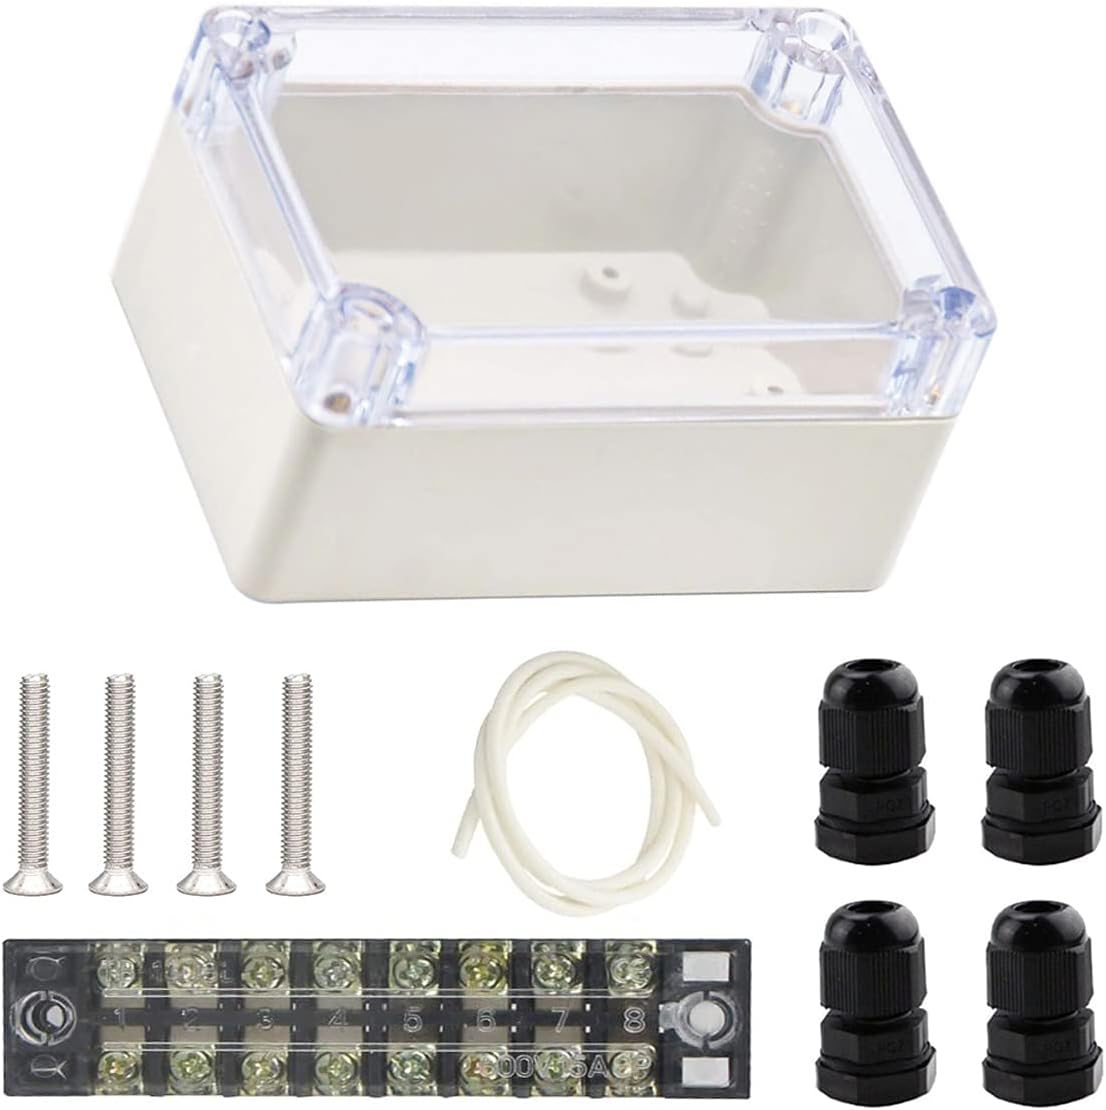
IP65 project box + glands
- IP65 with a clear lid — check the OLED without opening it (listing specs)
- Includes 4× PG7 cable glands and an 8-pole terminal block in the box
- Right size for an ESP32 + sensor + TP4056 stack
Watch out: Category-wide gripe: included screws can be soft — don't over-torque. Only 5 left in stock at check time; 100×68×50 is snug for big builds.

Cable gland 25-pack
- Owners: locknuts hold well and sealing rings are included
- Comparable to trade-quality glands at a DIY price, say reviewers
- Five each of five sizes — covers sensor cables to pump leads
Watch out: They arrive mixed in one bag — budget ten minutes of sorting. PG thread isn't metric, so match holes with a step drill, not a spade bit.
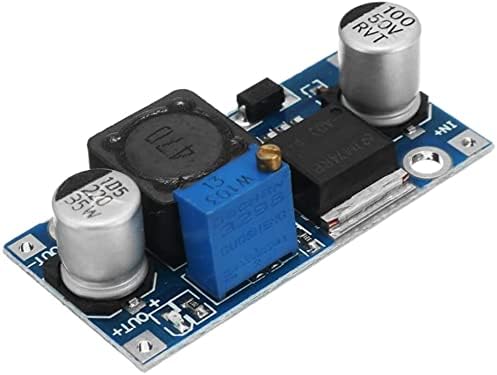
LM2596 buck converter
- Unbeatable for the price, say owners — does the job
- Adjustable output covers 5V logic and 12V pump/valve rails
- The standard way to step a 12V off-grid bus down for an ESP32
Watch out: Owner teardown territory: remarked chips, real efficiency ~70-75%, runs hot past ~1.5A. Treat the "3A" claim as optimism and keep loads under 1A.
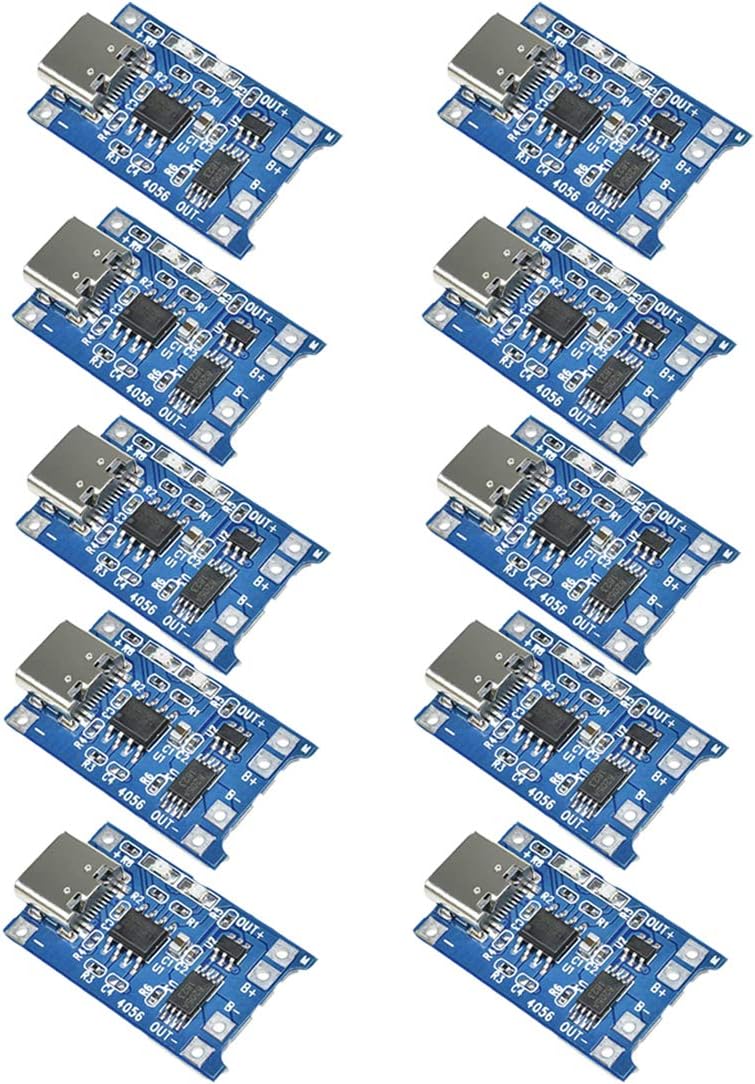
TP4056 USB-C charger (10-pack)
- 211 ratings at 4.6★ — the reliable little charger owners keep reusing
- Overcharge and overcurrent protection on board, USB-C input
- Owners have revived whole appliances with one of these and some bodging
Watch out: No load-sharing bypass — don't charge the cell and power the ESP32 at the same time or you'll cook it. Won't work with USB-C-to-C cables (missing resistors); use A-to-C.
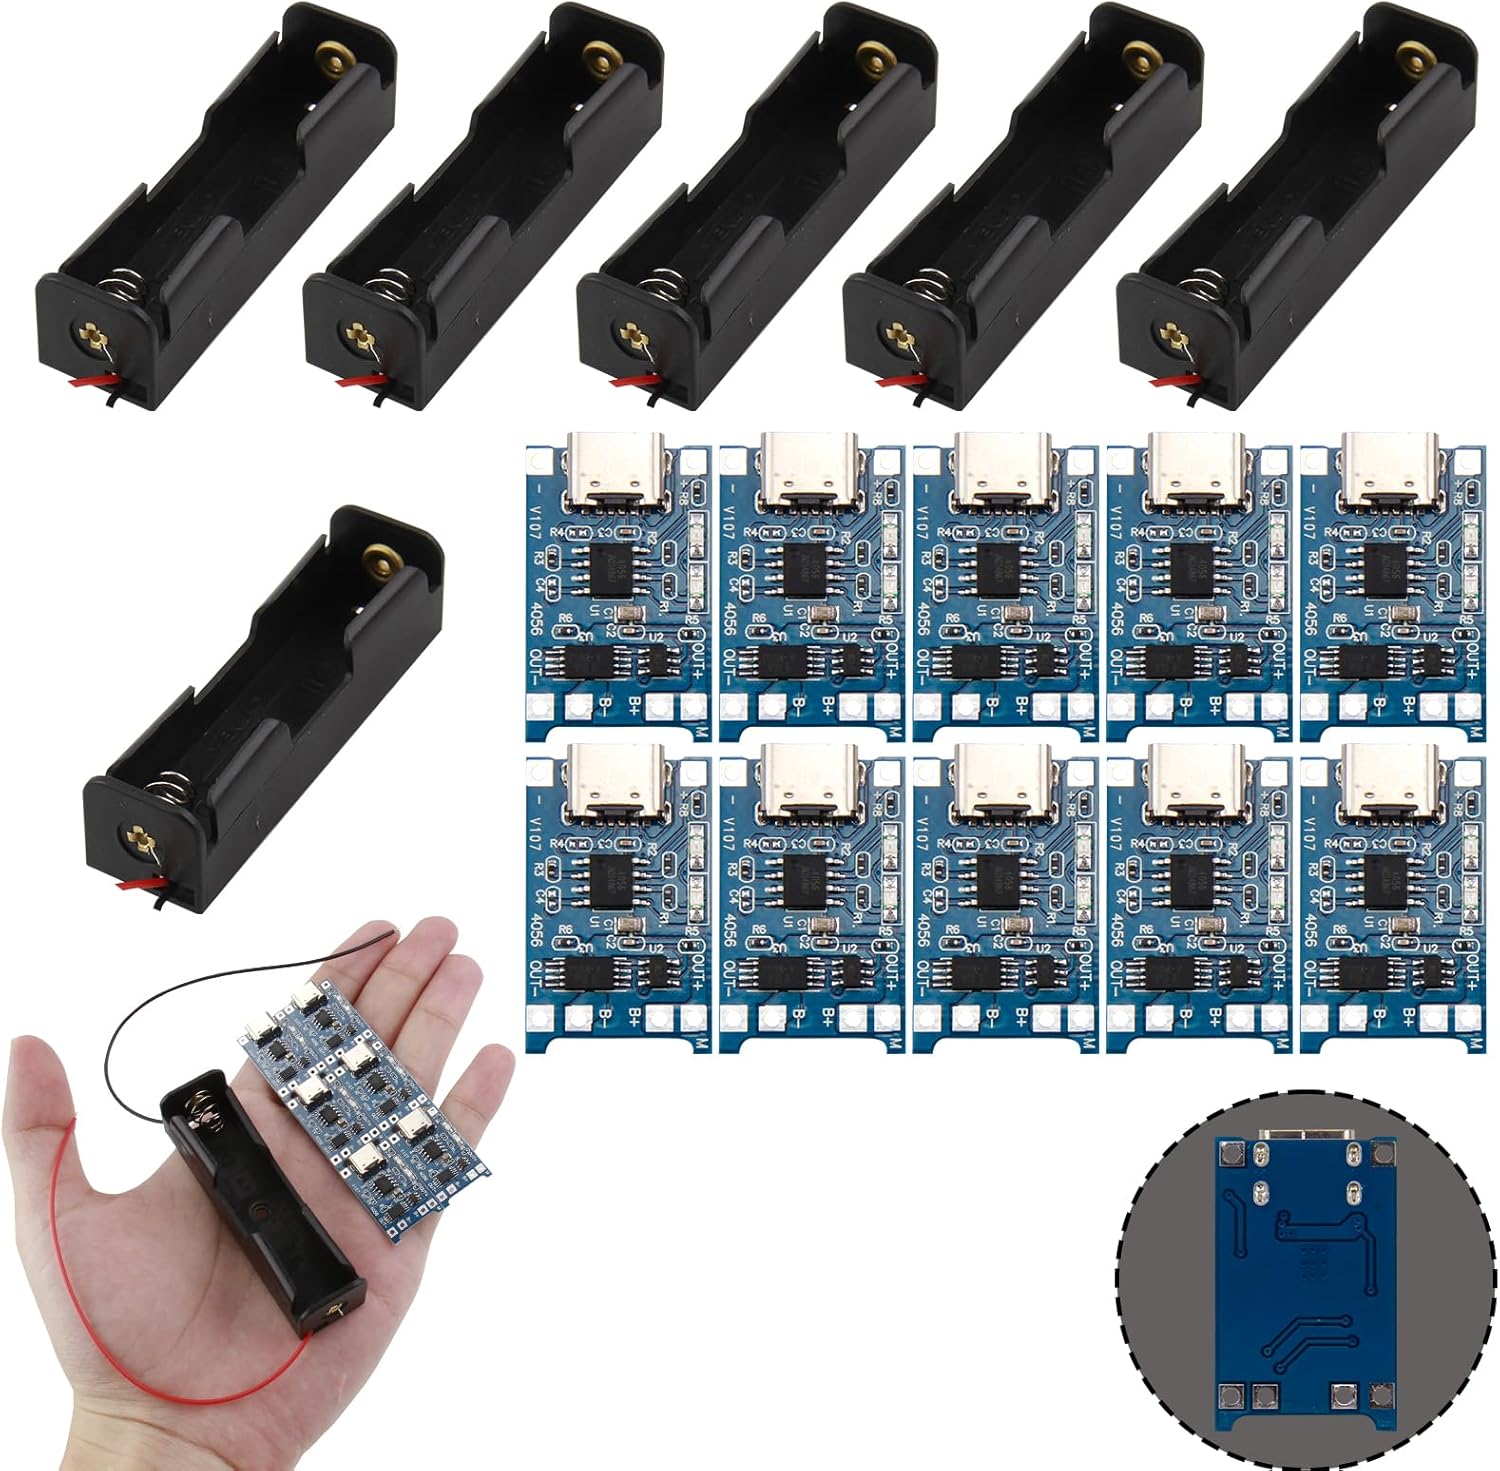
18650 holders + charger combo
- Six single-bay holders with pre-tinned leads plus ten USB-C charger boards
- One box covers the battery side of every solar node on this page
- 4.6★ across 105 ratings — solid for a combo kit
Watch out: No review text was retrievable for this listing — the rating is verified, the details aren't owner-vouched. Cells NOT included (loose cells are shipping-restricted on Amazon in many regions — see the article).
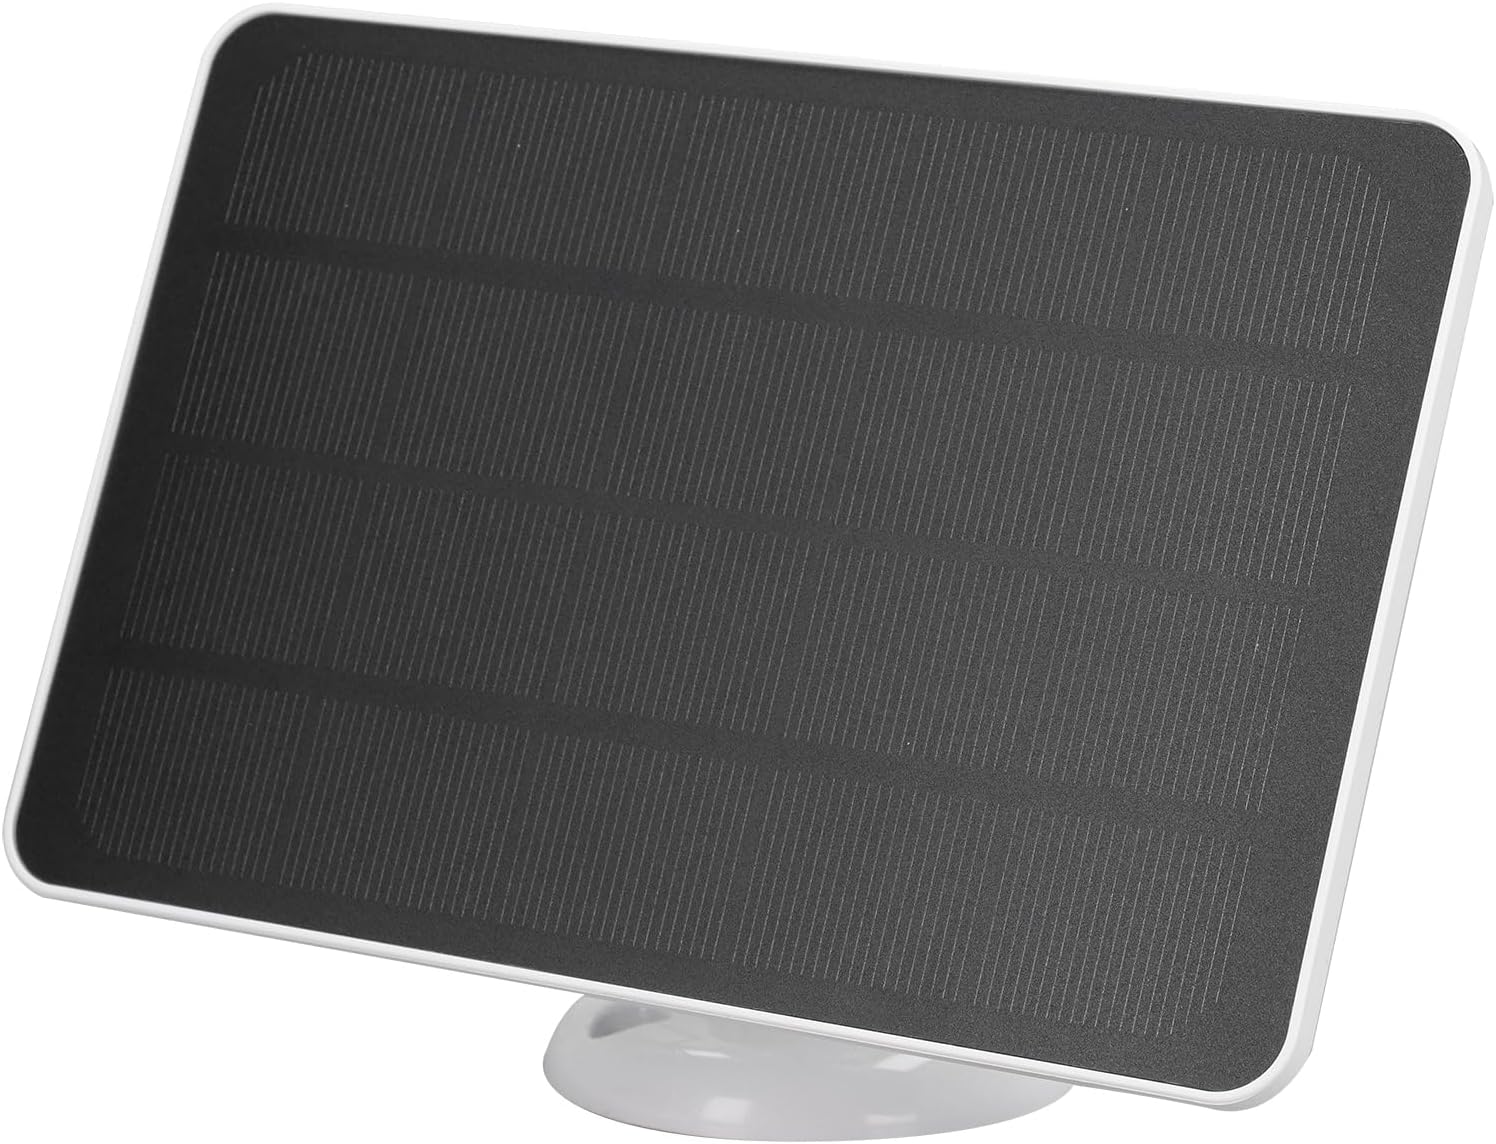
10W 5V solar panel (IP65)
- IP65 outdoor-rated with an adjustable mounting bracket (listing specs)
- 10W at 5V is generous headroom for a deep-sleep sensor node
- Keeps a camera or sensor node topped up indefinitely in full sun
Watch out: Marketed for security cameras — the fixed cable ends in camera plugs, not a bare USB-A, so budget an adapter. Only 36 ratings and 2 left in stock at check time.
Safety, because mains power doesn't do second chances
The PZEM energy meter involves mains wiring. In most places — Australia, the US, the UK, the EU — fixed mains work is licensed-electrician territory, off-grid included. The clip-on CT is non-invasive, but connecting the module's voltage terminals to live conductors is not DIY, and one owner reports a unit that went up in smoke outside the return window. Get a licensed electrician for the mains side; you keep the fun bits.
Batteries next. The 18650 is a brilliant cell and a terrible toy. Use protected cells from a reputable brand, never charge unattended on carpet, mind the polarity (Project 8's creator learned that one with smoke), and don't mix old and new. TP4056 owners repeat two points worth heeding: common modules can't charge a cell and power a load at once without cooking themselves, and many won't take USB-C-to-USB-C cables — keep a USB-A lead handy.
And the line we use everywhere on this site: "Everything here is experience- and research-backed ballpark guidance, not licensed electrical or engineering advice. DIY comes first because it's cheaper and you learn more — but 'cheaper' stops at 'stupid'. Get a licensed pro where a pro is needed." Mains wiring, switchboard changes, roof work: pro territory. A relay board running a 12V garden pump: yours.
The ten, recap
- DIY solar panel monitoring system — what did the array do today?
- PZEM-004T AC energy meter — fuel gauge for the mains side (an electrician does the mains bit).
- JK-BMS → Home Assistant — per-cell truth from your battery bank.
- Solar tank level sensor — litres in the tank, from the couch.
- Smart irrigation with Blynk — waters when dry, never dry-runs the pump.
- ESPHome irrigation controller — schedules survive WiFi and HA dying.
- Solar WiFi weather station — your own homestead instrument.
- Solar ESP32-CAM security camera — eyes on the gate, footage on your own card.
- Smart gate control with ESP32 — the driveway gate, on your phone, no cloud.
- LoRa off-grid intercom — encrypted texts between buildings, zero infrastructure.
- Bonus: Driveway presence alert — phone ping plus in-house beep when someone arrives, no cloud.
To make shopping painless, we've bundled the shared components into the kit builder below — tick the projects you're tackling and it assembles the parts list, minus the doubling-up.
The full parts list
| Part (kit list) | Snapshot price (Amazon AU, 17 Aug 2026) |
|---|---|
| ESP32 DevKit (2-pack) | A$39.92 |
| ESP32-CAM + FTDI bundle | A$38.97 |
| BME280 environment sensor | A$37.82 |
| DS18B20 waterproof probe (2) | A$25.84 |
| DHT22/AM2302 (2-pack) | A$40.37 |
| INA219 power monitor (2) | A$30.89 |
| PZEM-004T AC meter + CT | A$40.00 |
| SCT-013 100A CT clamp | A$29.87 |
| MAX485 TTL→RS485 (5) | A$29.57 |
| JSN-SR04T tank sensor (2) | A$34.34 |
| Capacitive soil sensors (5) | A$45.75 |
| 4-channel relay board | A$36.35 |
| 12V submersible pump | A$51.88 |
| 2-ch relay (gate) | A$29.35 |
| TTGO T-Beam LoRa+GPS | A$55.00 |
| LD2410C presence sensor | A$41.36 |
| Active buzzer (5-pack) | A$30.46 |
| HC-SR501 PIR (5-pack) | A$33.50 |
| SSD1306 OLED (3-pack) | A$33.22 |
| 10W 5V solar panel | A$47.37 |
| TP4056 USB-C chargers (10) | A$31.13 |
| 18650 holders + chargers | A$32.51 |
| LM2596 buck converter | A$24.69 |
| Breadboard + jumper kit | A$39.64 |
| IP65 project box + glands | A$34.34 |
| Cable gland 25-pack | A$21.23 |
Snapshot prices from 17 Aug 2026 at your detected Amazon store. 18650 cells not listed — loose lithium cells are shipping-restricted on Amazon in many regions; buy protected cells from a reputable battery specialist near you.
What it'll cost: budget vs buy-once
No price column here on purpose — prices move, and anything I type is wrong by next month. The live numbers sit on the cards. What I'll give you is the thinking. A single node is genuinely cheap: a dev board, one sensor, a TP4056 and a cell, and you're measuring something real for less than a pub feed for two. The false economy is buying the cheapest of everything — reviewers across these listings report DOA units in multi-packs, sensors that need binning, and buck converters that wilt above an amp. The buy-once tier — the full homestead kit at about around A$500 all-in — is a genuine Bosch sensor instead of a clone, protected cells from a battery shop instead of mystery wrap, opto-isolated relays, and enough spares that a dud unit costs an afternoon, not a project.
| Tier | Rough total (AUD) | What changes |
|---|---|---|
| First node | ~A$180 | Dev board, breadboard kit, one BME280, charging module and holder — measure something real by the weekend. |
| Homestead | ≈A$500 | Adds the water and garden gear: tank sensor, soil probes, relays, pump, enclosures, glands and 12V-to-5V power. |
| The whole place | ≈A$1,000 | Adds metering (PZEM + CT clamp), the BMS bridge, the camera, a panel per node, displays and the extra sensors — plus an allowance for protected 18650 cells and consumables from local suppliers. |
Frequently asked questions
Can an ESP32 run off-grid without internet?
Yes — and that's the point of half these builds. An ESP32 serving its own web page, or reporting to a local Home Assistant box, works entirely on your own network. Cloud platforms like Blynk are the exception: no internet means no data. If connectivity is patchy at your place, choose the local-first builds and see our off-grid internet guide.
How do I power an ESP32 from solar?
The recipe across these projects: a small panel feeding a TP4056 charge module, which charges a single lithium cell that powers the board. Firmware does the real saving — deep sleep drops consumption to a whisper, so a modest panel keeps up through cloudy weeks. Size the panel with our solar calculator rather than guesswork.
Is ESPHome better than Blynk for off-grid?
For anything you depend on, yes. ESPHome with Home Assistant is local-first: dashboards, alerts and automations keep working when the internet drops, and your data stays on your property. Blynk is easier to start with, but it's cloud-based — and it has already retired one legacy platform, stranding older projects. Standalone web-server builds sit in between: dead simple, no history or alerts.
Which ESP32 project should a beginner start with?
The tank level sensor or the Bluetooth version of the battery monitor. Both are low-voltage only, need no mains work, and the monitor's wireless variant doesn't even need wiring. Breadboard first, get readings on screen, then worry about enclosures and soldering. Save the security camera and anything near mains for when the easy wins have taught you the workflow.
Can I legally monitor my own mains power with an ESP32?
The monitoring is fine — it's the wiring that's regulated. In Australia, the US and most of Europe, fixed mains work is licensed-electrician territory, on-grid or off. A clip-on current transformer is non-invasive, but connecting a meter module's voltage terminals to live conductors is licensed-electrician work. Have a licensed electrician install the mains side; the data side is all yours.
Why can't I find loose 18650 cells on Amazon?
Loose lithium cells are classed as dangerous goods for shipping, so Amazon in many regions essentially doesn't range them — what's listed is chargers, holders and the odd no-name pack you'd be mad to buy. Plan on a specialist battery retailer in your country for protected cells from a known brand; it's one part where the specialist shop beats the everything store.
Do all these ESP32 projects work together?
Yes — that's the endgame. Every build here speaks ESPHome or plain MQTT, so they all report into one Home Assistant box on your own network; an old laptop or mini PC is plenty. The sensors, meters, relays and the gate controller show up as devices on a single dashboard, where you can alert on them and wire them into automations without any cloud account. The LoRa intercom is the deliberate exception — it runs its own mesh precisely so it keeps working when everything else, including the internet, is down.
The one video to watch first
If you only watch one build before spending a cent, make it Open Green Energy's weather station video. It covers the full arc — sensors, the custom PCB, solar charging, the 3D-printed Stevenson screen, deep-sleep firmware — and it's honest about fiddly bits like regulator dropout that most tutorials skip. The power-management thinking transfers to every solar node you'll ever make. Watch: DIY Solar Powered WiFi Weather Station V3.0 — Open Green Energy.
The systemPutting it all together: one nervous system
The ten builds above — eleven with the bonus — aren't separate gadgets. They're one nervous system waiting to be wired together. The hub is a single Home Assistant box: an old laptop or mini PC sipping a few watts, sitting on your LAN, remembering everything. Everything else talks to it in the same two dialects — ESPHome where you can, plain MQTT where the project calls for it — so the tank level, the battery cells, the energy meter, the irrigation schedules, the gate and the driveway alert all turn up as devices on one dashboard, on your network, with no cloud in the path.
The power recipe repeats too, and deliberately. Weather station, tank sensor and camera all run the same little plant: a small panel, a TP4056 charge module, one 18650, and firmware that deep-sleeps between jobs. Learn it once and every outdoor node after that is a variation on a theme. Where a cable run exists, skip the panel entirely — a 12V DC bus off the property battery feeds the relay, pump and gate nodes happily, and our DC distribution panel guide shows the tidy way to break it out. Beyond WiFi range, the LoRa mesh is the backhaul: the intercom nodes already blanket the property in low-rate radio coverage, which is exactly what a distant sensor node needs to phone home.
Build order matters more than enthusiasm. Start with the BMS monitor — it watches the power system everything else depends on. Tank level second, because water is the thing that actually runs out. Add weather, metering and irrigation as the mood takes you, and tackle the gate and the intercom when the basics hum and you've flashed enough boards to be dangerous.
Do that, and the place stops being a collection of gadgets that each want their own app. It becomes one system — one you built, one you understand, and one that keeps working when the internet doesn't.
When you build each node, write its power budget and measured deep-sleep current on a label inside the box. Future-you, debugging at 9pm with a head torch on, will be extremely grateful to past-you.
Where to from here
Start with the problem that nags you most — the tank you keep climbing to check, the battery you can't see into — and build that node first. One working sensor teaches you flashing, wiring and power budgets; the second takes a quarter of the time. Before long the place reports in like a cattle station with a working radio.
Related reads: our off-grid solar monitoring guide maps the commercial gear these builds undercut, and the battery monitor analytics guide goes deeper on reading what your bank tells you. Building the bank itself? The DIY LiFePO4 build guide is the next step, and greenhouse climate control shows where garden sensors graduate to full automation. New to the power side? Start with building your first solar power system — then come back and automate it.