Canning Off-Grid in Tasmania: The Pressure Canner That Saved My Harvest
How a pressure canner rescued my Tassie harvest after a botched water bath. A practitioner's guide to safe home canning off-grid.

By Fiona Gallagher · permaculture designer · food, animals and preservation on 12 acres in Tassie
“After losing three jars of tomato sauce to seal failure last summer, I learned that a boiling water bath must last a full sixty minutes for every jar.”
I lose jars. I have lost jars to seal failure, to lids that never pulled down, to a tomato passata batch I hot-packed and walked away from certain it was fine. The cost of those lessons is the price of the pressure canner I now refuse to do without. This is what I actually do, what I've spent, and where I keep things simple on twelve acres in Tasmania.
The Failed Batch That Bought My Pressure Canner
It was a tomato passata season, the usual glut, and I ran it through a water bath because that's what I'd always done with tomatoes. I'd added lemon juice, thought I'd acidified it properly, and processed for what felt like the right time. Three weeks later I pulled a jar from the pantry and the lid was convex. Not sealed. The contents had shifted. That was the batch that cost me $145 in lost fruit and glass, roughly the price of a pressure canner bought to replace the jars that failed.
The pressure canner is now the only equipment I needed to save the rest of the crop. Tomato passata goes in at 115–121°C, the range steam under pressure reaches and the range a boiling water bath at 100°C cannot touch. The bacteria that cause botulism, Clostridium botulinum, form spores that survive boiling water. They do not survive a proper pressure-canning cycle. That is the whole reason the distinction matters.
Botulism doesn't care about your budget or how much fruit is riding on the batch. Understand the science, follow the recipe, and never cut corners on processing time or acidity.
The Four Checks Before I Seal a Jar
High-Acid Produce Goes in the Water Bath; Low-Acid Staples Need the Pressure Canner
Water bath canning processes jars in boiling water (100°C at sea level). It suits high-acid foods where the acidity alone prevents the growth of Clostridium botulinum. Water bath canning is simpler, requires less specialised equipment, and is the recommended starting point for beginners.
Pressure canning uses steam under pressure to reach temperatures of 115–121°C — temperatures necessary to destroy spores in low-acid foods. Without pressure canning, you cannot safely preserve vegetables, meats, stocks, or any food with pH above 4.6. This distinction is critical: incorrectly water bath canning low-acid foods can cause botulism, which is fatal.
What Goes in the Jar, the Fermenter, and the Dryer
- Water bath (acid foods, pH below 4.6): Fruit preserves, jams, marmalades, pickles, relishes, chutneys, tomato products (if acidified correctly), sauces with added vinegar or lemon juice.
- Pressure canning (low-acid foods, pH above 4.6): Vegetables (corn, beans, carrots, beetroot), meats, poultry, seafood, stocks, broths, soups, and any combination of ingredients containing meat or multiple vegetables.
How I Follow the Australian Standard for Home Preserves
Food-safety rules for home canning in Tasmania come down to FSANZ and state regulations. You can legally make jars for your own table without a licence, but selling them requires a commercial licence and compliance with different standards. A batch of tomato passata I canned here went bad and ended up in the bin, costing me a fortune to replace. That convinced me to spend $249 on a pressure canner, which saved the next batch.
Use equipment for its intended purpose, stick to tested recipes, and label every jar clearly.
Trust Science, Not Postcodes
Two references anchor my preserving: the USDA Complete Guide to Home Canning (free online) and the Ball Blue Book Guide to Preserving. American publications, but the food-safety science doesn't care about your postcode. I learnt this the hard way when a batch of tomato passata went off here in Tassie, and I ended up buying a pressure canner for $185 to save the rest of the crop.
Tomato products need proper acidification or pressure processing — skip those steps and you risk botulism. Family recipes are usually where things go wrong: they omit the acid adjustment, the processing time, or the pressure setting. Use only tested sources.
Building the Preserving Pantry
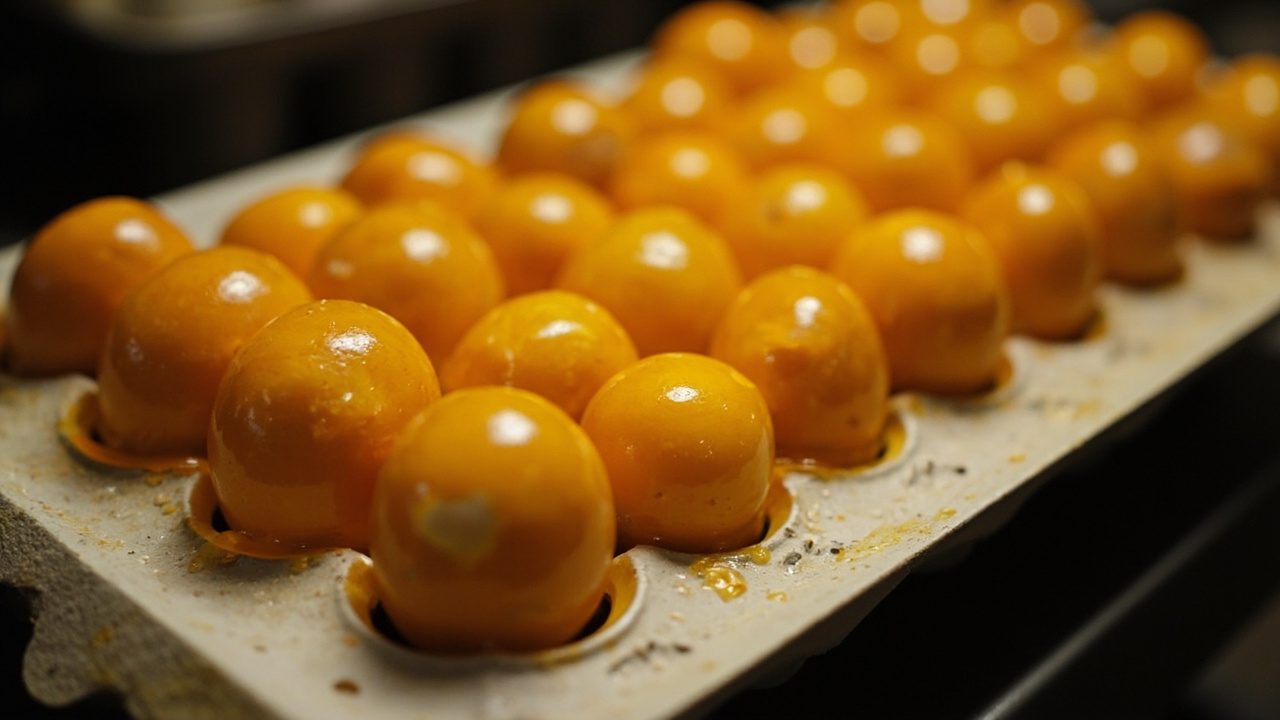
Equipment Needed
For water-bath canning, I use a big pot with a lid deep enough that the jars sit at least 10 cm below the rim, with another 2–3 cm of water covering them. A rack or trivet keeps the jars off the bottom — skip it and you'll crack glass before the water even comes to the boil. I run glass jars until they chip; only the lids get swapped out each batch. The funnel and bubble-remover/headspace tool usually come as a set, and that set costs about AUD $5–$15. The jar lifter's a separate buy — decent ones run AUD $10–$20, and worth every cent once you're pulling hot jars out.
Choosing the Right Canning Equipment
On my twelve acres in Tassie, I run food preservation, animals and canning with the same directness as keeping the pigs fed. Pressure canning needs a pressure canner, not a pressure cooker, though some pressure cookers can do the job if the manufacturer specs it. A pressure canner is taller than a standard pressure cooker so pint or litre jars stand upright. I learnt that the costly way: a failed batch of tomato passata in Tassie cost me $450 when my old rig gave out. A $320 pressure canner, bought specifically for that purpose, pulled the rest of that harvest through.
Step-by-Step Process: Water Bath Canning
- Sterilise jars by boiling for 10 minutes or running through a hot dishwasher cycle. Keep hot until filled.
- Prepare your recipe. Fill jars using a funnel, leaving correct headspace (usually 1–2 cm for jams, 2 cm for pickles).
- Remove air bubbles with a bubble remover tool. Wipe the jar rim clean with a damp cloth — any residue compromises the seal.
- Apply lids (the flat disc) and screw on bands to "fingertip tightness" (tight enough to seal, not so tight that air cannot escape).
- Submerge jars in boiling water by 2–3 cm, bring back to a rolling boil, and process for the time specified in your recipe.
- Remove jars and leave undisturbed on a folded towel for 24 hours. Check seals (concave lid = sealed). Label and store any sealed jars. Reprocess any unsealed jars within 24 hours.
Step-by-Step Process: Pressure Canning
- Follow manufacturer instructions for your specific canner. General process:
- Add 3 cm of water to the canner.
- Place filled, lidded jars on the rack inside the canner.
- Close and heat on high until steam vents steadily.
- Place weighted gauge or petcock, and build pressure to the level specified in your recipe (typically 10–15 PSI depending on altitude).
- Process for the specified time.
- Allow pressure to drop naturally to zero before opening.
- Remove jars as per water bath canning.
Common Mistakes
- Incorrect headspace — too little and the lid won't seal; too much and food may be above the waterline during processing. Use a headspace ruler or the measurements on your funnel.
- Impatience with pressure release — never force-open a pressure canner before pressure has dropped to zero. Forcing it can cause jars to explode inside the unit.
- Sticking to outdated recipes — family recipes may not have been designed for modern food safety standards. Use tested recipes.
- Reusing single-use lids — the flat rubberised disc lid creates the seal and cannot be reliably reused. The metal band can be reused; the flat lid cannot.
- Ignoring altitude adjustments — higher altitudes require longer processing times or higher pressure. If you're above 600 m in the Australian Alps or QLD highlands, consult altitude-adjusted processing times.
The Real Cost of Jars, Lids, and Fuel
Glass jars for preserving our harvest run between AUD $2 and $10 each, depending on size and brand. You don't need fancy gear; the economy unbranded jars from kitchen supply stores do the job fine. We stick with Bormioli Rocco and Fido, both reliable European brands you'll find in Australia, and Bernardin from Canada is also widely stocked here. Buy a few each season as you can afford them, and you'll have a working collection built up within a year.
The flat two-piece lids are the consumable I actually budget for. They run AUD $8 to $15 for a pack of 12, and I get through a few packs across a preserving season.
I've put pressure canners through their paces on the farm over the years. Budget AUD $150–$400 for a decent unit. The Kuhn Rikon Duroclav (AUD $280–$380) and the Prestige (AUD $150–$250) are the two I've trusted on the farm. An Instant Pot will switch to pressure-canning mode, but a dedicated canner handles the job more reliably.
My water bath and pressure canning starter kit runs AUD $300–$600, jars and canner included. It paid for itself the year I hot-packed tomato passata in Tassie and watched every jar start to bulge. Lost the lot — a whole winter's worth of tomatoes. The $220 pressure canner was the only thing between me and a kitchen full of blown lids. Could've been botulism. Probably would have been. That canner earned its keep in one afternoon.
The Canning Kit I Reach For
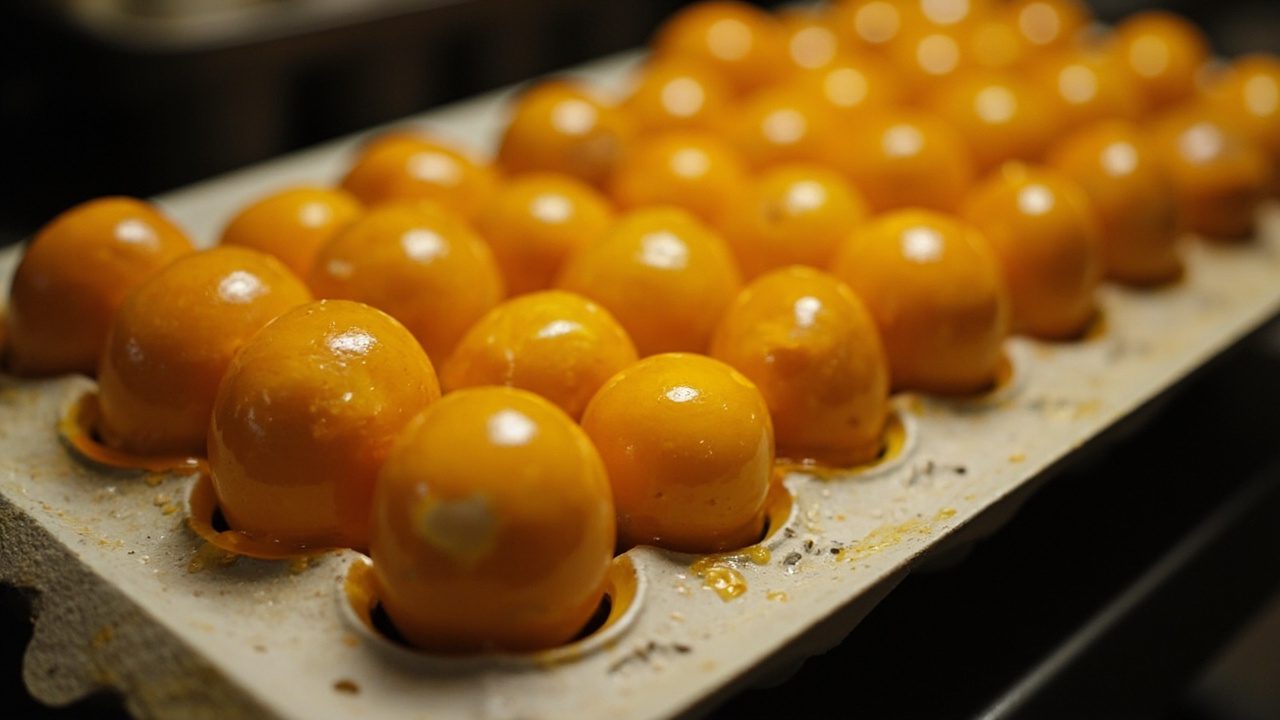
The kit on the shelf is the kit I actually use, not a wishlist. Everything below has earned its spot by surviving multiple Tassie preserving seasons and pulling its weight when the pressure is on.
| Item | Price Range (AUD) | Notes |
|---|---|---|
| Kuhn Rikon Duroclav Pressure Canner 7.5L | $280–$380 | Swiss-made, built to last generations, suitable for all jar sizes. The pressure canner I trust on the farm. |
| Bernardin Glass Canning Jars (pack of 6, various sizes) | $18–$35 | Reliable, durable, widely available in Australian kitchen and hardware stores. |
| Masontops Jar Lifters | $18–$25 | Heavy-duty silicone-coated tongs designed for secure, stable jar handling. Essential when moving hot jars. |
| Two-Piece Canning Lid Sets (pack of 12) | $8–$15 | BPA-free, rubberised seals. Always use new flat lids; bands are reusable. |
| Prep Naturals Jar Funnel with Bubble Remover Set | $12–$18 | Includes funnel, bubble remover, and headspace measuring tool. Everything needed to fill jars cleanly and accurately. |
Conclusion
Canning is the only way I know to turn the summer glut into a pantry that keeps us fed through a Tasmanian winter. The learning curve bites harder than other methods, but you need to know your acidity, pressure, and processing times or you end up with a failed batch of tomato passata. A pressure-canned jar of homemade chicken stock, a water-bathed jar of pickled nasturtium seeds, a jar of tomato passata from our own vines are the practical rewards of self-sufficiency on these twelve acres.
Botulism isn't negotiable. A jar that's leaking, bulging, frothy, discoloured, or off-smelling goes straight in the bin. Don't taste it, don't feed it to the animals, don't compost it. Boil it all before disposal to destroy any toxin still hanging about. If a recipe's safety for pressure canning is in question, don't chance it.
Invest in quality equipment, stick to tested recipes, and build your skills season by season.
Worth a watch: Off-grid Living: Pressure Cooking and Canning Traditional Tomato Sauce, Easy Food Preservation · The Freedom Farm
Frequently asked questions
Is canning the best way to preserve food off-grid?
Canning's the only method I trust to seal the harvest from our twelve acres in Tassie. I've had years of safe, tasty preserves doing it this way. Anything past its use goes straight to the chooks — no second chances.
How do I tell if my home canned food has gone bad?
Bulging lids or a foul smell from a sealed jar are your warning signs. I don't taste-test dodgy jars — I ring our local food safety pro and tip the lot. The section at the end of the article spells out exactly what to watch for.
What does a home canning setup actually cost in Australia?
The canner itself set me back $420, and that's before jars, lids and fuel. The gear is a one-off, but the consumables add up every season. I run through the real running costs in the article so you're not caught out.
What gear do I need to start canning at home?
I keep a dedicated canning kit I reach for every time, plus a proper preserving pantry for the jars and lids. Off-grid you want everything in one spot so you're not chasing a lid lifter at midnight. The full kit list is in the article.
Disclosure: some links in this article are affiliate links. If you buy through them we may earn a small commission at no extra cost to you.