
Rammed earth is one of the oldest wall systems still in use, and it suits off-grid Australian building remarkably well — it relies on raw materials, makes the most of solar gain with thermal mass, and pairs cleanly with rooftop PV and stand-alone power. This is a practical guide to how the walls actually go together, the dimensions you'll be working to, and the engineering and council checkpoints that decide whether you DIY or hire a specialist.
How Rammed Earth Walls Actually Work
Modern rammed earth walls are built by ramming a damp mixture of gravel, sand, silt and a small amount of clay into place between flat formwork panels. Ramming is done with a mechanical ram rather than the traditional wooden pole. Stabilised rammed earth adds a small amount of cement — typically 5–10% — to lift strength and durability over plain earth mix.
Thickness sets the brief. Most modern rammed earth walls in Australia are around 300mm thick for external walls, with 300mm or 200mm options for internal walls. The traditional name for the technique is pisé de terre (French for rammed earth), where walls were traditionally at least 500mm thick. The 300mm wall is the modern workhorse.
The practical upshot: rammed earth is very strong in compression and can be used for multistorey loadbearing construction. It gives you excellent thermal mass — meaning it stores heat during the day and releases it overnight, smoothing out the diurnal swing that wrecks off-grid battery cycling — but it provides limited insulation on its own. Plan your wall assembly and roof/ceiling insulation as a package, not separately.
Standard Specs and Dimensions
Below is the working set of dimensions and detailing rules drawn from the Rammed Earth Enterprises technical notes for a 300mm wall. If you're building to these tolerances, your builder's drawings and your engineer's calcs will line up.
| Element | Specification |
|---|---|
| Standard wall thickness | 300mm |
| Minimum thickness, load-bearing wall | 250mm |
| Minimum thickness, non-load-bearing wall | 200mm |
| Vertical design increments | 300mm (e.g., sill, head, top-of-wall heights) |
| Standard corner chamfer | 45° / 50mm at wall ends, openings and sills |
| Maximum span between control/articulation joints | 4,500mm |
| T-Bar lintel horizontal width (in a 300mm wall) | Not to exceed 200mm |
| Exposed slab edge above paving/finished ground level | 75mm |
Two detail points that catch people out:
- The 300mm vertical increments apply from the start of design — window sills, door heads, window heads, ceiling height. If you don't design in 300mm increments, you'll be cutting formwork non-standard on every pour.
- The 75mm exposed slab edge above finished paving or garden level is non-negotiable. It's there to protect the wall from rising damp and moisture ingress. Burying that edge is the fastest way to undermine a long-lasting earth wall.
Substrate, Damp-Proofing and Slab
Slab and footing design is treated as articulated full masonry under NCC 3.2.5, and no slab rebate is required. Translation: your slab edge carries the wall directly, the same way it carries a brick veneer.
Damp-proofing starts with Bondall Silasec slurry, which is brushed onto the slab where the wall is to be built, prior to the first earth compaction layer. The slurry both seals the damp-proof course and bonds the first lift of rammed earth to the slab.
Where the wall meets the ground, the wall contractor will want the paving or garden level set so there's a clean 75mm of exposed slab above the finished surface. Coordinate that detail with your landscaper early — backfilling against an earth wall is a known failure mode.
The mix itself incorporates a waterproofing additive combined with the raw materials during mixing, which lifts the wall's resistance to water well above what raw earth can deliver on its own.
Structural Rules Inside the Wall
A rammed earth wall is not just decorative mass. A handful of structural details have to be coordinated before ramming starts, because you don't get a second chance to retrofit them.
Services. Electrical conduits and wall boxes are rammed into the wall at locations where power-points and light switches are required, and conduits are placed for plumbing pipes where needed. Mark these out on the formwork before each lift.
Lintels. Engineered T-bar lintels are placed over door or window openings during ramming to support the earth above. In a 300mm thick wall, the horizontal of the T-bar lintel should not exceed 200mm in width. Spans need to be checked against the lintel schedule — don't assume "T-bar over opening" is enough; confirm the profile.
Roof tie-down. In the top 600mm of the wall, metal rods are inserted during compacting to provide a tie-down system for a timber top plate that secures the roofing structure. This is the cyclone-country detail. Get the embedment length, grade and spacing signed off before you start ramming, not after.
Structural columns. Placement of structural columns should be avoided in rammed earth walls where possible, because walls tend to develop fractures where columns are embedded. Run the load path through the earth wall and keep the columns in the framing where they belong.
Articulation Joints and Crack Control
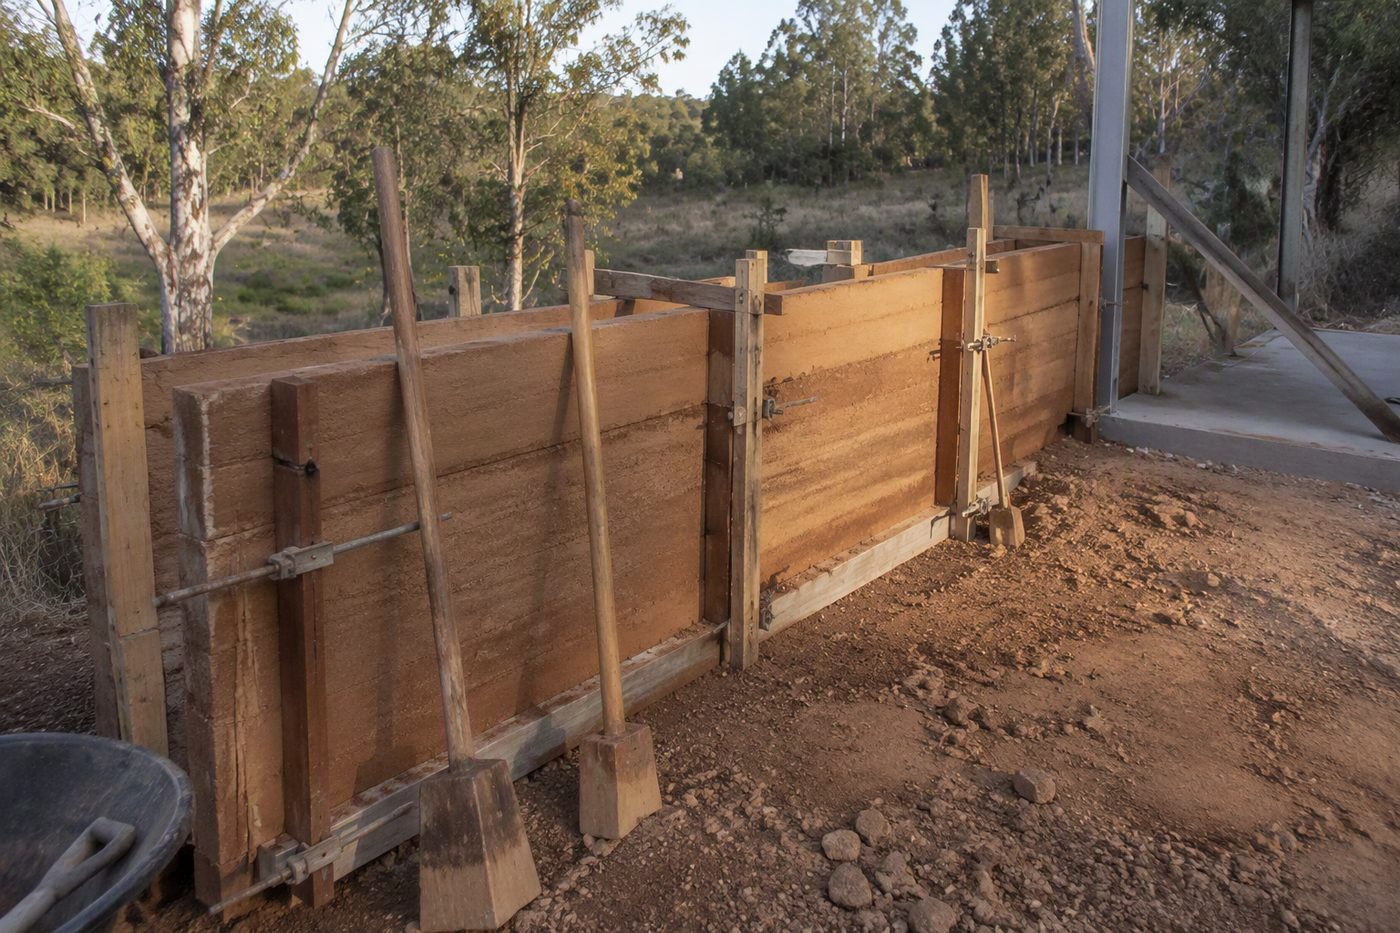
Earth moves with moisture and temperature. The maximum span between control/articulation joints is 4,500mm. A 300mm wall longer than that without a joint is asking for an uncontrolled crack. Joints also need to be coordinated with openings — a long run of wall between a window and a door is another candidate for a joint, not a hero span.
Chamfer details help too. The standard corner chamfer is 45°/50mm at wall ends, window openings, door openings, and windowsills. The chamfer isn't decoration; it's a stress-relief geometry that prevents chipping at hard corners.
Services, Skirtings and Finishes
Because conduits and wall boxes are buried in the wall, there's no chasing, no surface-mounted conduit and no plastic pattress on the finished face. Plan your power-point and light-switch layout with the electrical contractor before ramming starts, not after.
Internally, skirtings are fixed using construction adhesive and 40mm fixing brads — the standard painter's trick, but the substrate is earth, not plasterboard, so don't expect a nail gun to substitute for glue. Cornice is taped prior to installation, and extreme care is required from plasterers to ensure cornice cement is not transferred to the visible wall area. Rammed earth walls stain; cement smear doesn't wipe off later.
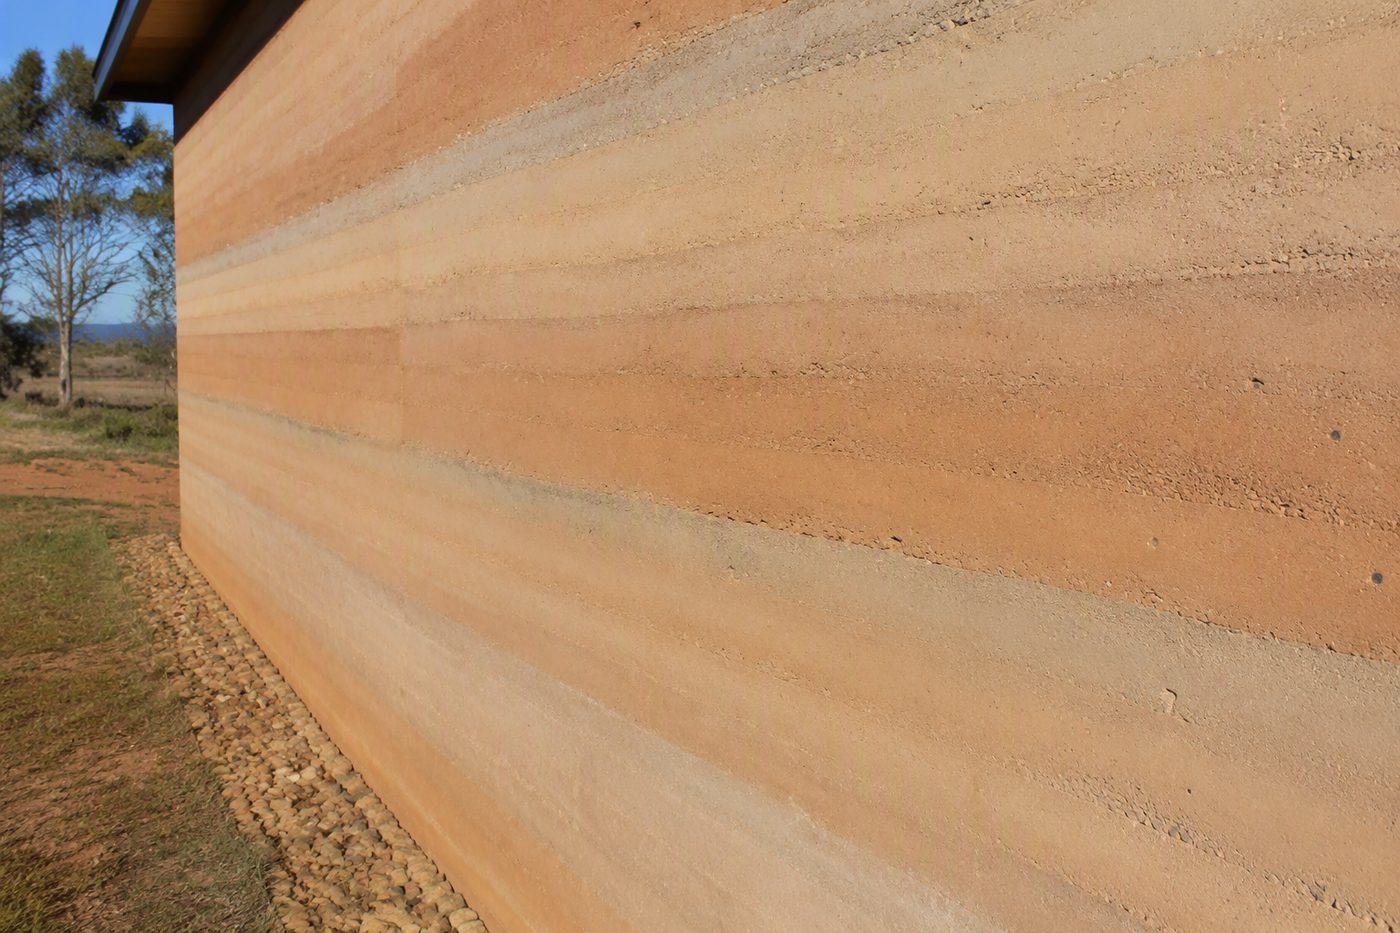
Externally, a clear solvent-based acrylic polymer sealer is applied to all rammed earth walls as the finish coat. That sealer is the wall's weather skin and it needs to be maintained on a cycle, not treated as a one-off.
Off-Grid Integration Notes
A few off-grid specific points worth weighing at design stage:
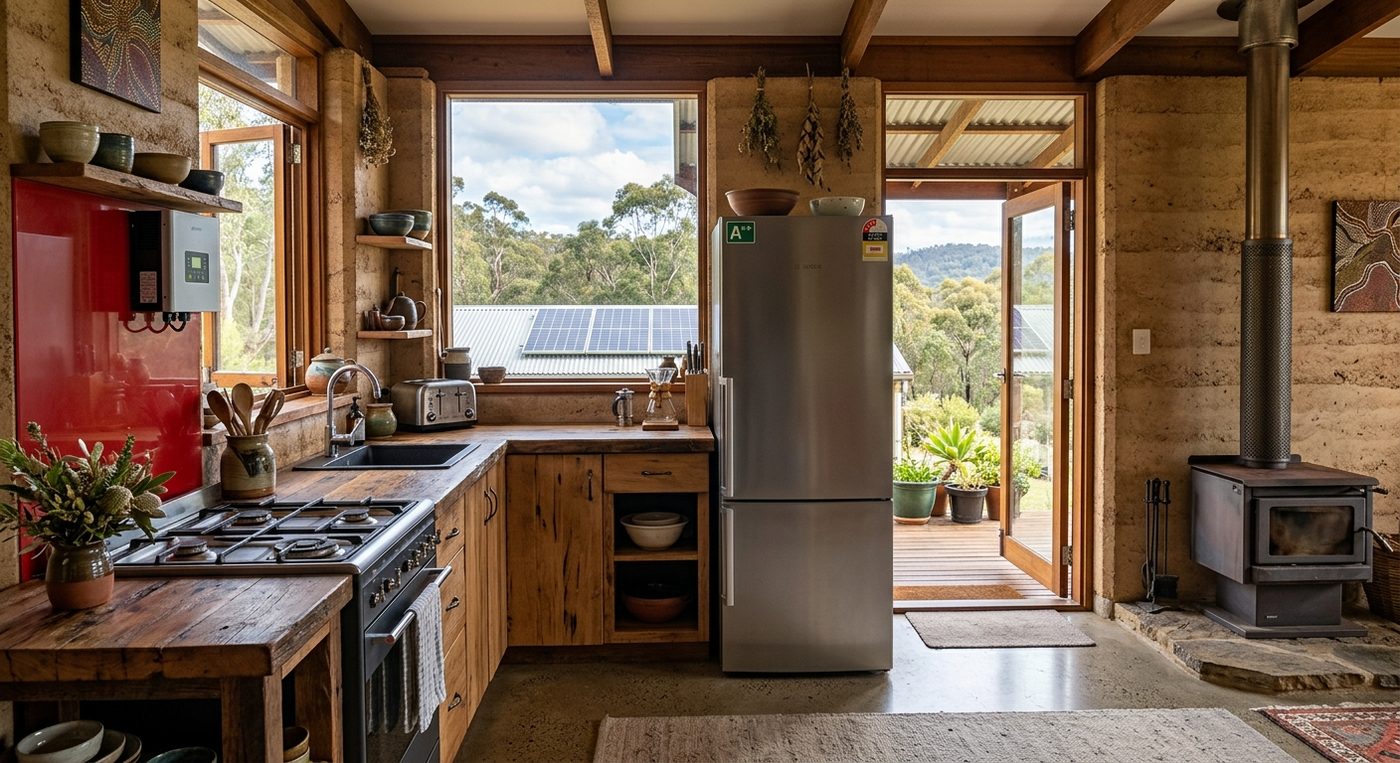
- Thermal mass vs. insulation. Rammed earth provides excellent thermal mass but limited insulation. In Central Queensland's climate, that pairing is useful for daytime load shifting, but you still need an insulated roof and a thermal break. Off-grid battery economics reward load shifting more than any other single design choice.
- Formwork power. Ramming requires a mechanical ram — pneumatic or electric. On a stand-alone power system, you'll be running a generator for formwork days. Plan that fuel cost into the build timeline.
- Curing and sealing. The waterproofing additive and acrylic sealer are the wall's moisture defence. Don't skip cure times to chase the next trade; it's a false economy on an earth wall.
Soil Testing — Before Anything Else
The single biggest determinant of whether a rammed earth wall works on your block is the soil itself. Get a proctor compaction test, a particle-size distribution (sieve + hydrometer) and — for stabilised earth — a cement-stabilised cube test on your actual mix. AIB (earth-wall) builders will usually coordinate this for you; if you're owner-building, a geotech lab will run the suite for a few hundred dollars.
If the soil's wrong, the fix isn't more cement — it's importing a known-good mix, redesigning proportions, or choosing a different wall system. Discovering this after you've poured a slab is the expensive lesson.
Council, NCC and Engineering
Even off-grid, you still build under the National Construction Code and your local council's planning scheme. Two checkpoints that routinely trip up rammed earth projects:
1. Articulated masonry compliance. Slabs and footings are designed for articulated full masonry as per NCC 3.2.5, and no slab rebate is required. Your engineer will want this on the drawings explicitly.
2. Site-specific engineering. Wall heights, openings, articulation joint locations, lintels, tie-downs and damp-proofing all need an engineer's sign-off in writing. Without it, the private certifier won't issue the Form 21.
Rammed Earth Enterprises has been specialising in rammed earth wall construction since 1992, which is the kind of track record your certifier and insurer will recognise. Use a builder who can show you prior certified work.
FAQ
How thick is a standard rammed earth wall in Australia?
300mm is the standard for external walls, with 300mm or 200mm options for internal walls. The load-bearing minimum is 250mm; the non-load-bearing minimum is 200mm.
Do I need to put insulation in a rammed earth wall?
Yes. Rammed earth provides excellent thermal mass but limited insulation. Use the roof/ceiling assembly for insulation and let the walls do thermal mass work. In hot climates, exterior insulation over the wall can be added at design stage if your builder is set up for it.
Can rammed earth be load-bearing for two storeys?
Yes — rammed earth is very strong in compression and is used for multistorey loadbearing construction. The geometry, lintel schedule, tie-down and articulation joint layout must be engineer-designed.
What's the maximum distance between control joints?
4,500mm. Anything longer is asking for an uncontrolled crack.
How is electrical and plumbing handled inside the wall?
Electrical conduits and wall boxes are rammed into the wall at locations where power-points and light switches are required, and conduits are placed for plumbing pipes where needed. Layout must be finalised before each lift.
Do I need a council/building permit?
Yes. Even fully off-grid dwellings in Australia need building approval (private certifier or council) and a Form 21 occupancy approval before habitation.
When to Call a Licensed Professional
Hand the job to a licensed builder, engineer and/or private certifier when any of the following apply:
- The wall is load-bearing, multi-storey, or part of a cyclone-region roof tie-down.
- The lintel schedule, control/articulation joint layout, or tie-down detailing hasn't been engineered.
- You're relying on stabilised earth (cement content) and the mix hasn't been verified by a geotech or NATA-lab cube test.
- The site is reactive (highly plastic) clay, fill, or has a known high water table — all of which change the slab and damp-proofing design.
- Council or your building certifier flags the project as notifiable (it almost always will be).
- You want insurance cover on the finished structure — most insurers won't accept unengineered earth walls.
The Practical Bottom Line
Rammed earth rewards discipline. Build the wall on engineered articulated-masonry footings, get the soil mix signed off before slab, set everything out in 300mm vertical increments, ram services and tie-downs into the wall as you go, keep that 75mm slab edge clear, joint at no more than 4,500mm centres, and finish with a solvent-based acrylic sealer on a maintenance cycle. Do that, and you'll have a wall that does the off-grid heavy lifting for the next half-century — slowly, silently, and on sunshine.
Sources
- https://www.rammedearthenterprises.com.au/rammed-earth-information-for-professionals/
- https://www.yourhome.gov.au/materials/rammed-earth
Worth a watch: Off The Grid Down Under Australia Rammed Earth Organic Garden · Selym The School of Un-Learning