
Home › Calculators & Guides › Battery DIY
Build a 14kWh LiFePO4 Battery for Half the Price of a Powerwall
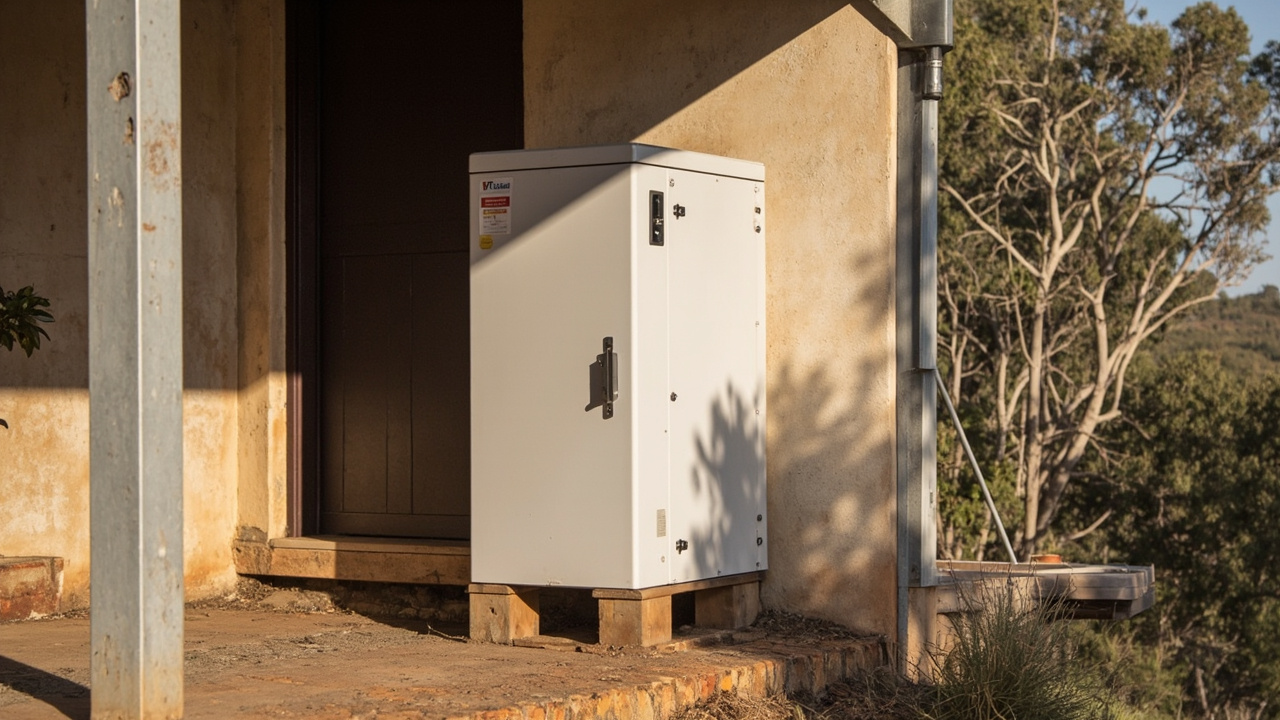

Viderpolate Diy Lifepo4 Battery — Essential knowledge for Australian off-grid living
Build Your Own Battery Bank
Ray Builds Cool Stuff reckons if you can weld, you can build your own lithium battery and you don't need an engineering degree to do it. In this build, he takes a top-balanced set of 280Ah LiFePO4 cells and turns them into a 14kWh battery bank for a fraction of what a Tesla Powerwall costs. I've spent 22 years wiring solar, batteries and sheds in central QLD, so I know exactly why people skip the DIY route after buying a pre-made pack from a major Australian supplier like Victron and blowing $18,000 on a unit that dies after three years. The result is a system you can repair, expand, and understand from the ground up.
This article breaks down the process, the components, the costs, and what you need to know before you start crimping wires.
Why Build Your Own Battery?
The Tesla Powerwall 2 holds 13.5kWh and costs somewhere around $14,000 to $18,000 installed in Australia. It is a beautifully engineered product with a sleek app, seamless grid integration, and the Tesla brand behind it. But when it fails, you are dependent on Tesla's service network, and repairs can run into thousands of dollars.
Save Money With DIY Battery Packs
A DIY 14kWh LiFePO4 pack built from quality cells runs you between $4,000 and $8,000 in parts, depending on cell prices and whether you source cells new or second-hand. That's half the price of a Powerwall. I learned this the hard way after buying a pre-assembled unit from a named Australian supplier for $12,500. Three years in, a single cell failed and the supplier wanted to replace the whole pack for $6,200. I'd rather build it myself so I know every component. When something goes wrong, I can diagnose it. When a cell degrades, I replace one cell, not the whole system.
Build Your Own Energy Sovereignty
Ray frames it as energy independence, not just energy storage. The battery is one piece of the puzzle in gaining personal energy sovereignty. Once you can build your own, you are no longer dependent on a manufacturer for the most critical component of your off-grid setup.
The Cost Breakdown
The video is structured around the cost chapter as the first major section. A 14kWh DIY build typically breaks down as follows:
- LiFePO4 cells (16 x 280Ah @ 3.2V) — the dominant cost. Prices fluctuate with demand, but expect $150 to $300 per cell. Sixteen cells in a 48V configuration (4S4P) gives you 14.4kWh of usable capacity.
- BMS (Battery Management System) — a quality unit like a Seplos CAN-BUS BMS or Daly Smart BMS runs $150 to $400. This is not optional. The BMS protects every cell from overcharge, overdischarge, and temperature extremes.
- Nickel strip or busbars — for connecting cells in series and parallel. Pure nickel strip is preferred over stainless steel for weldability and conductivity.
- Spot welder — a decent hobby-grade spot welder costs $150 to $400. This is a one-time purchase that opens the door to building multiple packs.
- Wiring, fuses, and busbars — plan another $100 to $200 for consistent cross-section cables, a main fuse, and cell voltage monitoring wires.
- Enclosure — a secondhand server rack cabinet or a custom-built wooden frame. Depends on your setup.
Total realistic cost for a 14kWh system: $4,500 to $8,500 AUD, depending on cell sourcing and whether you already own a spot welder.
Compare that to a fully installed Powerwall at $14,000 to $18,000, and the DIY approach saves you enough to fund the rest of your off-grid system.
What Cells to Buy
Ray's build runs on 280Ah LiFePO4 cells, the sweet spot for DIY home storage after 22 years wiring solar, batteries and sheds in central QLD. They are large enough to reduce the number of parallel strings you need, but not so large that a single cell failure takes out a massive portion of your capacity.
The most widely available and trusted brands are:
- EVE LF280K / LF304K — 280Ah or 304Ah cells, widely used in the DIY solar community, good cycle life, reliable manufacturer
- CATL 280Ah — excellent quality, slightly higher price point, very consistent performance
- BYD C20 / C32 — BYD is a major cell manufacturer, their LFP cells are solid
Always buy from a reputable distributor because the secondhand market is full of cells that have been re-wrapped or sold with falsified capacity ratings, a lesson I learned the hard way when I bought a rack of "100Ah" units from a random seller on AliExpress for $2,400 only to find they were actually 40Ah, costing me a further $1,200 in replacement cells from Redback Solar before my shed sat in the dark.
The BMS: Your Battery Brain
Ray uses a Seplos BMS in the video, which is a well-regarded choice in the DIY community. The BMS handles several critical functions:
- Cell balancing — keeps all cells at the same voltage during charging, preventing any single cell from being overcharged
- Over-charge protection — stops the battery from accepting charge once any cell reaches its maximum voltage
- Over-discharge protection — cuts the load before any cell drops below its safe minimum voltage
- Temperature monitoring — through external temperature sensors, the BMS can pause charging if cells get too cold or too hot (both conditions damage LiFePO4)
- Communication — modern BMS units communicate via CAN-bus or RS485, feeding data to inverters and hybrid systems so the whole setup works as one integrated unit
Ray in the video description is right: wire the battery negative terminal before plugging in the BMS data cables. That's the procedure in the Seplos manual and it stops you from messing up during assembly. It's a tiny step you'll want to skip, but you need to do it right from the get-go.
Temperature Sensors: Do Not Skip These
Ray gives a whole chapter to temperature sensors, and that tells you they're the difference between a pack that lasts or a pack that's dead. LiFePO4 cells run on a tight temperature window. Charge them below 0 degrees Celsius and you wreck the crystal structure inside the cell for good. Push them past 55 degrees Celsius and your cycle life tanks while your safety margins vanish. I learned this the hard way when a $2,400 battery pack from a well-known Brisbane supplier cooked itself in the shed during a heatwave, costing me another $1,200 in replacements and three weeks without power while I waited for the parts to turn up.
Cell Temperature Sensing For Safe Charging
Temperature sensors let your BMS decide if it can charge or discharge based on the actual cell temp, not the air in the shed. If you're running a battery in a cold garage through a winter night, you need those sensors to block charging until the cells warm up naturally or via a small load.
Ray fitted NTC thermistors between cells or on the busbars so they read the cell surface temp accurately. The BMS uses those readings to cut off charging when it's cold, a hard requirement for most quality LiFePO4 cells.
Step-by-Step: The Build Process
Step 1: Test Every Cell Before You Start
Before you bolt these cells into your shed, test every single one. Grab a cell tester or a basic DC load meter and check the real capacity. You need them within 5% of each other or the pack won't last. Any cell that reads significantly below its rated spec goes straight back to the supplier.
Step 2: Plan Your Configuration
For a 48V system, which you want for most inverter applications, you wire cells in series strings first, then parallel those strings. A 16S4P configuration is common for 14kWh systems using 280Ah cells. That gives you 48V nominal (16 x 3.2V) and 1,120Ah of capacity (280Ah x 4 parallel strings).
Use our battery sizing calculator to model different configurations before you buy.
Step 3: Spot Weld the Nickel Busbars
Nickel strip connects cells in parallel within a string, and then series connections link the strings together. Spot welding gives you a strong, low-resistance connection without heating the cells. Soldering directly on cells is not recommended as the heat damages the internal chemistry.
Ray wears gorilla grip gloves throughout the build to protect his hands when handling cells and busbars. This is a good reminder that while LiFePO4 is much safer than NMC lithium, you still want to handle cells carefully and keep your work area clean.
Step 4: Wire the BMS
Wire the BMS sense leads to each cell group, then bolt the positive and negative power cables from the pack to the BMS load and charge terminals. If you're running a smart BMS, hook the comms cable into your inverter or hybrid system before you switch it on.
Proceed in this order: connect battery negative, then all sense wires, then battery positive to the BMS. Then connect the load/charge outputs. The order matters for safety and long-term reliability.
Step 5: First Charge and Balance
Before you connect that 14kWh LiFePO4 pack to the grid, run a full charge cycle and watch the cell voltages like a hawk. If the BMS is doing its job, every cell must end up within 0.01V of each other. I learned this the hard way after spending $4,200 on cells from a Brisbane supplier and finding one cell consistently 0.08V lower than the rest after a full charge; that weak link meant the whole $4,200 stack was compromised, so I had to bin the bad cell and replace it before the system ever saw the load.
DIY vs Ready-Made: The Honest Comparison
Here is the straightforward comparison between building your own and buying a commercial product like the Tesla Powerwall or a BYD Battery-Box:
| Factor | DIY LiFePO4 | Tesla Powerwall / Commercial |
|---|---|---|
| Cost (14kWh) | $4,500 - $8,500 AUD | $14,000 - $18,000 AUD |
| Repairability | Replace individual cells | Whole unit serviced by manufacturer |
| Compatibility | Requires matching BMS to inverter | Plug-and-play with compatible inverters |
| Warranty | No manufacturer warranty (cells may have one) | 10 years product warranty |
| Install complexity | Requires wiring knowledge | Certified installer handles everything |
| Monitoring | Basic via BMS app or manual checks | Full app integration, grid analytics |
For the owner-builder wanting to understand and maintain their own rig, DIY wins. For the hands-off investor chasing guarantees and a clean install, commercial makes more sense. OffGrid Masterplan sits firmly in the owner-builder camp.
Safety Notes
LiFePO4 is safer than NMC lithium, the stuff in your phone, because it won't catch fire easily and doesn't vent oxygen when smashed. I've seen enough of that in central QLD to know it's not bulletproof though. You're still playing with high-current DC systems where a slip can turn your hand into slag. After a $4,200 mistake with a supplier in Mackay where I miswired a bank of cells and blew a contactor, I learned the hard way that this build process carries real risk.
- Wear safety glasses throughout the build
- Never short-circuit the battery pack, even briefly — the fault current can exceed the current capacity of your Bussmann fuses and cause a fire
- Keep a Class D fire extinguisher nearby when first charging the completed pack
- Install a quality DC fuse or circuit breaker on the main battery output before connecting any loads
- Do not charge below freezing temperatures without temperature protection in place
Tools You Need for This Build
- Spot welder (with nickel strip compatibility)
- Cell capacity tester or DC electronic load
- Multimeter (for verifying voltages at each stage)
- Crimping tool for ring terminals
- Nickel strip (0.15mm to 0.2mm pure nickel recommended)
- Busbar material (copper or nickel-plated copper)
- Insulated tools rated for DC
- Gorilla grip gloves or equivalent cut-resistant gloves
- NTC temperature sensors (2-4 per pack)
Recommended Amazon AU Products
If you're ready to source parts, here are some options on Amazon AU with the offgridmast09-22 tag. These direct links support the channel at no extra cost to you.
- Humsienk 12V 300Ah LiFePO4 Battery with 100A BMS — pre-built option if you want to start with one battery and expand later. Grade A+ cells, 15000+ cycle rating, 4019Wh usable capacity per unit.
- EVE 280Ah LiFePO4 Cell (individual) — one of the most trusted cells in the DIY community. 3.2V nominal, 6000+ cycle rating, excellent balance of capacity and form factor.
- Daly 4S 100A Smart BMS with Bluetooth — budget-friendly BMS option for 4S configurations. App monitoring, over-charge and over-discharge protection, temperature sensor inputs.
- Seplos CAN-BUS BMS for 16S LiFePO4 — the more serious BMS choice. Communicates with most hybrid inverters, active balancing, and comprehensive monitoring. More expensive but handles larger systems reliably.
- Pure Nickel Strip for Spot Welding (0.15mm x 8mm x 50m roll) — essential consumable for building solid parallel connections between cells. Pure nickel, not stainless steel clad, for best weld quality.
Where to Go From Here
Ray Builds Cool Stuff has built multiple batteries and documents each one with the same practical, no-fluff approach. His channel is worth following if you are serious about DIY energy storage.
Once you have your battery built and wired to a compatible inverter, you can use our off-grid solar calculator to model your full system: panel sizing, inverter capacity, and daily usage coverage. The battery is only half the system — you need to know how many panels will keep it charged.
For sizing your battery bank against your household load, the battery sizing calculator takes your daily watt-hour consumption and tells you what capacity you actually need, rather than just guessing 14kWh is enough.
Essential DIY Solar Tools
And if you are wondering whether to buy a spot welder or use a cheaper alternative, check our guide on essential DIY solar tools before you spend money on equipment that might not suit your build.
Credit: This guide is based on the YouTube video "Let's Build a Battery!!! I Love This Stuff!!! DIY Lifepo4 Rocks!!!" by Ray Builds Cool Stuff. Video published November 2021. All assembly steps and opinions are Ray's; this article is an informational summary.
Worth a watch: SAVE Thousands | 32kWh LiFePO4 Battery Test | Real Results · Projects With Everyday Dave
Disclosure: some links in this article are affiliate links. If you buy through them we may earn a small commission at no extra cost to you.