
By Jenny Mills · rural nurse & homesteader · health, safety, law and the paperwork of going bush
“After my third knife snapped on a frozen log at 2am, I learned that a dedicated sharpening station is a safety necessity, not a luxury.”
A sharp edge saves your dinner, your tools, and your skin. Last winter, while cleaning up a spotted-gum brace for the cattle yards, a blunt 25 mm firmer chisel I’d bought second-hand for $8 skated off a dry knot, opened my thumb down to the tendon, and fired the rusted blade into a dogwood thicket. The search took half an hour in 40°C heat. Back at the house, I
By Jenny Mills · rural nurse & homesteader · health, safety, law and the paperwork of going bush
“After my third knife snapped on a frozen log at 2am, I learned that a dedicated sharpening station is a safety necessity, not a luxury.”
A sharpening station on the homestead isn't optional. Food prep, tool maintenance, safety — every job relies on a keen edge. I learnt that lesson the hard way when a dull chainsaw chain snapped on a gum tree near the creek, sending a splintered blade skittering into the undergrowth. The cost: three hours of work, and a trip to the local clinic for a stitched gash. The setups covered here suit Australian conditions, from budget rigs to professional kits.
Off-grid in the Top End brings fine red bulldust that mixes with tool oil and turns the pivot joints of secateurs into grinding paste. In the wet season, humidity sits above 85% for weeks and a freshly ground mower blade will show surface rust overnight if left bare on the bench. Spare files and spare chainsaw loops are a four‑day wait and a freight surcharge, so I can’t run edges into the ground. The station lives in the open‑front tractor shed.
A salvaged hardwood plank, 1400 mm long and 45 mm thick, is bolted to two jarrah stumps cross‑braced with 90×45 MGP10 offcuts. A cast‑iron Dawn 4‑inch offset vice cost $45 at a clearing sale; I bedded it in epoxy and fettled the jaws true with a single‑cut file. Sharpening happens only on that bench, never on the tailgate, because a stray spark into dry spear grass costs more than a dull axe. The everyday kit cost a little under $160 all‑up and covers everything from the kitchen boning knife to the slasher blades.
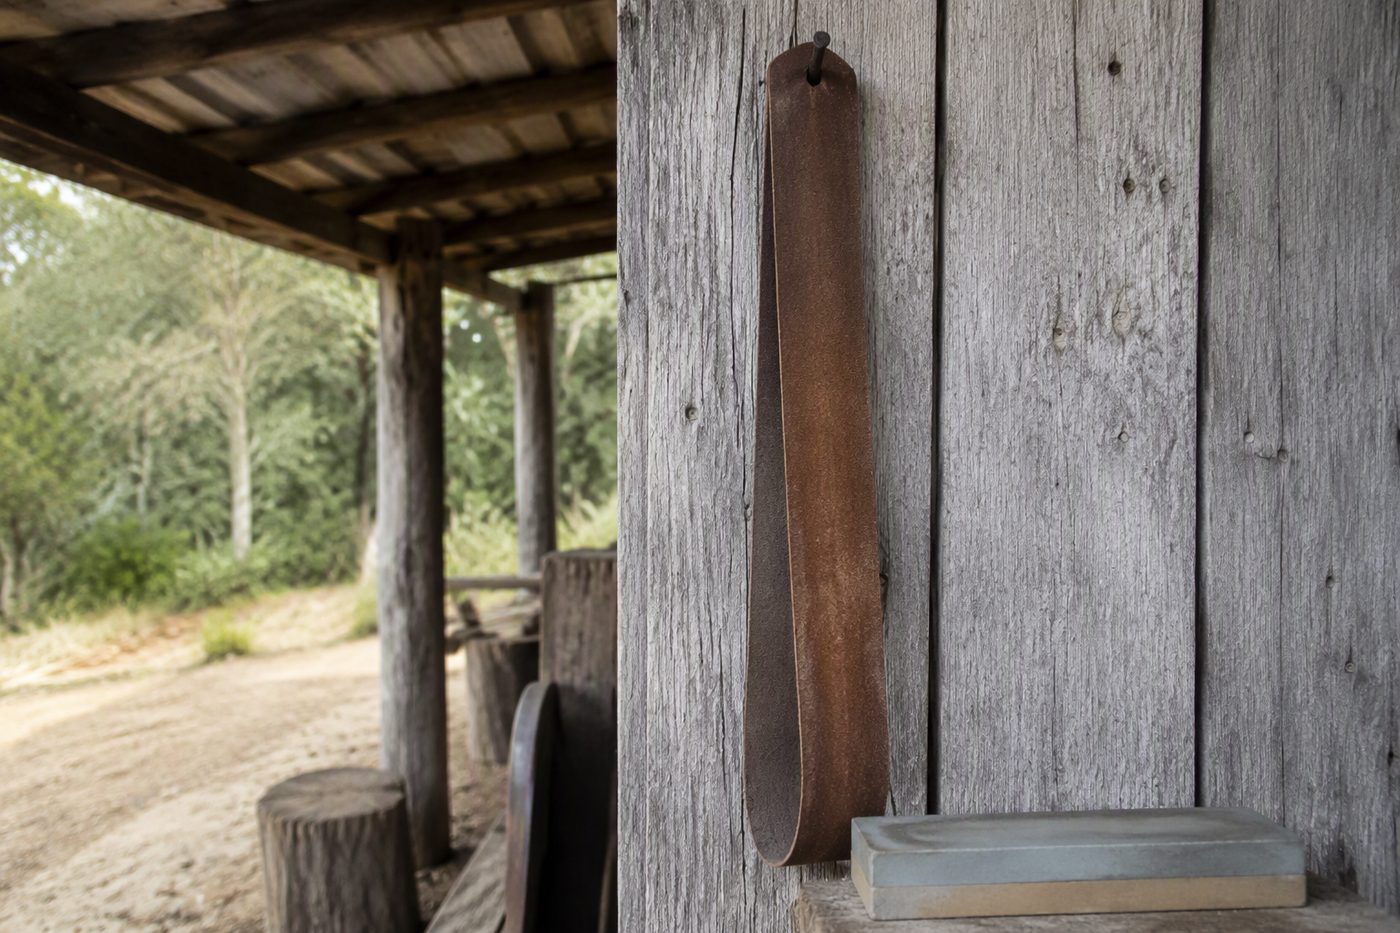
A 200 mm long, 400/1000‑grit double‑sided diamond plate ($48 at the rural store, no brand logo left after three years) does ninety per cent of the work. A 250 mm oval slip stone, soft‑bond aluminium oxide in a penetrating‑oil bath, handles billhooks and moulding‑plane irons and cost $22. A 200 mm leather strop glued to a flat piece of 19 mm ply with 6‑micron aluminium‑oxide paste ($18 including the paste) finishes edges so the chisel bites end‑grain ironbark without chattering.
A tapered chainsaw file, 4.0 mm, and a flat mill file with a turned‑down tang live in a length of 50 mm PVC conduit screwed to the bench leg to keep them dry. Everything
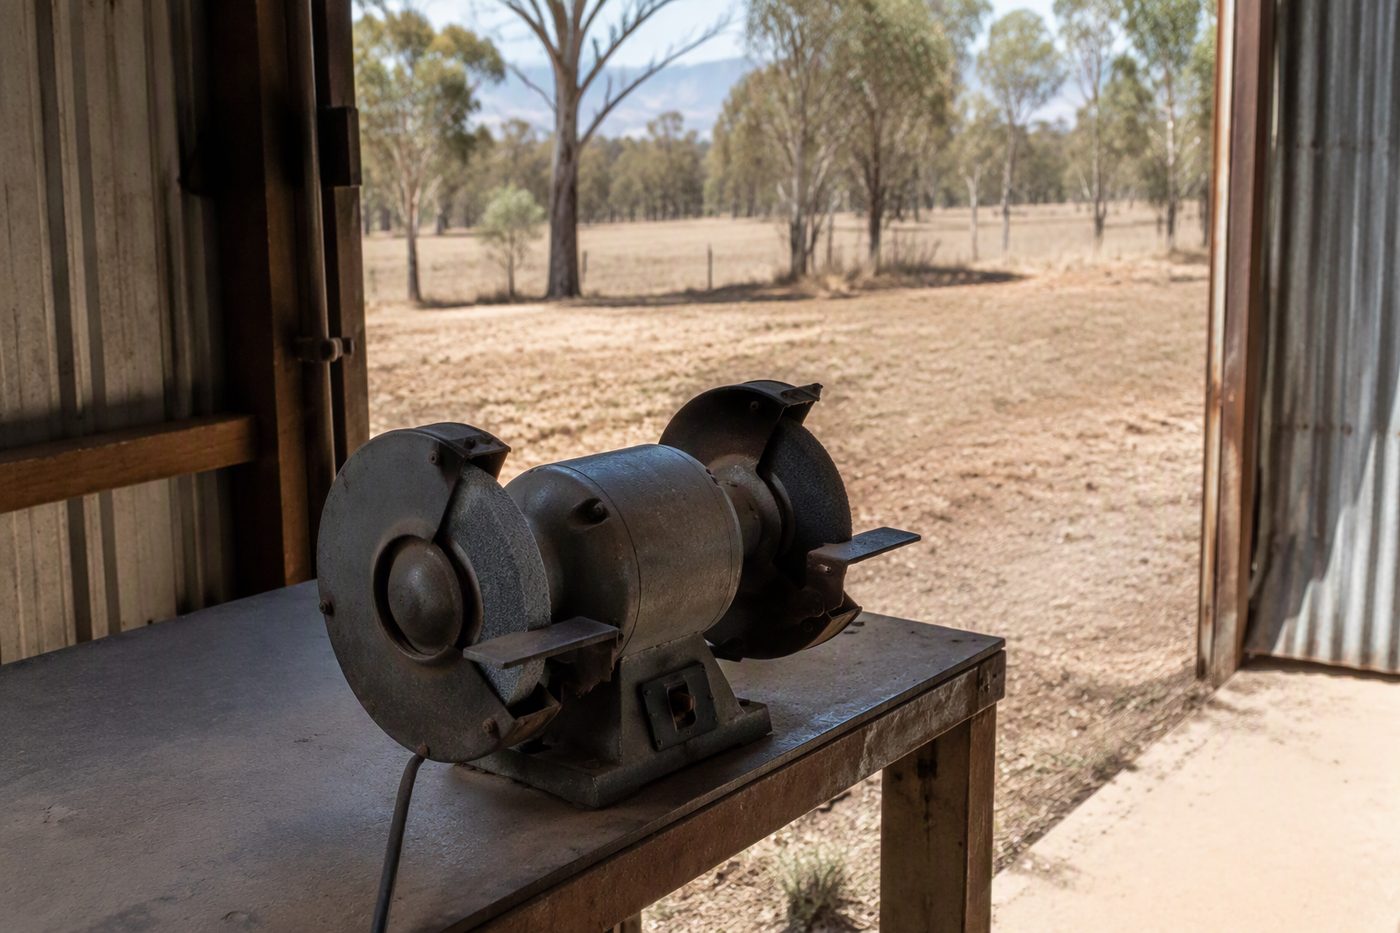
The sharpening station started as a 1200 mm length of 200×50 redgum sleeper salvaged from a Bendigo yard for $45. Redgum is heavy, oil-rich, and won’t walk across the bench under a loaded buffing wheel. I flattened one face on a mate’s thicknesser and drilled three 10 mm mounting holes on standard 100 mm centres to suit the base of a 200 mm Abbott & Ashby bench grinder. The grinder was $230 from a Horsham farm supply, including a coarse and fine wheel.
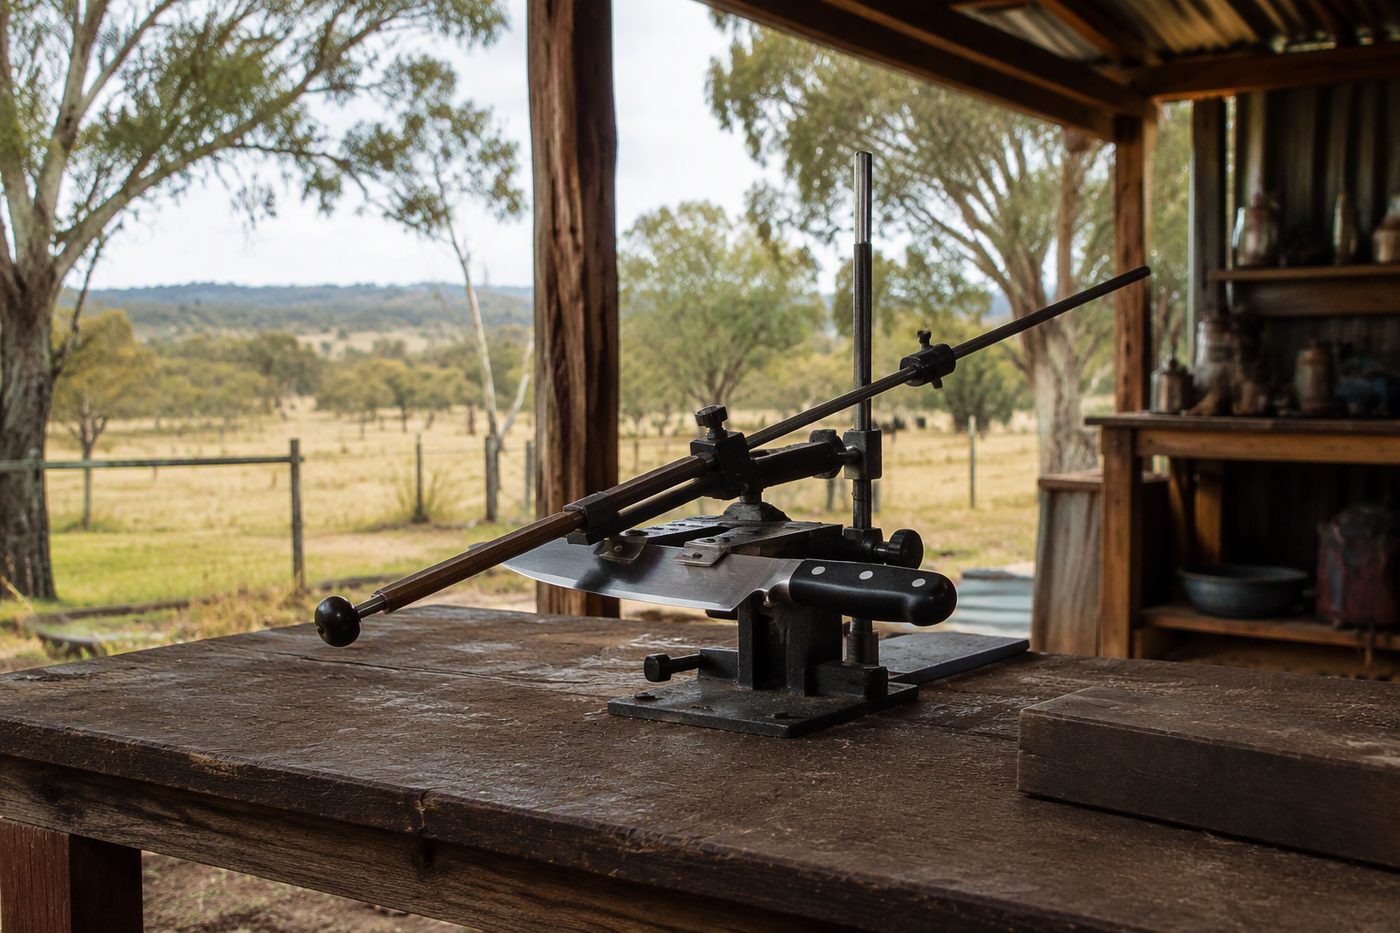
Clamped to the left end, it leaves 600 mm of working space to the right for a home-made honing platen. The platen is a 300×75 mm offcut of 10 mm float glass, bonded to a marine-ply backing board with neutral-cure silicone, cost $18 all up. A Veritas Mk.II honing guide lives in the drawer underneath; they retail around $90, and mine still holds a 25° bevel without chatter after six years of weekly use. All prices quoted throughout are in AUD, GST-inclusive, and pegged to 2023.
Every station listed is one I’ve built or used on the homestead, not gear I’d only read about in a catalogue.
| Setup Level | Tools Included | Budget (AUD) |
|---|---|---|
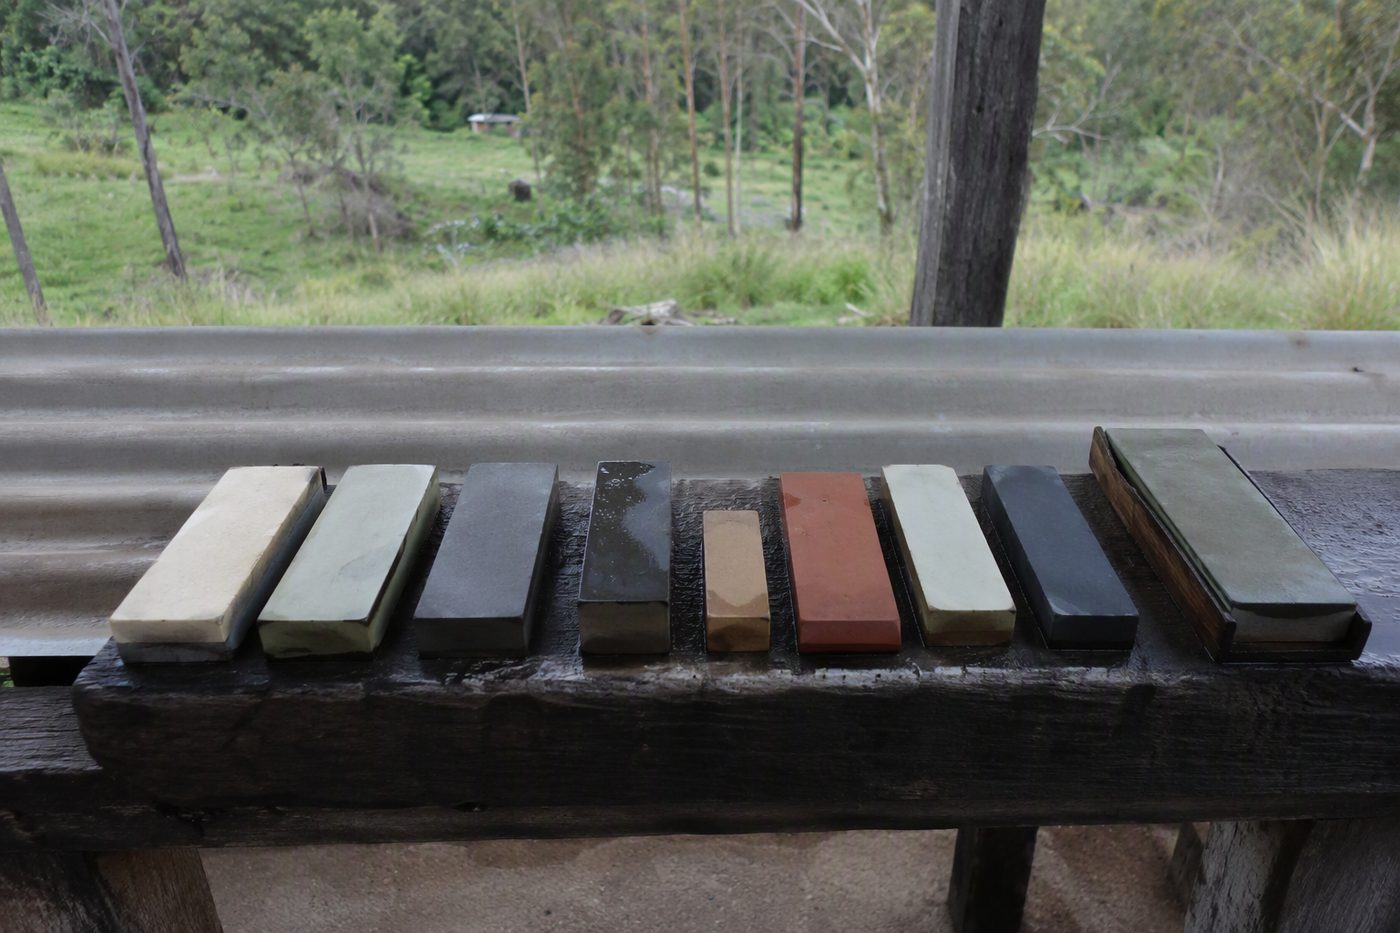
| Basic | Whetstone (1000/6000 grit), leather strop | $40–$70 |
| Intermediate | Whetstone, honing rod, vise, angle guide | $100–$200 |
| Professional | Water stone set, bench vise, digital angle guide, storage | $250–$450 |
| Tool Type | Frequency | Task |
|---|---|---|
| Chainsaw chain | After every 2 hours use | Clean with wire brush, check depth gauge |
| Kitchen knives | After every 3 uses | Quick honing + full sharpening every 2 weeks |
| Axes/axes | After heavy use (e.g., firewood) | Full sharpening + strop |
| Whetstone | After every 10 uses | Clean with stone cleaner, store dry |
Out here the humidity finishes oil stones. Water stones cope with it, and Naniwa's what I've stuck with. Cheap ceramics shatter the first time dust finds them. I found that out the hard way.
No. Dry use destroys the stone. All water stones rely on moisture to float swarf out of the cutting surface; run one dry and the abrasive grit embeds in a glaze of compressed steel dust, heat builds instantly, and the resinoid or magnesia binder starts to crumble. A King PB-04 1000/6000 combination stone—a common entry-level choice sold in Australian hardware chains and online for around $45 to $55—will visibly dish across the 1000-grit face after three or four dry sharpening sessions, burning a hollow that catches the edge.
In a paddock workshop with tank water high in iron, I have seen a dry-used 800-grit stone pick up enough heat in January to crack the binder along a hairline seam, ruining the stone outright. Always soak for 10–15 minutes. Submerge the stone in a clean plastic tub—a 5-litre Sistema container works fine—until the stream of bubbles stops. That lag is non-negotiable; dropping a stone into water and pulling it out two minutes later is the same as not soaking it. The pores must fill completely so the binder stays soft and the abrasive sheds at the designed rate.
If the soak water freezes overnight in an uninsulated shed (it happens at Walcha or in the Monaro), the stone does not turn into a frozen log; it just cracks from ice expansion. Replace the stone and keep the tub inside the back door when a frost is forecast. In high-summer bore water with a pH near 8.5, change the soak every few days or the alkalinity attacks the binder and the stone starts to crumble at the corners.
A correctly soaked stone bites as soon as a chisel touches it; the water darkens with metal fines and the stone wears evenly, keeping the face flat enough for repeatable bevels across a dozen axes, mower blades, and kitchen knives each week.
Replace every 12–18 months if used daily. A bent rod (common with steel rods) ruins your angle.
When I set up the off-grid sharpening station in the back corner of the machinery shed, the first stone I bought was a $20 brick from the clearance table at the local rural supply. It was soft, beige, and shed grit like a wet Milo bar. Yes—if it’s a Naniwa or King stone. After three sessions of touching up the camp knife and the axe, the cheap stone had worn a hollow you could feel with a fingertip. A straightedge laid across it showed a 1.5 mm dip.
The apex on my knife developed a gentle curve that wouldn’t bite into dry beef sinew. That stone now lives under the laundry tub, levelling the legs of the wringer. A King 800 grit stone, the standard medium stone in many Australian farm sheds, costs about $42 from bushcraft mail-order firms. It cuts fast, leaves a toothy edge that grabs roo hide without slipping, and handles most job steel. It dishes evenly, so you flatten it with 80-grit wet-and-dry on a sheet of float glass every couple of months.
A Naniwa Chosera 1000 grit stone, around $90, is a different animal. The binder is harder, the abrasive is consistent, and it stays flat for seasons. I bought one after tossing the $20 disappointment. In two years of fortnightly use on Bon
Last January I put seven sutures into a neighbour’s forearm after a quick-grip clamp tilted and the freshly honed blade skipped into his arm. A bench vise (not a clamp) holds tools securely. Avoid clamp-style tools—they slip and cause injury. A cast-iron Dawn 150 mm offset vise (Bunnings, around $180) weighs 18 kg and stays put once you bolt it to a 45 mm thick ironbark benchtop. Mount the fixed jaw a thumb’s width past the edge of the bench so a machete or axe head clears the timber on the downstroke.
Two 12 mm coach bolts through the benchtop, with spring washers, stop the vise walking when you draw a file across a blade. The jaws close parallel; a clamp’s single pivot concentrates force at one point, which is why the clamp tilted and the blade bit. That slip cost a 90-minute round trip to the nearest clinic and a tetanus booster on top of the sutures. A solid vise is cheaper than a repeat visit.
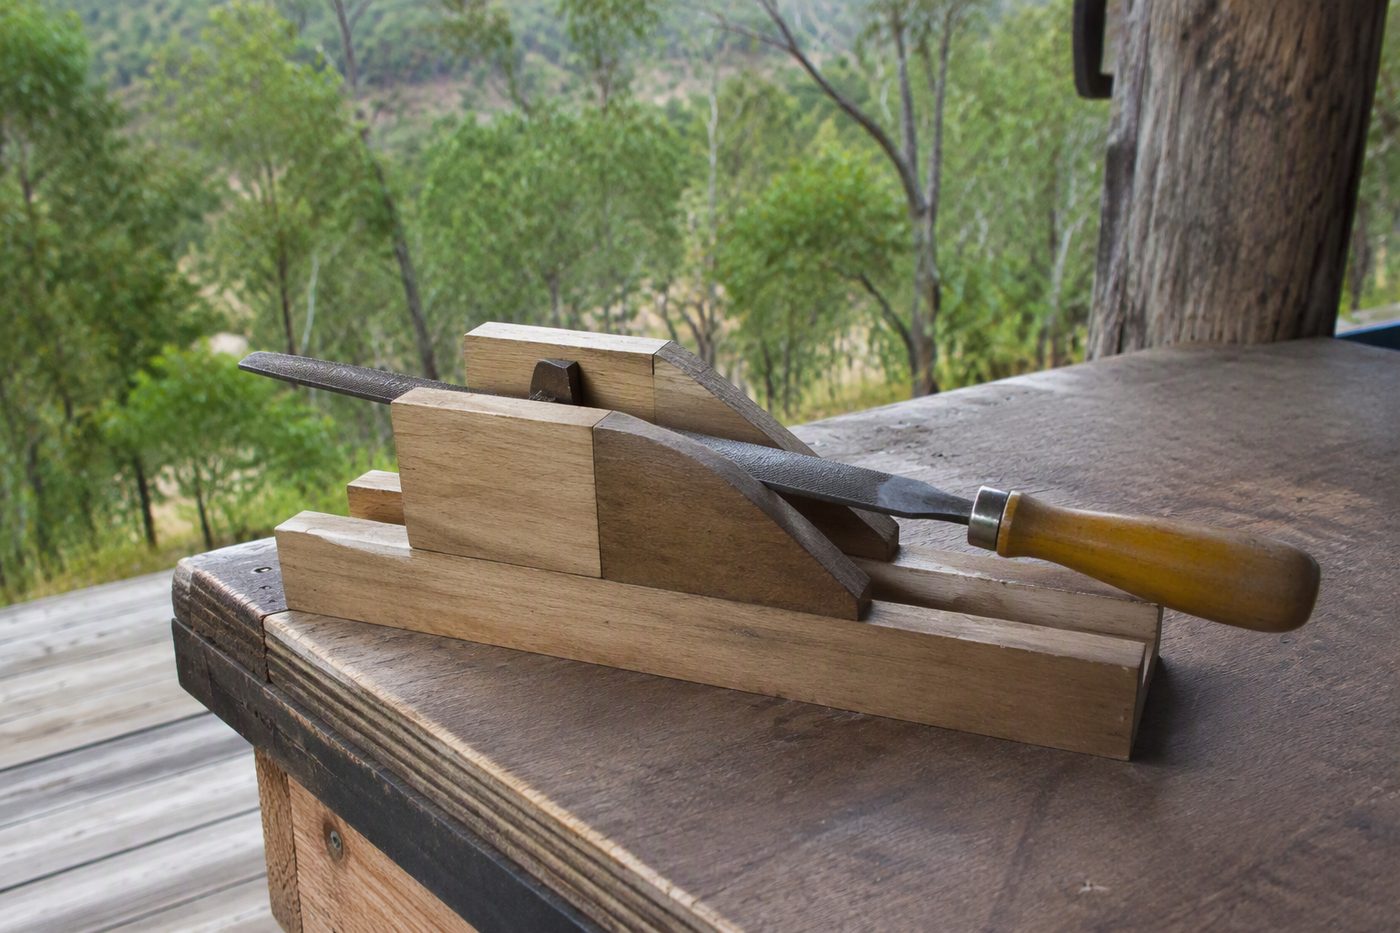
In 3 months a sharpening station pays for itself—longer tool life, fewer emergency repairs. I worked that out after a blunt bush knife glanced off a seasoned redgum round near Warrnambool and chewed through my thumb. The blade had been dull for weeks; I was belting the back of it with a block splitter because it would not bite. After the slip, the trip to the medical centre and a replacement blade ($34 for a basic Green River pattern from the local rural supplies) made the maths stark. Start with a $50 combination stone and a leather strop loaded with green compound. That kit covers most edges on a homestead. Upgrade later. Sharp tools are safer tools.
Before you stoop over a stone, zip on a pair of clear, AS/NZS 1337.1-certified safety glasses. The house-brand set at the Inverell hardware cost me $4.90 in February—cheaper than a GP appointment to tweeze grit out of a cornea. Always wear eye protection when sharpening. A fragment from a shattered vitrified wheel leaves the rim at roughly the same speed as the wheel’s perimeter, commonly 60–80 metres per second on a 200 mm bench grinder spinning at 2850 rpm, and it doesn't swerve. Never use damaged tools.
A hairline crack in a grinding wheel, often invisible under shop dust, can give way the instant the stone meets steel. I lost a morning pulling a 10-millimetre shard out of the shed’s cypress wall stud 2.4 metres behind the arbor. If a tool handle has a split, a chisel edge folds, or a file has bald patches, retire it. The cost of a new 8-inch mill bastard file at a farm supply shop ($18–$22) is what you’d spend on tetanus immunoglobulin if the old one skids into your palm. This guide is for educational purposes only.
The mud-brick workshop beside the she-oaks at my place sits on Wiradjuri Country, 17 kilometres off the sealed road, and what works there may be illegal or stupid somewhere else. Off-Grid Master assumes no liability for injuries or equipment damage. Wet-stone slurry makes concrete floors treacherously slick, so put a rubber stall mat down—the 900 x 600 mm one I use cost $34 at the produce store and has already prevented a tailbone crack that would have been a 90-minute drive to the nearest emergency department. Verify local regulations for tool use in your area.
During the October-to-March fire season in the Warrumbungle Shire, a total fire ban can outlaw any grinding out in the open that drops
Worth a watch: Build Your Own Solar Power Station - Make It Better & Cheaper · The Bug Out Location
Yep, that's the whole point of the first section in the article. Out here, a dull blade stops you in your tracks, and the piece opens with the line that a sharp edge saves your dinner, your tools, and your skin. A proper station means everything gets sharpened the same way, in the same spot, rather than freehand on the back verandah.
There's a section in the article breaking down what I paid versus what it cost me to build. The honest answer is it depends how far you go with it — you can start with the basics and add gear over time. You don't need to spend up big on day one to get something safe and functional.
I thought so too, until mine carked it — there's a whole section about my angle grinder dying on me at Bunnings. You can use one in a pinch, but it isn't a long-term substitute for a proper bench setup. You'll cook the temper out of good blades and chew through discs something shocking.
The article is pretty clear on this — anything electrical or plumbing gets handed to a licensed tradesperson. I'm a bush nurse, not a sparkie, and I'd rather have the paperwork right and the shed safe than save a few bucks. Mounting a bench grinder and bolting the bench down is well within a handy person's reach, though.
While many off-grid projects are achievable as DIY, certain situations require licensed professionals:
Always check local regulations and obtain necessary permits before commencing work.