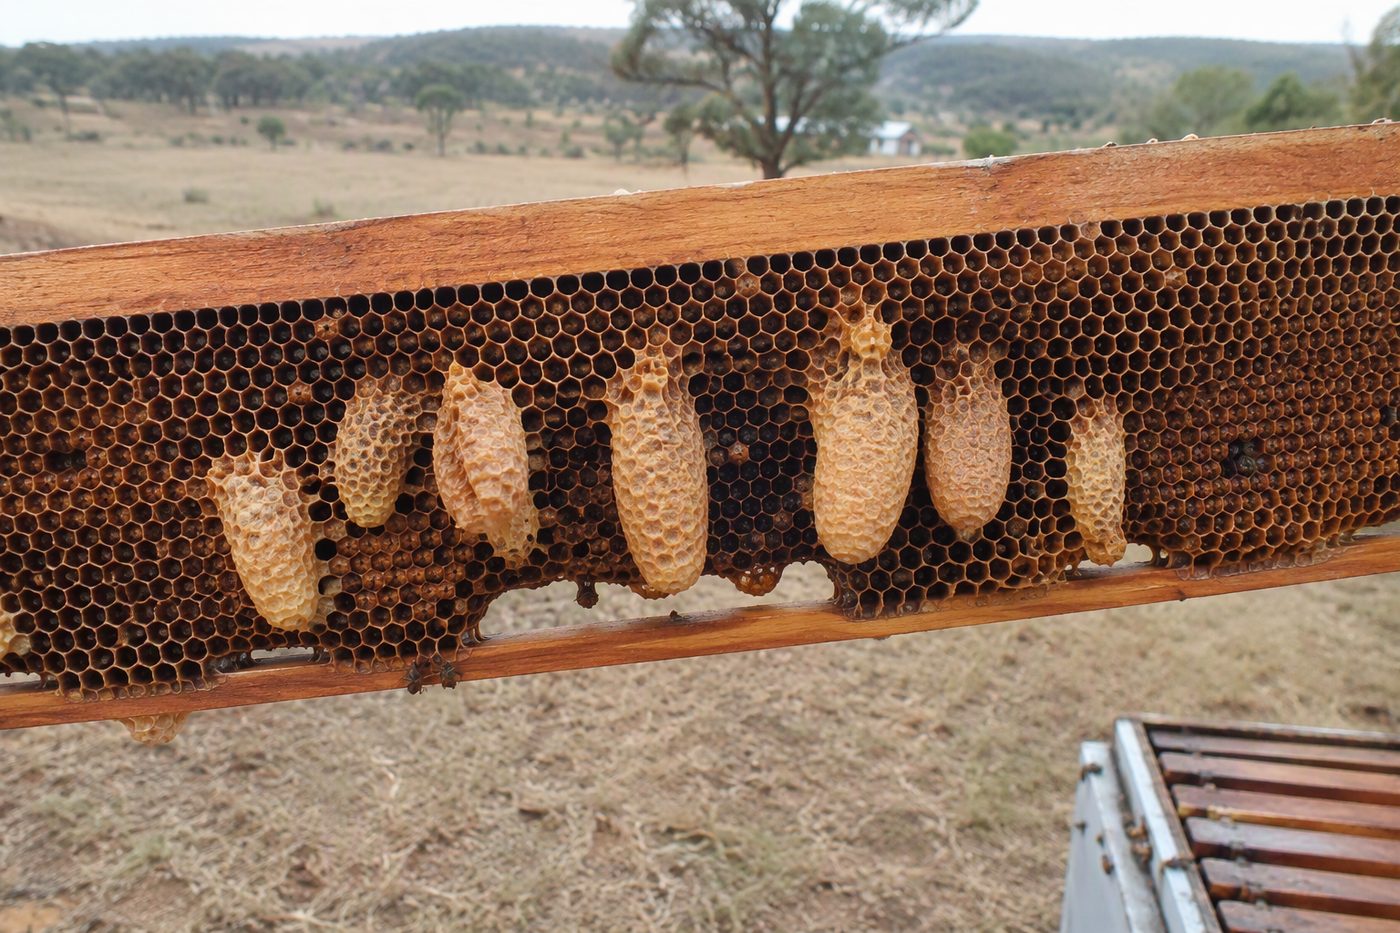
Look, if you're off-grid in Australia and want bees that don't die off in winter, you need your own queens.
Not some fancy imported queen from a supplier. Your own. It's not hard, but it's not for lazy people either.
Here's the straight dope.
Grafting: The First Step (Don't Mess It Up)
Grafting is moving 24-hour-old larvae into artificial queen cells. Do it right or you waste time and bees.
When: Only do it in spring/summer when nectar's flowing. Don't try in winter – bees won't feed the larvae.
How: Use a grafting tool (not your finger). Gently lift larvae from a healthy brood frame.
Place them in a cell builder. Do it at dawn – bees are active.
Don't: Graft from weak hives. If your hive's struggling, skip it. You'll just kill more bees.
Pro Tip: Use a magnifying glass. If you can't see the larva clearly, you'll crush it.
Waste of time. Waste of bees. Don't be that guy.
Cells: Plastic Beats Wax Every Time
Cells are the little cups you graft larvae into. Wax cells are a waste of time. Plastic is the only way.
Plastic cell builders: $20-$35 from Aussie suppliers. Reusable.
Bee Supply Co sells them (beesupplyco.com.au).
Get a set of 20 – that's enough for one queen per hive.
Wax cells: Don't bother. They're messy, break easily, and cost more.
You're not making honey for a museum.
Placement: Put cells in a queenless hive (or a split) with 2-3 frames of brood and honey.
Bees will feed the larvae and turn them into queens.
Aussie Suppliers (2023 Pricing):
- Bee Supply Co: Grafting tool $22, Cell builder set $28
- Australian Beekeeping Supplies: Grafting tool $25, Cell builder $32 Both ship nationwide. No need for fancy imports – these work.
Introduction: Don't Screw This Up
Getting the new queen into a hive is where most people fail. Do it wrong and you lose the queen.
Wait: Don't introduce the cell until it's capped (about 16 days after grafting).
If you rush it, bees will kill the queen.
How: Place the capped cell in a queenless hive (or a split) with a frame of brood.
Don't put it in a hive with a queen – she'll kill the new one.
Check: After 24 hours, look for the queen. If she's not out, she's dead.
Have a spare queen ready (or a new cell) – don't wait.
Final Tip: If you're new, start with one hive. Don't try to rear 10 queens in your first go.
You'll just stress yourself and the bees. One queen, one hive. Done.
That's it. Queen rearing isn't magic. It's just bees doing what they do.
Do it right, and you'll have strong hives that survive Aussie winters without begging for help.
Now go do it.
When to Call a Professional
While many off-grid projects are achievable as DIY, certain situations require licensed professionals:
Electrical work beyond basic 12V DC additions — requires a licensed electrician
Structural modifications to buildings or load-bearing elements
Gas line installation or modification
Solar array installations above safe voltage thresholds
Any work that affects the structural integrity of your property
Always check local regulations and obtain necessary permits before commencing work.
They walk you through the graft‑free, budget‑friendly method for raising mated queens, showing exactly how to set up a queenright starter colony, move cells to a mating nuc, and manage the process without expensive equipment.— Jenny Mills