
By Sarah Chen · environmental engineer · water, waste and everything that flows downhill
By Sarah Chen · environmental engineer · water, waste and everything that flows downhill
A centrifugal pump won’t pull water if the suction line or casing has air in it; most priming failures start at the foot valve, a loose union, or a cracked suction hose. Check the non-return valve and all joins on the suction side before pulling the pump apart. If the water level drops enough to uncover the strainer, the pump will suck air and lose prime.
After my $400 solar pump died at 3 AM during a 41°C heatwave, the bore went silent and the header tank dropped to a muddy trickle. The pump wasn’t burnt out. It had simply lost prime because a suction-line foot valve had jammed open on a flake of ironstone grit. The controller’s float switch killed power to protect the motor—exactly as designed—but the unit had no manual restart override, no priming port, and no way to force water back into the pump body without dropping the entire 60-metre riser.
Pulling poly pipe by torchlight while a mob of ewes stood in the dark wondering why their trough was dry taught me that off-grid systems need manual overrides, not just hope. The fix took an afternoon and a trip to Bunnings for a $15 brass non-return valve and a 25-mm female tee. I cut into the discharge line 300 mm above the pump head and installed the tee, a 150-mm riser with a screw cap as a priming plug, and the non-return valve immediately downstream.
Now, when a slug of air breaks prime during a long draw-down, I unscrew the cap, pour in two litres of water from a jerry can, reseal, and flick the manual bypass toggle I added to the controller box. The pump pushes against the closed check valve, clears the airlock in under ten seconds, and jumps back to full flow. No pulling pipe, no midnight swearing, no $400 paperweight.
Standard practice for any off-grid DC pump with a suction lift over three metres is to include a top-side priming point and a manual run switch that bypasses the level sensors—because floats and electrodes fail predictably when you need them most.
A centrifugal pump running dry sounds like a handful of gravel in a cement mixer. The noise is the impeller thrashing air and the seal overheating because water is both the fluid being moved and the coolant. Running it for more than a minute or two will warp the mechanical seal faces. A new seal kit costs between $40 and $90, and replacing it on a typical Australian jet pump takes an hour of bench time you’d rather spend doing anything else. The #1 reason your pump fails is loss of prime.
The pump body must be completely full of water before start-up. A standard jet pump on a house tank, like a 750-watt Davey HM Series or an Onga JSP, can pull a suction lift of roughly 7 metres vertically, but that rating only holds if the suction line and pump casing hold an airtight column of water. Lose the water, and the impeller spins uselessly. Prime is lost through three main paths. The most common is a leaking foot valve.
The foot valve sits at the bottom of the suction line inside the tank or dam and is a basic spring-loaded check valve with a rubber seat and a strainer basket. When the pump stops, the valve is supposed to shut and trap the water column. In paddock water, algae, wattle leaves and fine silt wedge the flap open. A foot valve that dribbles lets the entire suction pipe drain back into the tank overnight. The fix is to pull the suction line, unscrew the valve, and flush it with tank pressure or replace it.
A 25-mm brass foot valve at Bunnings costs $15 and lasts about five years before the brass dezincifies in acidic water. If the water pH is below 6, swap to a stainless-steel or plastic valve for a similar price. The second cause is an air leak on the suction side. Threaded PVC or poly fittings above the waterline develop hairline cracks after a frost or a roo bouncing on the pipe. A pinhole won’t leak water out; it will pull air in whenever the pump runs, gradually emptying the prime.
The practical test is to wrap all accessible joints with duct tape while the pump chugs, or smear them with soapy water and look for bubbles sucking inward. A repair means cutting and re-gluing the joint with solvent cement, or changing a $2 brass barbed fitting. Every joint between the foot valve and the pump inlet must be airtight. The third path is simple: the prime plug on top of the pump casing works loose. The plug is a plastic or brass bung with an O-ring.
Vibrations from a pump bolted to a concrete slab backed against a corrugated tank stand can unscrew it
1. Air leaks. A centrifugal pump can’t pull water if the suction line is gulping air. Even a pinhole in a poly fitting or a hairline crack in a brass check valve lets the water column drop back into the bore when the pump stops. Then the impeller spins in a froth instead of solid water. A pump that was primed yesterday but is dry this morning is almost always a slow air leak, not a failed pump. The most common offender on an off-grid setup is the foot valve at the bottom of the suction line.
A standard brass foot valve from Bunnings costs about $15 and lasts a few years before the neoprene seat hardens or a bit of gravel jams it open. If the valve weeps even a teaspoon of water overnight, air rises to the pump casing and breaks the seal. Pull the suction line, unscrew the foot valve, and backflush it. Tap the seat gently on a block of wood to dislodge grit. If the rubber is shiny or grooved, replace the whole valve — $15 is cheaper than burning out a $400 pump motor. Above ground, threaded joints are leak factories.
A 25 mm poly fitting tightened onto a brass pump inlet with thread tape needs at least three full wraps of pink or white PTFE tape, wound clockwise so the tape doesn’t bunch when the nut goes on. Too much tape and the female thread can crack the male brass; too little and a fine spiral leak persists. After assembly, smear a thin bead of pipe thread sealant over the tape for a second line of defence. A $6 tube of Loctite 567 or similar handles the vibration of a single-impeller pump bolted to a concrete plinth.
Flexible reinforced suction hose clamped onto a barb with a single worm-drive clamp is another slow leaker. Two clamps, offset 180 degrees, bite evenly and stop air being drawn past the hose inner wall. The standard 32 mm (1¼ inch) poly pipe used for rural suction lines should be one size larger than the pump’s 25 mm inlet, which keeps water velocity below about 1.5 metres per second and reduces the suction pressure loss that encourages air to separate out. Keep the suction run as short and straight as possible: every elbow adds friction and a potential leak point.
If the pump still gulps and chokes after tightening everything, isolate the leak with shaving cream or soapy water smeared on each joint while the pump is running against a shut discharge. A pinhole will suck the foam in and make a small sucking noise or a momentary clear spot. Fix that joint, re-prime, and the pump should pull water again within 30 seconds. A system that holds vacuum silently for an hour will hold prime indefinitely.
2. Foot valve failure. The Australian killer. Your foot valve (at the bottom of the pipe) stops water draining back when the pump stops. In Australia, sand, salt air, and cheap valves kill them. If it's clogged with grit or rusted shut? You're screwed. I pull the entire suction line out of the bore or dam by hand, typically 25 mm or 32 mm poly pipe with a brass or plastic foot valve threaded on the end.
A brass valve with a stainless mesh screen costs $15 at Bunnings; the plastic version is half that but lasts two seasons in grit. Salt air corrodes the hinge pin on brass valves until the flap seizes open, so the column of water drops back the instant the pump cuts off. In sandy bores, fine silt packs the screen until the pump starves within 30 seconds of startup. I unthread the valve, tap it against a post to shake loose gravel and snail shells, then back-flush it with a garden hose shoved hard against the outlet.
A wire brush on the hinge pin and a smear of silicone grease often free a stiff valve. If the brass is de-zincified and crumbling pink, I bin it and spin on a new one—takes 15 minutes and the pump holds prime overnight.
3. Pump not submerged enough A submersible pump that is only just under the surface will pull air down through a vortex, same as a bath drain. The eye of the impeller catches a mix of air and water, delivery pressure collapses, and the prime is lost inside a few seconds. In a creek or poly tank, the water level drops overnight from stock drinking or a slow leak, and a pump that was sitting pretty on Friday afternoon is half-gasping by Sunday morning.
The fix is not always obvious because the pump runs and sounds almost normal until you notice the header tank is not filling. Check the manufacturer’s plate on the pump body. Most 12 V and 24 V submersibles sold through rural suppliers need a minimum depth over the intake grille, typically 150 mm, to suppress vortexing. A small 240 V bore pump might need 300 mm.
If the water source is a dam with a suction hose and foot valve, the foot valve needs at least 300 mm of cover or it will break surface when the wind riffles the water. I once spent a hot Boxing Day knee-deep in a neighbour’s creek repositioning a Davey submersible because the pump had been dropped into a sandy hole that caved in overnight, leaving the intake 90 mm under water. Every time the pump kicked in, it would pull a short vortex, run dry for twenty seconds, and trip the thermal overload.
Lower the pump into a deeper pocket, sling it from a star picket driven into the creek bed, or, in a tank, drop the pump so the outlet port is at least 200 mm below the lowest likely water mark. If the level fluctuates more than that, fit a float switch that kills power when the water falls below the pump’s minimum submergence. Basic float switches cost between $20 and $40 from farm supply stores and will stop the pump eating itself before you spot the problem.
4. Wrong pump type. Centrifugal pumps need priming. If you bought a "self-priming" pump but it's not actually self-priming? You're wasting money.
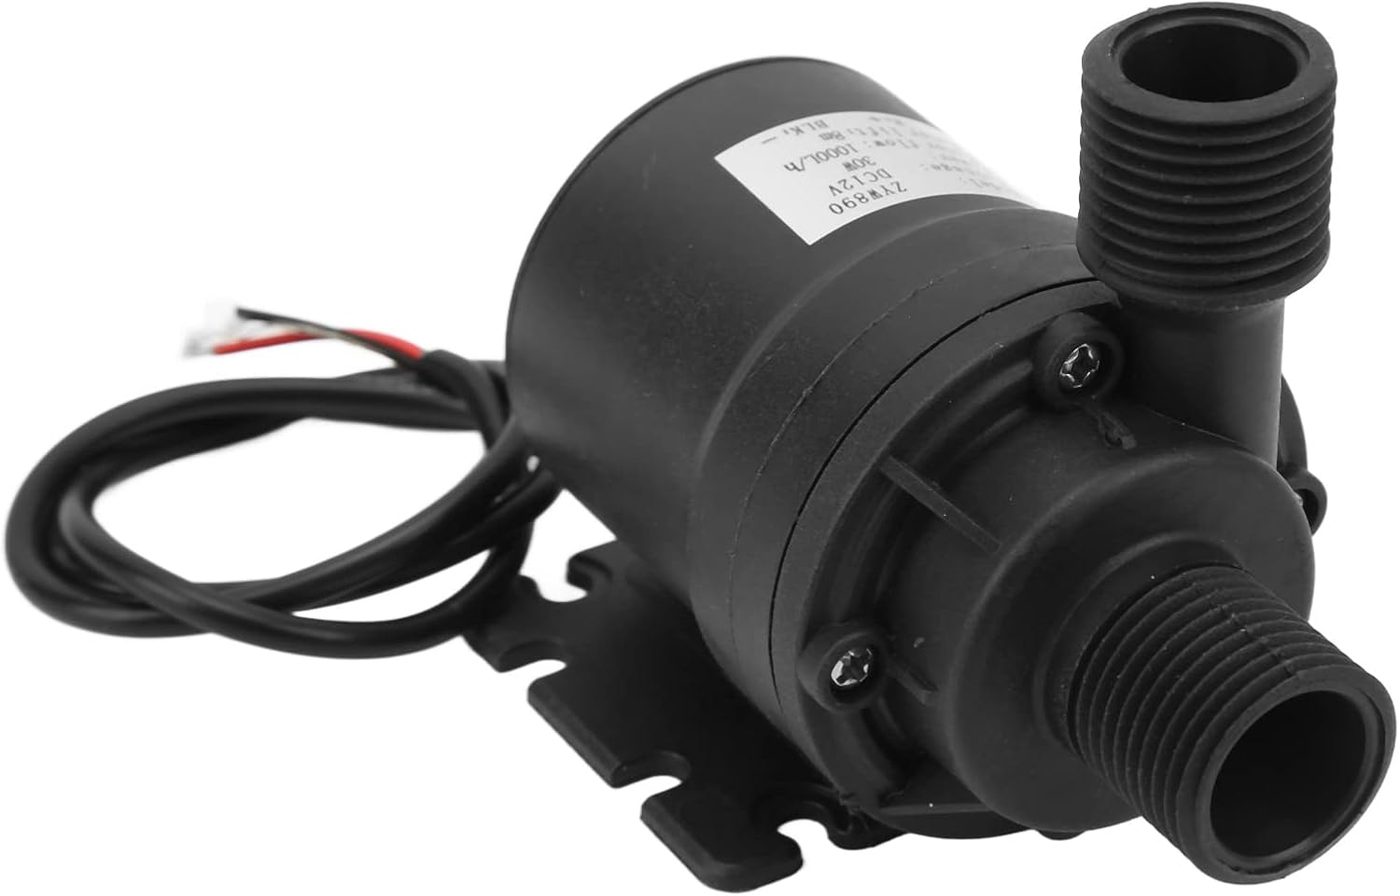
The $15 plastic foot valve on the Bunnings hook—typically a 25 mm (1") BSP poly body with a zinc-plated spring and a nylon hinge pin—looks like a bargain until it meets Australian groundwater. In a sandy creek flat or a Gippsland dam, each pump cycle pulls fine quartz grains through the strainer mesh. The grains embed in the soft poly seat and abrade the sealing face until the valve leaks back 3–5 litres of water every time the pump shuts off. The zinc-plated spring rusts in brackish or saline water within weeks, losing tension.
Salt crystallises in the hinge boss, swelling the plastic and jamming the flap half-open. The result is a foot valve that fails in 3–6 months, right on schedule. Failure means the line drains overnight. The pump runs dry at dawn, the thermal overload trips, and you trudge out in gumboots, shove your arm into a November-dam that’s 13 degrees and full of yabby burrows, unscrew the poly riser, and swap the valve while mud sucks at your ankles.
You’ll be standing in the mud replacing it every season—and paying another $15, plus the cost of a lost morning and a pump that’s taken a hammering. A proper off-grid fix replaces the plastic with a brass or bronze foot valve built around a 316 stainless spring and a replaceable acetal poppet. These run $45–65 at any pump specialist (Total Eden, Reece Irrigation, or the local bore runner) and carry an easily-cleaned stainless screen.
Thread it onto a brass nipple above the valve and add a PVC union 300 mm up the riser so the whole assembly lifts out without cutting pipe. Wrap the strainer in a sock of 200-micron nylon mesh, then set it inside a slotted 150 mm PVC housing backfilled with 10–20 mm washed blue metal. The gravel filters fines before they reach the valve, and the housing keeps the intake off the bottom where silt clouds form during rain events. When the bore water is iron-heavy or saline, replace the brass nipple with a 316 stainless one to avoid de-zincification.
The cost of materials sits around $90–110, and the assembly typically holds prime for five seasons or more. The $15 plastic valve isn’t the problem—it’s the false economy of burying it in mud without a changeout plan.
A plastic foot valve in full Australian sun and silty bore water doesn’t fail gracefully. The nylon body crazes, the poppet seat warps, and the hinge pin snaps at the worst possible moment—usually Christmas Eve when the tanks are down. I’ve pulled up a 25 mm poly riser to find the plastic valve split clean in two, the spring rattling loose in the casing. That’s a half-day job to retrieve the tailpiece, plus the cost of a new valve, plus the swearing. Stainless steel foot valves (with a 10-micron filter) are the only fix that sticks.
They cost $35–$50 from any rural irrigation supplier—Bunnings carries a common 1″ BSP model around $42—and the 316 stainless body shrugs off the bore’s corrosive mix of iron bacteria and dissolved minerals. The 10-micron wedge-wire screen stops fine grit that would otherwise chew out pump seals and score the impeller. Once it’s in, the thing just works. I’ve got one on a creek suction line that’s been submerged through five flood seasons and still holds prime. Plastic? You’ll be buying them every summer.
The UV turns the threads brittle, the check valve seats get a shard of schist stuck behind the flap, and then the pump runs dry at 2 a.m. A stainless foot valve lasts 5+ years without a second thought, and when it finally needs a clean, you backflush the screen and put it straight back down the hole. Factor in the cost of a single callout or a burnt-out pump, and the $50 is the cheapest insurance on your off-grid water system.
Step 1: Find the air leak. Turn off the pump at the isolator. Close the discharge gate valve. Remove the priming plug on top of the pump casing and slowly pour water from a bucket into the suction pipe. On a typical Aussie off-grid block that line runs 25 mm or 32 mm rural poly downhill to a dam or tank. Watch the fill port. A steady water level means the suction side is airtight. A dropping level or a string of bubbles rising tells you air is entering somewhere. Walk the suction line. Listen for
Step 2: Replace the foot valve. Pull it out. Clean the sand out. Install a stainless steel one with a filter. Position it so it's not buried in silt. If you're in a sandy area, add a 10-micron screen. $39. Done.
Step 3: Prime manually (if needed). A centrifugal pump that isn’t self-priming cannot move air. The impeller spins inside a dry casing, churning nothing. Because water is the seal coolant as well as the pumping medium, running dry for more than about 30 seconds scores the ceramic seal face and the pump starts dripping from the gland – a $60–$120 rebuild you didn’t plan on. On a typical off-grid setup drawing from a dam or tank, the suction line will be 25 mm rural poly, often 10–15 metres long. That pipe holds roughly 5–7 litres of water.
If it’s empty, the pump pulls a vacuum that can’t lift the column, because air just expands. A bucket of water tipped into the casing and suction line fixes this in two minutes. Go to the pump’s highest bronze or plastic bung – usually a ½-inch BSP priming plug on top of the volute. Remove it. Jam a clean funnel into the hole, or just be steady with a 10-litre bucket. Pour steadily until water overflows and you don’t hear gurgling back down the line. That’s the suction pipe full and the void in the casing gone.
If you hear a constant trickle running away downhill, the foot valve at the end of the suction line isn’t holding. A $15 PVC spring-check foot valve from Bunnings will have a flap that warps after a summer in the sun; swap it
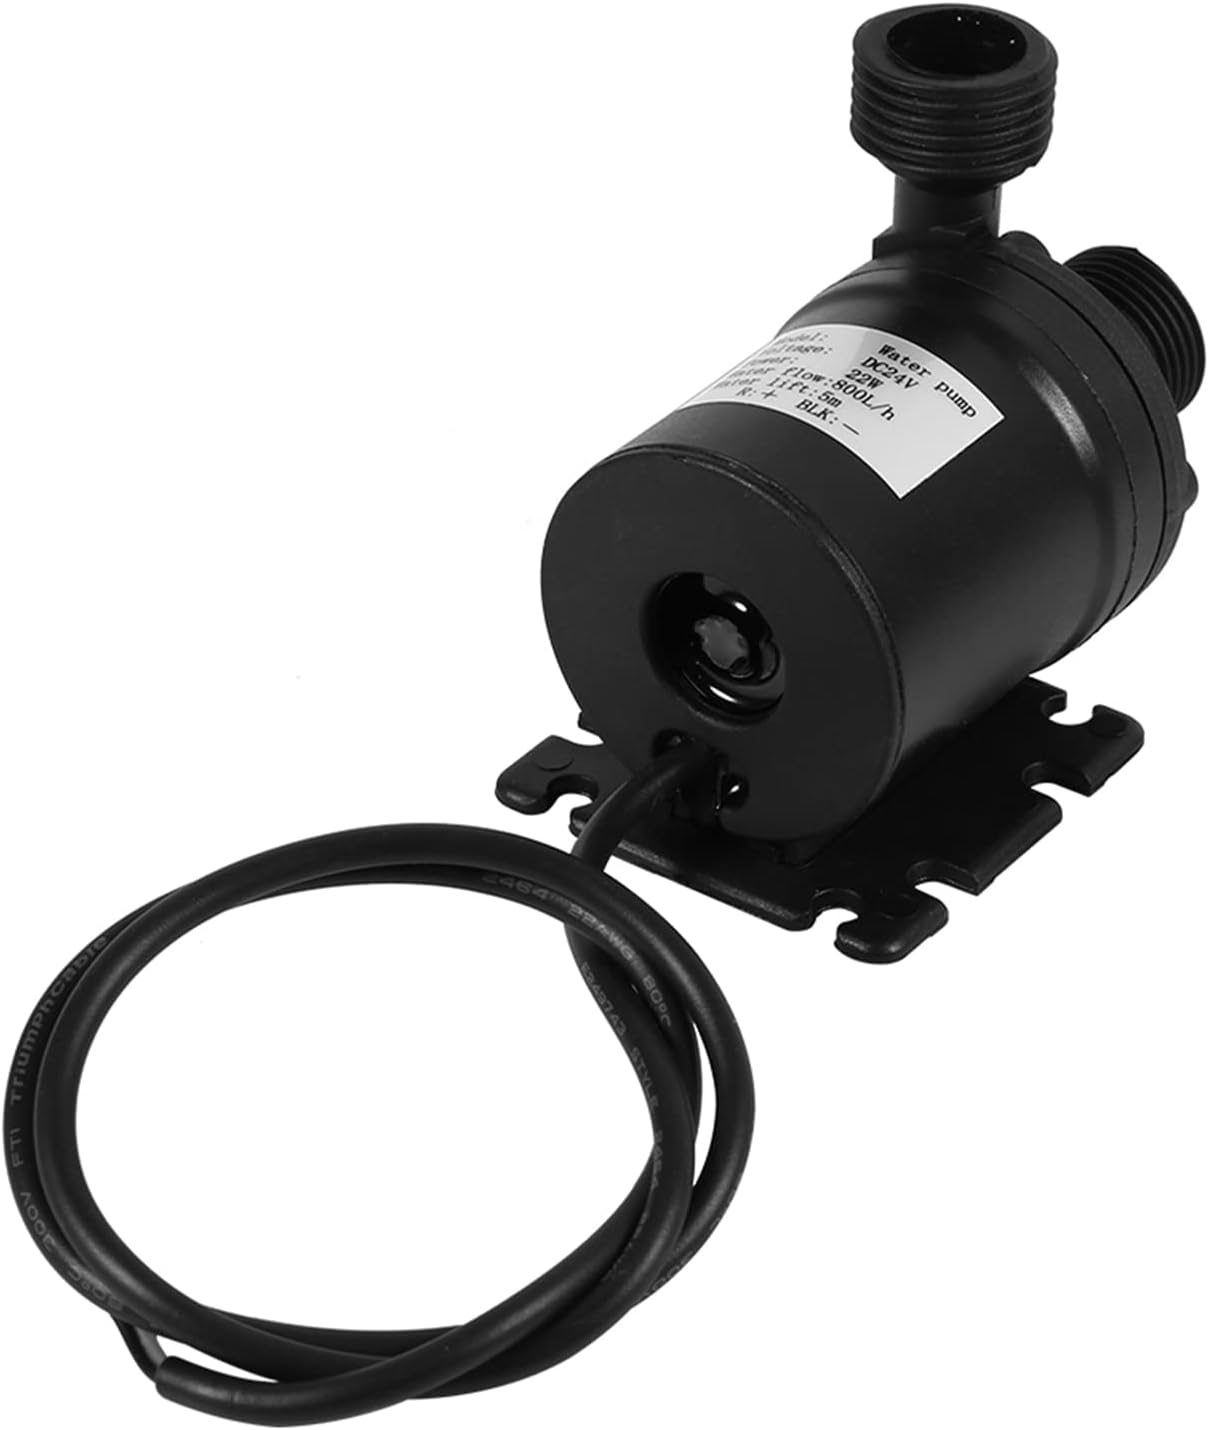
Stainless foot valve with filter (essential): $35-$50 (Water Solutions Australia, Pump & Pipe)
Plastic foot valve (avoid): $15 (Bunnings, but it'll fail)
Nothing deflates a priming marathon like a suction joint that quietly sucks air instead of water. Even a hairline cavity in a male thread will hold a pump at stall speed while it gulps atmosphere. The fix on almost every Australian off‑grid setup is a roll of blue gas‑rated PTFE tape, the thicker “pink‑ish blue” spool sold at Bunnings for $5.
Blue tape measures roughly 0.1 mm thick compared with the 0.075 mm white domestic stuff, so it fills the coarse, truncated crests of 1‑inch and 1¼‑inch rural polypropylene or galvanised‑iron threads rather than shredding into little white streamers that clog the impeller. The cause‑and‑effect chain is simple. A centrifugal pump pulling from a tank or dam must hold a partial vacuum on the suction side. Any pin‑hole path to atmosphere breaks the column. Joints right at the pump body—especially the reducing bush under a jet or monobloc—are the worst offenders because they see the deepest negative pressure.
When the pump labours and no water moves, wipe every suction‑side connection with soapy water while cranking; bubbles form instantly at the leak. To make the joint gas‑tight, pull the fitting apart and wipe both threads dry. Start the tape one full thread back from the open end so it doesn’t foul the waterway. Wrap in the same direction the nut turns—looking into the end of a male thread, that’s clockwise.
Three to four full, flat wraps for 25 mm (1‑inch) BSP threads, five to six for 32 mm, and six to seven for 40 mm or 50 mm rural is standard. Each pass should lay flat, overlapping half the tape width. Stretch it just enough to bite into the root of the thread; don’t haul it so hard it necks down. Over‑wrapping is a thing—too many layers on a poly fitting can crack the female collar because the wedging force rises fast.
Once the tape is on, thread the fitting by hand, then nip it with a shifter another half to three‑quarters of a turn. No thread‑seal paste is needed on clean threads, but if you already have a weeping joint that was doped with a hardening compound, scrape it back to clean metal or plastic before applying tape. A fresh joint sealed this way will hold at least a 500‑millibar vacuum. If the
Self-priming pump (if you're buying new): $300-$600 (Check Pump & Pipe – they stock reliable brands)
If your pump isn't priming after these steps? It's a broken pump. Don't waste time. Replace it. A $200 pump failing because of a $40 foot valve? That's not off-grid living – that's a money pit.
A foot valve that doesn’t seat costs you prime every time the pump cycles off. The clack opens on suction and is supposed to drop shut the instant flow stops, trapping the column of water in the drop pipe. When the rubber disc inside the valve is grooved, hardened by UV-ageing creek water, or a strand of black poly swarf has wedged under it, that column bleeds back into the well or dam inside half an hour. You can hear it—a slow gurgle down the casing—or see the pressure gauge needle sag ten minutes after shutdown.
If you’re on a standard Onga or Davey jet pump with a 20-litre pressure tank and a 30/50 psi switch, a single small leak in the suction plumbing will drop the pressure below cut-in overnight, and the pump will sit there snorting air at dawn. Find the air leak before you blame the valve. Close the gate valve between pump and tank, pressurise the suction line with a garden hose threaded into a tee at the pump inlet, and walk the line.
A spray bottle of soapy water will bubble at every pinhole, loose poly nipple, or fitting that some cocky tightened with a shifter and no thread tape. Common places: the brass adaptor where the poly comes off the pump housing, the thread where a cheap Bunnings inline check valve has been screwed onto galvanised without a union, and the suction hose clamp under a dam bank where the poly has ovalised after a few summers. Half a turn on a loose barb or a fresh wrap of pink thread tape cures most of them.
If the poly itself has crazed—common in clear reinforced hose left in full sun—cut it back to clean wall and use two stainless clamps, tensioned with a 6 mm socket, not a flat-blade screwdriver that you’ll slip and mangle. The $15 Bunnings brass foot valve (the Aqua-Tec 25 mm model) works, but only if you throw away the flat plastic seat washer it ships with and fit a chamfered rubber disc from a proper pump shop. The plastic washer lands on the brass seat ring every cycle and dings itself into an uneven lip within weeks.
Swap it, then lower the valve so it hangs at least 300 mm off the bottom of the well or dam to stay clear of silt, and tie a good half-hitch around the poly a metre above so the weight isn’t hanging on the hose clamp threads. When you drop it back down, hold the assembly vertical for a count of ten to let the clack settle before you couple up. Prime it right once the plumbing is tight. Remove the brass priming plug on the pump body
While many off-grid projects are achievable as DIY, certain situations require licensed professionals:
A dry prime usually means the pump has spat out the water faster than it can pull fresh water in, leaving the impeller spinning in a mix of steam and cursing. On an off‑grid setup with a suction line hanging in a dam or tank, the culprit is almost always a pinhole air leak, a set of threads that were never doped properly, or a foot valve that no longer seats. The fix starts at the water end, not at the pump.
Pull the suction line out of the water and block one end with a clean expanding plug or a thumb while an assistant presses the pump’s prime port bung back into place. Pour water into the other end until the pipe is full and leave it. If the level drops in five minutes, the line has a leak. Walk the length of the poly with soapy water in a spray bottle and look for froth at every join, the hose‑tail barbs, and the spot where the pipe was dragged over a star picket.
A 25 mm rural poly suction line costs roughly $3 per metre; a new tail and a pair of stainless worm-drive clamps are under $10 from any rural supplier. Do not use thread tape on poly camlock fittings — it bunches and leaves a tiny air channel. Use a liquid thread sealant rated for potable water, applied to the male thread only, wound in hand‑tight and then nipped a quarter‑turn with a shifter. If the line holds, unscrew the foot valve. Typically it is
Worth a watch: Caravan fresh water pump fix · The Trudgians
Loss of prime is the number one reason pumps fail on remote setups. Your pump body needs to be completely full of water before you switch it on, otherwise it's just thrashing air instead of moving water. In my experience it's almost always an air leak on the suction side or a foot valve that's letting water drain back down the line.
Don't push it past a minute or two. Running dry makes the impeller thrash air and the mechanical seal overheats because water is doing two jobs - moving the fluid and cooling the seal at the same time. Once those seal faces warp, you're up for a replacement kit and a frustrating hour of bench time you'd rather spend elsewhere.
If you've cooked the seal by running it dry, a replacement kit runs somewhere between $40 and $90 depending on the model. If the problem is a rooted foot valve or a cracked suction line, parts plus a tradesperson callout will push that up fast - depends on your setup and how remote your place is.
If your pump primes up but loses it the moment you switch off, the foot valve is the prime suspect - it's letting water drain back down the line. It's one of the most common failure points out here because sediment and wear take their toll on the seal over time. Pull it out and inspect the seal and screen before you chuck a new one in.