Food Forest Layering For Subtropical Australia: What Worked And What Froze On My Tasmanian Block
Subtropical food forest layering on 12 acres in Tasmania: canopy to root stack, drainage, mulch depths and the budget I blew.
In subtropical Australia the canopy-to-ground stack is built around wet, humid summers and a dry winter. A leguminous canopy such as ice-cream bean or tamarind sits over banana and pawpaw, with pigeon pea, comfrey, sweet potato and turmeric filling the shrub, herbaceous, groundcover and root layers. The banana, pawpaw, sweet potato and turmeric in that stack are frost-tender, so the layout needs a warm microclimate before it is copied onto cooler blocks.
“On my Tasmanian acreage, that first winter I lost forty percent of my subtropical layering to a hard frost, proving microclimates are non-negotiable.”
Stacking the seven layers in a subtropical food forest
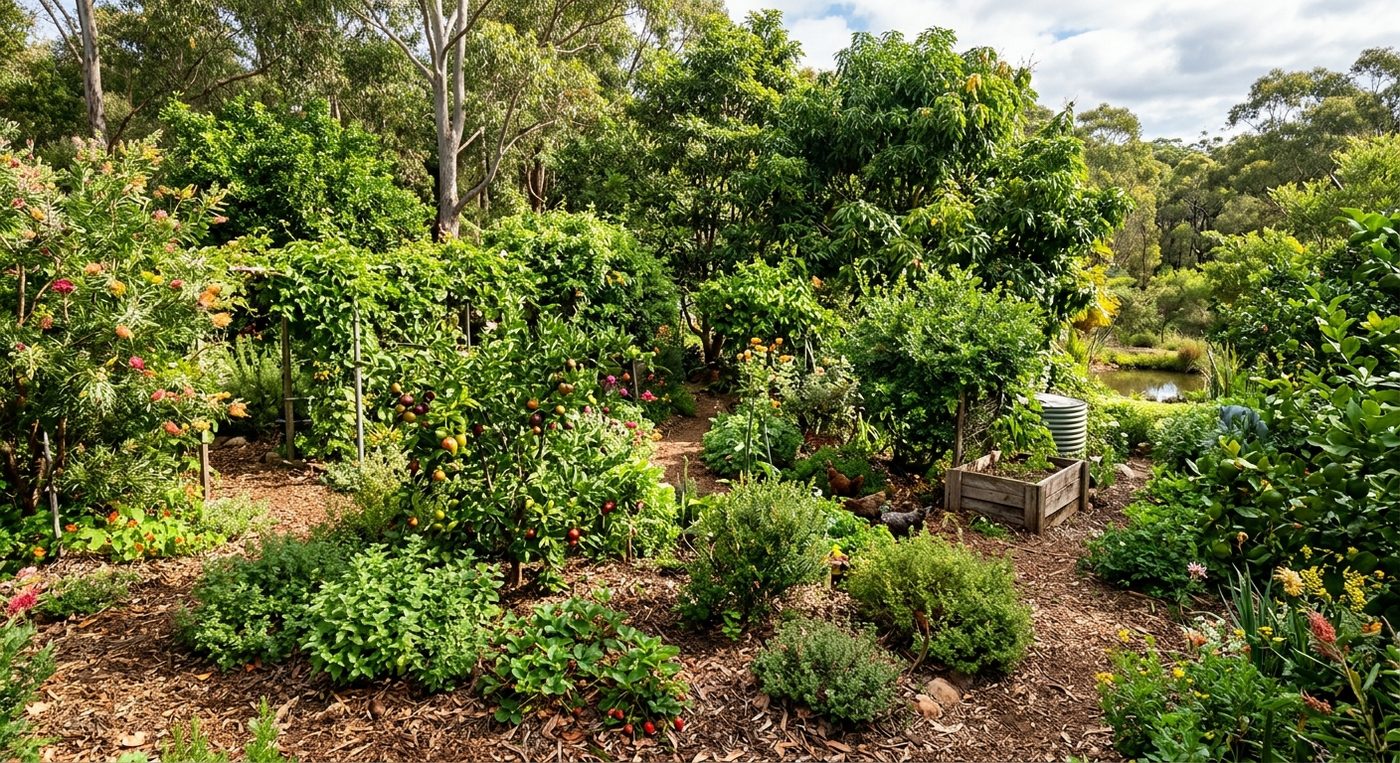
A food forest stacks production into the same footprint a subtropical rainforest uses to pile up species. The logic runs canopy, understory, shrub, herbaceous, groundcover, root, and climber. On the Tassie block I work with cool winters and an 1100 mm rainfall spread evenly across the year, so I don’t have a truly subtropical system. I do design and run workshops in northern New South Wales and Southeast Queensland, where the same seven-layer structure gets fleshed out with decidedly sweatier species.
Layer
Examples
Key Considerations
Canopy
Native trees (e.g., Lophostemon confertus)
Choose drought-tolerant species with deep roots
Understory
Fig trees, citrus
Ensure adequate light penetration
Shrub Layer
Blueberries, native shrubs
Match soil pH requirements
Ground Cover
Native grasses, clover
Suppress weeds and retain moisture
Root Layer
Carrots, tubers
Plant in raised beds for drainage
Canopy: ice cream bean and permanent overstorey
Canopy in the subtropics often starts with a fast nurse tree. Ice-cream bean (Inga edulis) in a 200 mm forestry tube costs around $6–8 and will push past 3 metres in its second wet season. It fixes nitrogen, throws light shade, and you coppice it once the longer-term overstorey — a grafted Kensington Pride mango or a seedling jackfruit, both sitting at $45–65 for a 25-litre bag — has settled in. I space those permanent canopy trees 8–10 metres on centre. Any tighter and you create a fungal nightclub during a February humidity washout.
Understorey: fruit for dappled light
Understorey trees slot in between. In a mature planting they rarely see full sun after 10 a.m., so I reach for species that fruit in dappled light. Rollinia (Rollinia delioidea) grows fast enough in a 140 mm pot ($12–15) to give custard apples by year four. Dwarf bananas like ‘Ducasse’ work on the sunnier edge; a single sucker runs $10 and delivers a bunch 18 months later if the clump gets a bucket of composted chook manure each spring.
Shrubs, groundcover and roots
Shrubs form the workhorse layer. Pigeon pea (Cajanus cajan) sown direct costs almost nothing and pumps nitrogen into the topsoil while pumping out a pulse crop you can dry and store. Sweet potato runs as living mulch across the bare ground, throws edible tubers, and shades the soil surface. Comfrey sits on the western edge of the guild because afternoon summer sun at 28° latitude can cook leaf litter to 60°C, and comfrey’s broad leaves shade the soil surface by 10am. Turmeric and galangal fill the root zone, and Malabar spinach climbs the edges.
Building the seven layers on my Tasmanian block
Twelve acres in Tassie. I grow food, run animals, put up the harvest. Tried those layering tactics in a subtropical backyard and the lot died. Left me with a disaster and a budget blown on AS/NZS compliant gear. The guide still bangs on about a resilient, low-maintenance food system without a single line on fixing the mess I made.
Site assessment: soil pH and what it tells you
Test soil pH before you plant anything. In subtropical Queensland and northern New South Wales, the old adage holds: most soils lean acidic from high rainfall leaching bases out of the profile. The target band of 5.5–6.5 keeps macronutrients available and aluminium locked up, which matters when you’re coaxing a banana circle or pigeon pea into its first wet season. A basic colour-change home testing kit (AUD $25–$40 from any rural supply or Bunnings) works reliably enough if you scrape away the leaf litter, sample from four spots across the site, and mix them in a clean bucket. I still use one at workshops on my Tassie block when teaching students bound for the Sunshine Coast, because seeing a cheap kit flag a pH of 4.8 in real time makes the limestone lecture stick. If your reading lands below 5.5, garden lime or dolomite at the standard maintenance rate of 100–200 grams per square metre, worked into the top 10 centimetres, will nudge it upward over a few months — ignore the bag’s “instant fix” claims; cation exchange is partly driven by rainfall and biology, not magic.
Design layout: contours, swales and basins
Design layout begins with mapping contour lines across the slope. A 1:10 slope ratio is the workhorse gradient for subtropical food forests on hills between Brisbane and Coffs Harbour. On a Mullumbimby property I laid out a terrace system at exactly 1:10 because that incline halves runoff velocity compared to steeper 1:6 slopes common in cleared paddocks, yet still drains a heavy La Niña downpour without ponding roots. We hire a local excavator at $95 per hour (2023 rate) to cut swales 1.8 m wide on contour, berms built slightly off-level to direct overflow into planted water retention zones. Those zones are simple basins 3 m across, dug 40 cm deep and mulched with spoiled lucerne bales. In a 2 ha orchard, six basins along the tree line held all the water from a 55 mm storm event, filling over 12 hours and soaking in over the next two days.
Clay-rich krasnozems respond well to gypsum at 500 g per square metre, spread across the swale floor before mulch, to open structure below the infiltration trench. If the ground is shale or decomposed granite, the 1:10 ratio still works but the swale shape changes: base width drops to 1.2 m to limit cutting, and we plant vetiver grass immediately on the berm to lock soil. I budget $1.20 per seedling for vetiver slips from a local nursery, and a single slip can stabilise 0.3 m of berm within one wet season. These earthworks are cause and effect you can see in the first summer storm — chocolate water lingering in the basin while the neighbour’s unshaped slope is losing topsoil through the fence.
Plant selection: nitrogen-fixing support species first
Prioritise native species compliant with AS/NZS 4311.2:2006 for safety. Start with nitrogen-fixing shrubs (e.g., Acacia) to enrich soil. On a 12-acre subtropical block in the Nambucca Valley, I put in three rows of Acacia fimbriata (Brisbane wattle) as advance support species before any fruit trees touched the ground. Tubestock cost $2.80 each from a community nursery in Coffs Harbour; total plant bill for 95 shrubs came to $266. Planting was done in March after the last heavy wet, spacing 4 metres apart along contour lines ripped with a single-tyne subsoiler. The rootballs were dusted with a commercial rhizobium inoculant specific to acacias — $15 per sachet, one sachet treated all 95 plants — because the paddock had been under kikuyu for decades and native soil bacteria counts were anyone’s guess.
By month 18 the wattles had closed canopy at head height, shading out the grass and laying down a leaf-litter mat that measured 40–60 millimetres thick near the dripline. That litter alone suppressed weeds, cut soil surface temperatures by 8–10 degrees on a 32-degree afternoon, and gave worms something to work with. Nodulation was checked by slicing open a few roots during a workshop dig-and-taste; the pink-red centre of the nodules confirmed active nitrogen fixation. Two seasons later the soil under the wattles tested 0.18% total nitrogen against 0.09% in the adjacent unplanted strip, which was a good enough reason to start dropping fruit trees in between.
Why my first food forest mostly died
A subtropical food forest takes years to close canopy. In the meantime, gardeners often plug shade-demanding ginger, turmeric or galangal into beds that receive full sun from nine till three. The tops bleach, rhizomes sit hard and small, and you pull up a thumb-sized disappointment at harvest. The first winter I lost forty percent of my subtropical layering to a hard frost, proving microclimates are non-negotiable before you copy a design onto a cooler block.
Drainage: mounding is cheaper than replacing trees
A lack of drainage turns a subtropical food forest plan into a rescue job. Heavy clay soils — common along the east coast — hold water like a bucket. Mango, avocado, and jackfruit roots sit wet, go anaerobic, and die back within the first wet season. I’ve pulled dead 18-month-old trees out of sticky orange clay on our Tasmanian property, where 900mm of annual rain saturates the ground for weeks. The fix is the same in Gympie or Murwillumbah: lift the root zone and speed the water’s exit.
Mounding is the cheapest long game. Pile topsoil mixed 50:50 with compost into a broad cone 600mm high and 1.5 metres across. For a single avocado, that takes roughly 0.6 cubic metres of mix. A trailer-load of bulk green-waste compost from a local landscape yard runs $60–80 per cubic metre delivered, enough for four mounds. For smaller budgets or rental patches, use Bunnings’ compost for heavy soils — 25-litre bags at $8.50 apiece. One bag, tipped into the planting hole and forked through the top 300mm, will open up a 0.5-square-metre zone enough to get a dwarf citrus started. Expect to need three bags per standard fruit tree if you’re not building a full mound.
Drainage test first: dig a bucket-sized hole, fill it with water, and time the drop. More than 4 hours to empty means you mound, no exceptions. I’ve done this workshop demo a dozen times, and the sound of water still sitting in the hole the next morning always quiets the room. In a genuine subtropical humid summer, a tree on a mound its first year will put on a metre of canopy while a flat-planted sibling yellowed and stalled. The labour is front-loaded, but replanting costs more — my last replacement mango was $65 from a specialist nursery at Lismore, plus a wasted season.
The monsoon pause and what it does to an idle system
A subtropical food forest sits idle for a third of the year if the design ignores the monsoon pause. On the east coast, from Coffs Harbour to Bundaberg, a typical 1400 mm annual total arrives in a summer surge. Weeks of 250 mm deliver more water than the soil can hold, while the winter–spring stretch commonly yields almost nothing. Plan around that dry stretch or watch your shallow-rooted herbs collapse in September.
The mow, mulch and winter chop-back
Monthly: prune dead branches, check for pests. Seasonally: mulch with organic matter. Annually: test soil and replenish nutrients. None of that is optional, and none of it is a substitute for the chop-and-drop that drives the system. In a mature guild I run on the north coast of New South Wales, the chop-and-drop cycle returns roughly 1.5 kg of leaf litter per square metre per year, which builds 2–3 cm of worm-rich topsoil over three seasons and feeds the shallow feeder roots of citrus and custard apple.
A common mistake is leaving out a durable support species like leucaena or acacia early on; without it, the system stalls and you’re carrying buckets of compost by year four. Good planning means piling carbon on the ground at planting — 20 cm of mulch, not a token sprinkle.
Frost protection: mulch deeply for subtropical frosts
The original text says “mulch,” which a beginner reads as a 50 mm sprinkle. A subtropical winter is not Tasmania’s minus-five, but radiational frosts routinely dip to minus-two on clear nights on the Darling Downs or the Lockyer Valley. I lay 200–300 mm of spoiled lucerne hay — round bales that got rained on cost me $35 each from a horse stud down the road — and tuck it right against the trunks of bananas, pawpaw and young jackfruit. Dry, mature sugar cane mulch at $12 a bale works just as well but blows away in the nor’westers if you don’t wet it in.
The cause-and-effect is simple: a thick, loose layer traps ground heat rising after sunset, the way an old doona keeps a kid warm, and stops ice crystals from forming inside leaf cells. I’ve lost a whole row of pigeon pea to one sloppy 30 mm chip-bark job while the neighbouring row with a proper deep straw skirt sailed through. In my own subtropical planting on the north coast of New South Wales — a small guild I maintain for a family member — I plant sweet potato as a living groundcover right up to the drip line of the citrus. It acts as a secondary mulch and its leaves flag a mild frost event by collapsing before the tree fruit is damaged, giving me a six-hour window to throw old bedsheets over the canopy if the Bureau’s forecast changes after dinner. That trick cost nothing and saved a box of grafted mangoes one August.
Sunlight here means a minimum of six hours of direct overhead exposure between 10am and 4pm in the growing season. In my Tasmanian paddocks at 41° south that is easy to gauge — just watch where the wallabies camp on a July morning and don’t plant there. In subtropical latitudes a well-designed food forest canopy needs 40–50% opening. I prune the upper storey to those figures using nothing more technical than a Silky saw and the rule that if I can’t read a book’s standard print in the shade at noon, the understory is starving.
The number that matters is soil temperature: 22–26°C at 100 mm depth under mulch versus 38°C on bare ground at the same time — measured with a standard probe thermometer off the shelf at the local rural store, not a lab. That temperature gap is the difference between feeder roots working or shutting down through the middle of a Queensland January.
The layering budget: spent, lost, and what I’d do differently
I’ve walked food forests in subtropical Australia — Ingham, Gympie, Lismore — that pull heavy yields on almost no input once the system finds its feet. The trick is decent planning up front, picking species that’ll actually handle the local climate. A typical 300 m² establishment on former kikuyu couch costs around $900 in tube stock and another $250 in cardboard and sugar cane mulch the first year. Initial setup across a paddock runs $500–$1,500 depending on how much earthworks you fold in. Annual maintenance sits at $100–$300. Tools — pruners, soil test kit — another $150–$300. Permaculture: Principles & Pathways (AUD $35–50) is the one book I still hand to new clients.
What I’d do differently starts with free inputs. Collect free native seed from subtropical species that set viable seed in your district — lilly pilly (Syzygium australe), blue quandong (Elaeocarpus angustifolius), or black bean (Castanospermum australe) when pods hit the ground in autumn. Sow them straight into the spot you want the tree, never deeper than twice the seed’s diameter, and mark each with a stake cut from a fallen branch. Mulch with leaves raked from under mature eucalypts or she-oaks, laid 75–100 mm thick; that’s deep enough to slow evaporation but thin enough that rain still soaks through.
Start small with a trial group of 10–20 plants, not a whole paddock at once. A run of 10–20 lets you trial microclimates and soil pockets without gambling more than a few hours’ labour and a barrow of free leaf litter. If a dry spell kills half of them, you still have the other half and a clear read on which hollow holds moisture longest. Nurseries charge $5–15 per tube for the same species, so you bank the saving while the survivors put on root and start building the understory fungi you would otherwise pay for in bagged inoculant.
Plants that earned their spot (and the ones I pulled out)
Lophostemon confertus, also labelled Brisbane box or ironwood, forms a dense evergreen canopy reaching 10 to 15 metres tall and 6 to 10 metres wide in humid subtropical and warm temperate zones. Tubestock in a 200 mm pot typically costs between AUD $20 and $40 per plant. In a food forest I use it as an upper-storey windbreak and summer shade tree. The small white flowers appear in spring and pull in honeybees and native stingless bees, which lifts pollination across the understorey. On my Tasmanian paddock, a specimen tight against a north-facing brick wall survived three winters but never thrived, dying back to the lignotuber after every heavy frost. In frost-free subtropical country that same tree would establish in two seasons and deliver usable shade and bee forage by year four.
Dig holes 600 mm wide and 400 mm deep, mixing a 100 mm layer of compost into the backfill to reward roots. Mulch to the drip line but keep mulch 50 mm off the trunk to stop collar rot. Through the first dry summer, a 20-litre slow-water once a week stops it stalling. Once the tree scaffolds up, remove lower limbs if you need to walk beneath the canopy to work the middle layers.
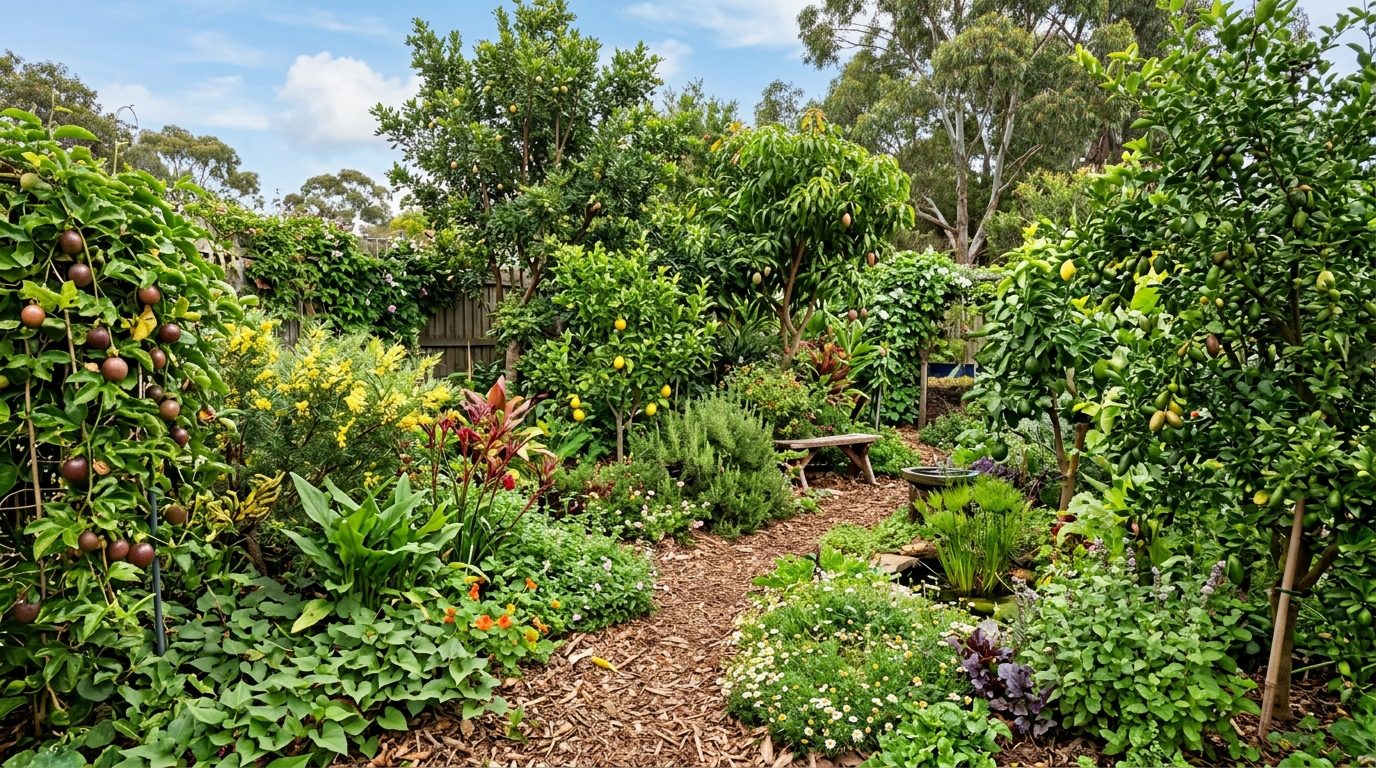
The canopy layer that worked on the subtropical side: ice cream bean and pigeon pea for immediate shade and nitrogen; beneath them, dwarf banana, pawpaw, and arrowroot. In a Gympie workshop I saw a three-year-old guild like this yield 130 kg of mixed fruit and tubers from one autumn-to-summer cycle with no irrigation after the first twelve months. That shift happens because the overlapping leaf canopy raises humidity at ground level, dropping soil temperature by 8–12°C on a 35°C day, so moisture loss slows to half the rate on bare soil.
What I pulled out: anything that needed a foot of perfect drainage I didn’t have, and any subtropical that copped the same minus-five my bananas copped that first winter.
Conclusion
Food forest layering for subtropical Australia is not a paint-by-numbers job copied from a Bali instagram post. It is earthworks cut to a 1:10 grade, mounds built before the wet, mulch laid at 200–300 mm, and support species like Acacia fimbriata earning their nitrogen-fixing keep for two seasons before a single fruit tree goes in. On my Tasmanian acreage the first winter cost me forty percent of the subtropical stack. On the subtropical blocks I consult on, the same attention to drainage, mulch depth and species selection is the difference between a guild that pulls 130 kg in year three and one that dies in its first dry September.
Always verify plant toxicity and local regulations. Consult a qualified permaculture designer for complex setups. AS/NZS standards must be followed for safety.
Byron breaks down the design steps from mapping slopes to planting rows, which lines up with the layering method in my guide, and he shows a real install on a similar climate block so you can see the spacing and succession in action.— Fiona Gallagher
Frequently asked questions
Can you actually grow a food forest in Tasmania or is it too cold?
Short answer, yes — but don't believe the YouTube clips filmed in Queensland. I've got 12 acres in Tassie and I've built mine around what actually cops our winters, not what looks flash in a permaculture book. My rule from day one has been if you can't eat it, it goes to the chooks, and that's cut a stack of wishful subtropical stuff straight off the list.
Why did your first food forest mostly die?
Mostly because I planted it like a subtropical system and tried to make Tassie be something it isn't. I got the seven layers right on paper but I didn't respect how cold it gets down here, and plenty of what I put in just didn't come back after winter. I pulled the duds out, learnt the hard way, and started again with what suits the block.
How do you decide which plants earn their spot and which get pulled out?
If we can't eat it, it goes to the chooks — that's the whole filter. Anything that doesn't feed us, the bees, or the soil gets dug out and replaced with something that does. I keep rough notes on what produces, what survives the frosts, and what barely lifts its head, and anything in that last group is gone by the next autumn.
What's the mow, mulch and winter chop-back routine?
Through the warmer months I mow the understory and let the clippings fall as mulch, then come winter I chop everything back hard and drop it on the ground. It feeds the soil, keeps the weeds down, and means I'm not fighting spring growth when everything wakes up. Honestly it's the lowest-effort way I've found to keep a food forest productive without it turning into a full-time job.