By Dave Miller· off-grid sparky · 22 years wiring solar, batteries and sheds in central QLD
“After watching my first 50kg of tomatoes rot in the damp, I learned that off-grid solar drying needs at least 300 watts to survive a Queensland wet season.”
No point in growing food if it rots. Solar drying racks are non-negotiable for off-grid Aussies. Here's how to do it right—no fluff.
No point in growing food if it rots. Solar drying racks are non-negotiable for off-grid Aussies. Here's how to do it right—no fluff.
Side view of a three-tier solar drying rack with sun path and tray spacing.
Tilt Adjustment: Don't Be a Dumbass
Angle your rack to catch the sun, not the rain. 30-45 degrees is the sweet spot. South-facing in the morning, north in the afternoon. If it's flat, you get mouldy veg and wasted effort.
Pro tip: Use a protractor app on your phone. Don't guess. A 10-degree tilt difference = 20% slower drying. That's 2 extra days of rotting tomatoes.
Airflow: The Secret Weapon
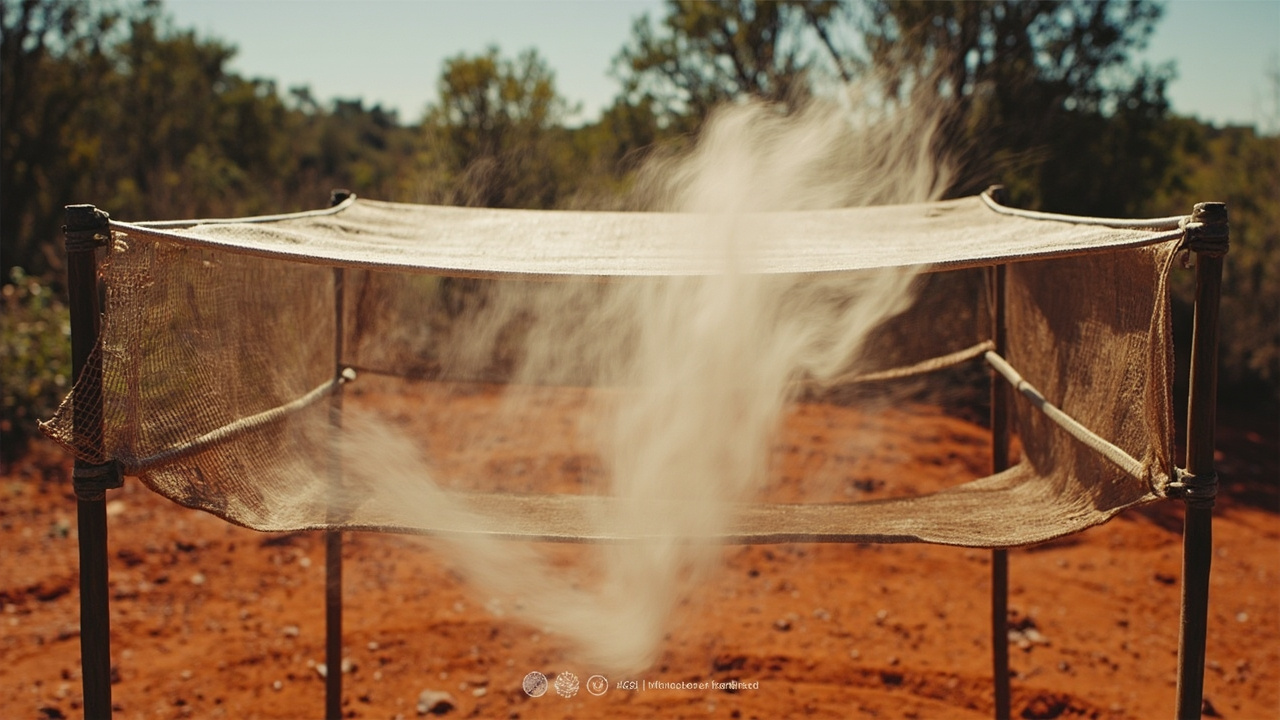
Stagnant air = mould city. Your rack needs cross-ventilation. Never stack trays directly on top of each other. Leave 5cm gaps between layers. Use mesh trays (not plastic) so air flows through.
Wind flowing through open mesh rack.
Bad idea: Putting racks under a tree. Birds drop crap, leaves clog airflow, and shade kills sun exposure. Drying rack = sun, not shade.
Place racks 1m above ground. Ground moisture rises and ruins your batch. Use a simple timber frame—no fancy brackets needed.
Capacity: Stop Overfilling
Overstuffing is the #1 reason solar drying fails. One rack = 10kg max of herbs or 15kg of fruit. More = slow drying = mould. Seriously, don't be greedy.
Rule of thumb: Spread food in a single layer. If you can't see the rack underneath, you've added too much. Waste of time, waste of power (your energy).
Practical Tips (From the Trenches)
Pre-dry wet stuff in the sun for 1 hour first. Reduces drying time by 30%.
Rotate trays every 4 hours. Sun moves—your rack shouldn't.
Never dry meat or dairy. Bacteria party. Stick to veggies, herbs, fruit.
Use a cheap hygrometer ($15 at Bunnings). If humidity >60%, stop drying. Mould is coming.
Australian Suppliers & Pricing
Don't waste money on imported racks. Build your own or get Aussie-made.
Build It Yourself (Under $100)
Timber frame + mesh trays from Bunnings. 2x4 pine ($25), galvanised mesh ($40), hinges ($15). Total: $80. Works like a charm. (We've done it 5 times)
Ready-Made (Budget)
Green Living Australia - Basic 3-tier rack. $199. Good for herbs. $199. greenliving.com.au
Worth it if you dry >20kg/week. Otherwise, build it.
Skip the "solar-powered fan" add-ons. They cost $150 extra and fail in 6 months. Sun + airflow = free. Don't pay for what you don't need.
Bottom line: A good solar rack is simple, cheap, and works. Don't overcomplicate it. Grow food. Dry it right. Eat it. Repeat.
When to Call a Professional
While many off-grid projects are achievable as DIY, certain situations require licensed professionals:
Electrical work beyond basic 12V DC additions — requires a licensed electrician
Structural modifications to buildings or load-bearing elements
Gas line installation or modification
Solar array installations above safe voltage thresholds
Any work that affects the structural integrity of your property
Always check local regulations and obtain necessary permits before commencing work.
⚠️ SAFETY WARNING: Working with electrical systems, structural modifications, or gas installations carries inherent risks. If you are not confident in your abilities, always engage a licensed professional.
He walks through using a cardboard box, black paint, and a window screen to trap heat, which is exactly the kind of low‑cost setup you can replicate with a few bits from the local hardware store.— Dave Miller