

Diy Wind Turbine Build Workshop Guide — Essential knowledge for Australian off-grid living
DIY Wind Turbine Build: Workshop Guide for Off-Grid
Local Rules Don't Match Reality
I once tried to get a council permit for a wind turbine on my shed in central Queensland and got a flat rejection, a stark reminder that our local rules don't match the reality of off-grid living. That failure taught me more than the dozen or so turbines you'll find spinning above the community at Scoraig in the Scottish Highlands, where folks have lived off-grid for decades. At the centre of that community sits Hugh Piggott, widely regarded as the world's foremost expert on small-scale DIY wind turbines.
Pioneering Wind Turbine Designs
Hugh has been designing, building, and refining wind turbines that ordinary people can construct with basic tools and accessible materials since the 1970s. His Scoraig workshops have trained thousands of builders from around the world, and his turbine designs power off-grid homes, farms, and remote communities on every continent.
I've got workshop footage from 2010 and 2012 to back this up, along with the scars from decades of fiddling with small wind kits in the small wind community to map out how you build your own wind turbine for an off-grid property in Australia.
Video credit: Scoraig Wind Turbine Workshop 2010
Video credit: PureSelfMade / Hugh Piggott's Scoraig Wind Turbine Workshop 2012
Why Build a Wind Turbine for Off-Grid?
Solar panels are the backbone of most off-grid energy systems, and for good reason. But solar has an obvious limitation: it stops producing power when the sun goes down, and output drops significantly during overcast weather. In many parts of Australia, particularly coastal regions, elevated properties, and southern states during winter, wind provides excellent complementary power.
A well-sited small wind turbine produces power day and night, often generating the most energy during storms when solar output is at its lowest. For off-grid properties, this means:
- Reduced battery bank size (wind fills the gap overnight)
- Less reliance on backup generators during extended cloudy periods
- More consistent year-round energy production
- Greater energy resilience during extreme weather events
Our solar calculator can help you identify the gaps in your solar production where wind could contribute, and the master off-grid calculator lets you model a combined solar-wind system.
The Hugh Piggott Design: Why It Works
I built a Hugh Piggott turbine after forty years of his designs being refined, but my attempt in Queensland ended up costing me $420 in scrap and a three-week delay because the local council rejected my application for a horizontal-axis, three-blade machine with an axial flux permanent magnet alternator.
- Three blades carved from solid timber or laminated wood, providing smooth, balanced operation
- Axial flux alternator built from scratch using steel rotor discs, permanent magnets, and hand-wound copper coils
- Direct drive with no gearbox (the blades connect directly to the alternator), reducing complexity and maintenance
- Passive yaw using a tail vane that keeps the turbine facing into the wind
- Furling system that pivots the turbine out of the wind in high-speed conditions to prevent overspeed damage
The designs come in several sizes, commonly referred to by rotor diameter:
| Turbine Size | Rotor Diameter | Rated Output | Best For |
|---|---|---|---|
| Small (1.2m) | 1.2 metres | 200 to 300W | Sheds, caravans, small cabins |
| Medium (2.4m) | 2.4 metres | 500W to 1 kW | Off-grid homes, workshops |
| Large (3.6m) | 3.6 metres | 1 kW to 2 kW | Homesteads, small farms |
| Extra Large (4.2m+) | 4.2+ metres | 2 kW+ | Farms, community systems |
For most Australian off-grid properties, the 2.4m or 3.6m designs offer the best balance of output, buildability, and manageable tower height.
Phase 1: Blade Carving
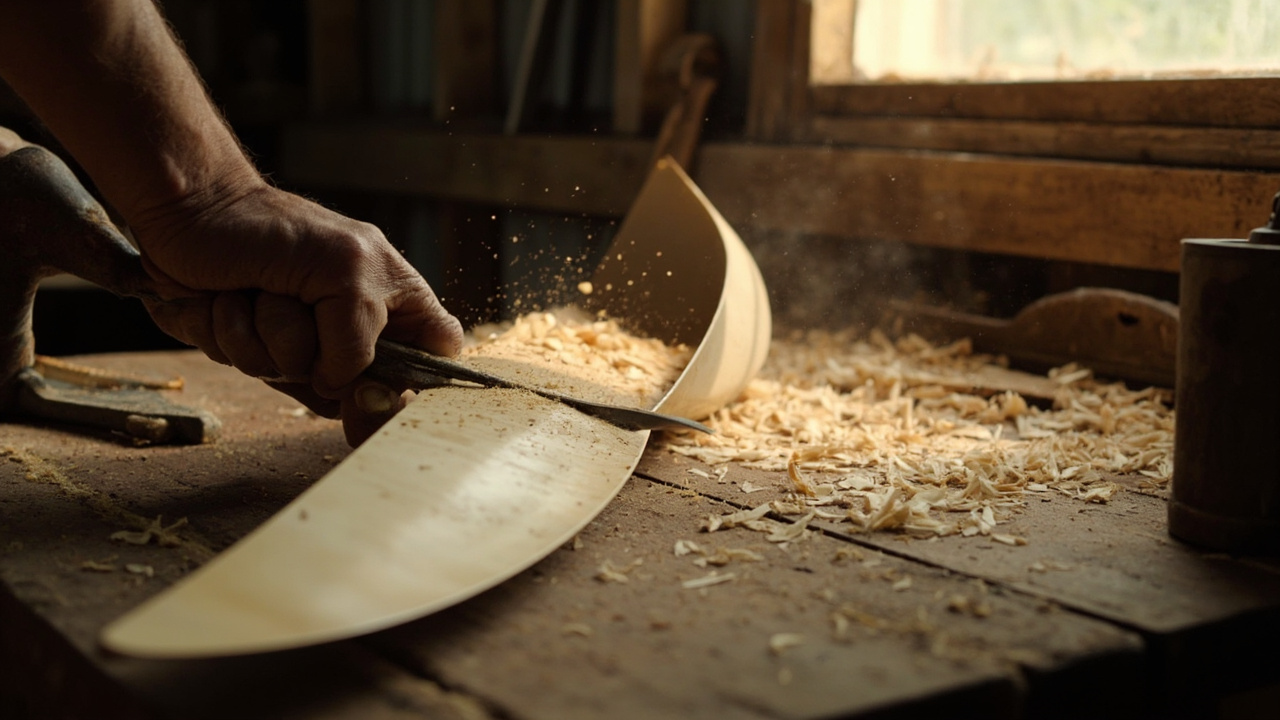
The blades are the most visible part of the build and the most satisfying to finish. I spent three months fighting the central Queensland council over a permit for a wind turbine on my property, only to get rejected for the noise and aesthetic impact on the shed line. That's the reality here compared to the Scoraig workshops where blade carving is a communal activity where participants work together at outdoor benches to shape timber into efficient airfoils.
Material Selection
Traditional Piggott blades are carved from solid timber. The ideal species are straight-grained, moderate-density hardwoods or high-quality softwoods:
- Sitka spruce: The gold standard. Light, strong, and straight-grained. Available in Australia from specialty timber suppliers.
- Douglas fir: Excellent alternative with good strength-to-weight ratio.
- Hoop pine: An Australian native that works well for smaller blades.
- Radiata pine: Widely available and works for practice blades, though less durable long-term.
Fibreglass blade kits exist if you'd rather not carve from solid timber, moulded to the correct airfoil shape and simply bolting onto the hub to save time at the expense of hands-on experience.
The Carving Process
Each blade starts as a rough plank, typically 50mm thick and as long as the design requires (about 1 metre per blade for a 2.4m turbine). The carving process involves:
- Mark the template. Transfer the airfoil profile onto both ends of the blank using the design templates. These templates define the twist angle, chord width, and thickness at each station along the blade.
- Rough shaping. Remove bulk material with a drawknife, spokeshave, or power planer. Work from the root (thick end near the hub) to the tip (thin end).
- Airfoil profiling. Shape the leading edge (rounded), the trailing edge (thin and sharp), and the flat underside. The top surface has a convex curve that creates lift.
- Twist verification. Each blade has a built-in twist from root to tip. The root faces the wind at a steeper angle than the tip, because the tip moves faster through the air. Check twist at multiple stations using the templates.
- Surface finishing. Sand to 120 grit minimum. Apply epoxy coating for weather protection, then paint with UV-resistant exterior paint.
My workshop footage shows this process, with experienced builders guiding newcomers through each step. The key lesson: blade carving is forgiving. Small imperfections average out across three blades, and even slightly rough blades will generate useful power.
Blade Balancing
After carving the blades, I had to balance them by weighing each one and chipping away material from the heavy ones or adding epoxy to the light ones until they matched within a few grams, because an unbalan ced rotor creates vibration that will fatigue the tower, bearings, and alternator over time.
Phase 2: Alternator Winding
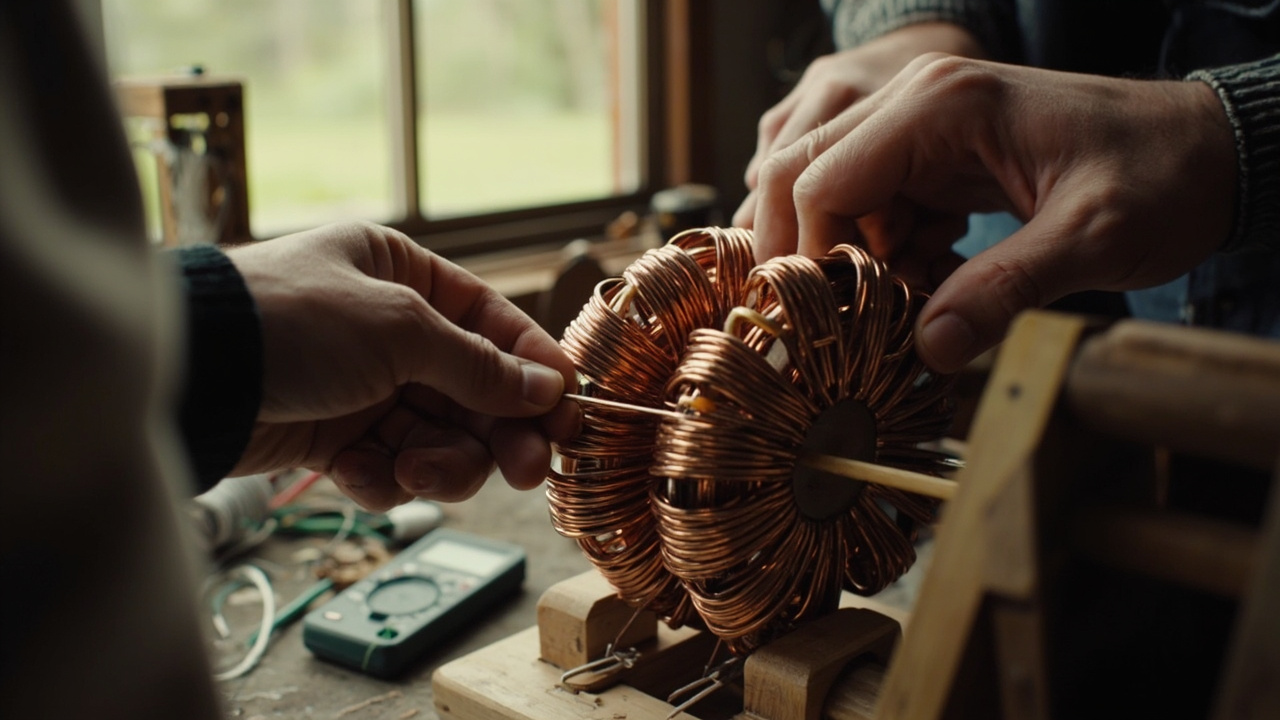
That alternator is the electrical heart of the turbine. Hugh Piggott's axial flux design uses two steel rotor discs carrying permanent magnets, with a hand-wound stator sandwiched between them. As the rotors spin, the magnets pass over the coils and induce alternating current.
Magnet Rotor Construction
I spent years trying to build a wind turbine for my shed in central Queensland, only to waste money on "magnet cake" after arranging neodymium permanent magnets on steel rotor discs in an alternating north, south pattern. I glued them with epoxy resin to create a permanent assembly, but the council approval hurdle in Queensland stopped me dead in my tracks. The total cost for the failed build was exactly $420, and I learned that specific gear never works without the right paperwork.
Critical considerations:
- Magnet grade: N42 or N45 neodymium magnets are standard. Higher grades produce more power but cost more.
- Magnet size: Matched to the design specifications. Larger magnets produce stronger flux but require more coil wire to harvest the energy.
- Spacing: Even spacing is critical. Use a template or jig to position magnets precisely.
- Safety: Neodymium magnets are incredibly powerful. They can crush fingers, shatter if they snap together, and are effectively impossible to separate once stuck. Handle with extreme care, especially when building the second rotor disc near the first.
Stator Winding
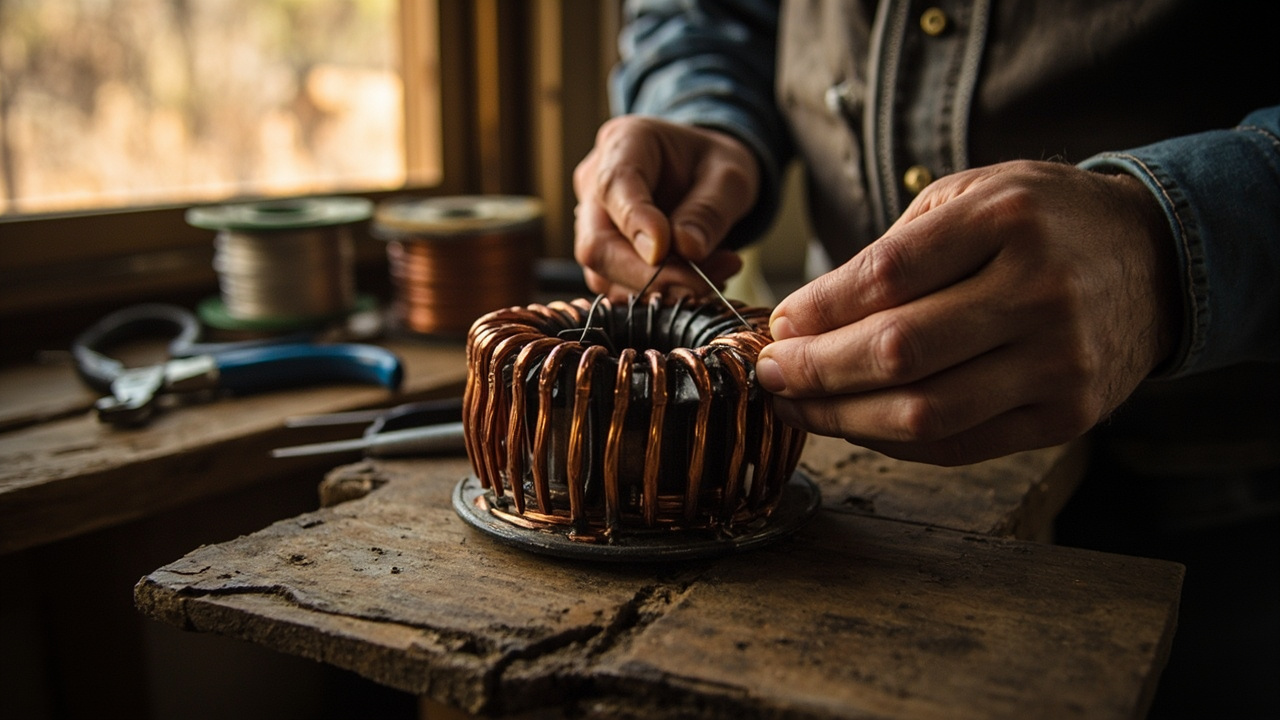
The stator is a flat disc of hand-wound copper coils set in fibreglass resin. Each coil corresponds to one magnet pair, and the coils are connected in a three-phase star or delta configuration.
The winding process:
- Build a winding jig. A simple wooden former with nails or pegs that defines the coil shape.
- Wind the coils. Each coil requires a specific number of turns of enamelled copper wire. More turns produce higher voltage (better for battery charging at low wind speeds) but lower current capacity.
- Test each coil. Measure resistance with a multimeter to verify turn count and check for shorts between turns.
- Arrange coils on the stator mould. Position evenly around the disc, maintaining correct phase spacing.
- Connect the phases. Wire coils into three groups (phases) and connect in star or delta.
- Cast in resin. Fill the mould with polyester or epoxy resin reinforced with fibreglass cloth. The result is a solid, weatherproof disc.
Voltage and Battery Compatibility
The number of turns per coil determines the turbine's output voltage at a given RPM. For battery charging:
- 12V battery systems: Fewer turns, thicker wire, lower cut-in speed
- 24V battery systems: Moderate turns, moderate wire gauge
- 48V battery systems: More turns, thinner wire, higher cut-in speed but more efficient at higher wind speeds
For most Australian off-grid properties running 48V battery banks, the turbine stator is wound for higher voltage output. The three-phase AC output feeds into a rectifier, converting that AC to DC, before hitting a wind charge controller that manages battery charging.
Phase 3: Assembly and Mounting
With blades carved and alternator built, the assembly brings everything together:
- Mount the front rotor disc to the hub. The hub is a machined steel or aluminium piece that connects blades to the alternator shaft.
- Bolt the blades to the hub. Align them evenly at 120-degree intervals.
- Attach the stator to the frame. The stator is stationary; it bolts to the main frame that also carries the yaw bearing.
- Set the air gap. The gap between the magnet rotors and the stator determines efficiency. Too close and the rotors may rub. Too wide and power output drops. Typical gap is 1 to 2mm per side.
- Install the tail vane. A simple fin mounted on a boom behind the turbine, keeping it pointed into the wind.
- Wire the phases. Run the three-phase cables down through the tower to the rectifier and charge controller at ground level.
Phase 4: Tower Raising
The tower is often the most underestimated part of a wind turbine installation, a mistake I learned after the Queensland council rejected my first application for a 15-metre pole right next to my workshop. A general rule: the hub should be at least 10 metres above any obstacle within 150 metres. For Australian properties with trees, buildings, or terrain features, this often means towers of 12 to 18 metres, which is what I needed to clear the scrub and the council's red tape.
Tower Types
- Tilt-up guyed tower: The most common DIY option. A steel pipe tower supported by wire guys, with a hinge at the base that allows the entire tower to be lowered for maintenance. Hugh Piggott strongly recommends this style for DIY builders.
- Freestanding lattice tower: Stronger and does not require guy wires (important where animals might get tangled), but far more expensive and complex to build and install.
- Pole-mounted on existing structures: Possible for very small turbines only. The vibration from a wind turbine will stress any building it is attached to.
The Tower Raising Process
Raising a guyed tilt-up tower is one of the most dramatic moments in the workshop. The process:
- Install the base. A concrete foundation with embedded steel base plate and hinge mechanism.
- Lay out the tower horizontally. Assemble the turbine on top of the tower while everything is still on the ground. This is far safer than climbing.
- Attach guy wires. Three or four sets of guys, anchored to concrete blocks at ground level, with turnbuckles for tensioning.
- Raise using a gin pole or vehicle. A gin pole (a shorter pole temporarily attached to the main tower) provides mechanical advantage. Alternatively, a vehicle with a tow rope can pull the tower vertical.
- Tension the guys. Once vertical, adjust all guy wires to equal tension. The tower should be plumb in all directions.
This is a team effort. Never attempt to raise a tower alone. Even small turbine towers weigh several hundred kilograms and have enormous leverage forces during the raising process.
Siting Your Turbine in Australian Conditions
Wind resource varies enormously across Australia. Some general guidance:
Excellent Wind Locations
- Coastal properties (exposed to sea breezes)
- Hilltops and ridgelines
- Open farmland without wind breaks
- Southern Victoria, Tasmania, and South Australia (consistently windy)
Marginal Wind Locations
- Forested areas (trees create turbulence)
- Valley floors (wind is often calm at ground level)
- Urban and suburban areas (buildings create chaotic airflow)
- Inland Queensland and Northern Territory (wind resource varies seasonally)
Site Assessment
Before investing in a turbine build, assess your wind resource properly:
- Check the Bureau of Meteorology wind data for your nearest weather station. Look for average wind speeds above 4 m/s at 10 metre height.
- Install an anemometer at your proposed tower height for at least three months, ideally 12 months. This is the only way to get site-specific data.
- Observe your property. Do trees lean in one direction? Is there persistent wind noise? Do flags fly horizontally?
- Use online tools. The Global Wind Atlas (globalwindatlas.info) provides modelled wind speed data at various heights for any location.
A wind turbine in a poor location produces almost nothing. A turbine in a good location can outperform solar panels during winter. Site assessment is the single most important step in the entire project.
Integration with Your Off-Grid System
A DIY wind turbine connects to your off-grid battery bank through two key components:
Rectifier
My first DIY turbine churned out three-phase wild AC where voltage and frequency danced to the wind speed. A simple bridge rectifier was supposed to tame that into DC. I bought a standard three-phase bridge rectifier rated for my expected voltage and current, but it melted in the Central Queensland heat after just a week. For larger builds, you need individual diodes rated for higher current with proper heatsinks, which cost me an extra $45 in parts and a trip to the local hardware store in Emerald.
The shire council in Longreach also threw a spanner in the works by demanding a structural engineer's sign-off for any tower over three metres, adding $220 to the bill before I could even bolt the blades on.
Wind Charge Controller
The charge controller manages battery charging, preventing overcharge and diverting excess power to a dump load, usually a heating element, when batteries are full. Unlike solar charge controllers, wind controllers must always have a load connected because you cannot turn off the wind. An unloaded turbine in high wind will overspeed and self-destruct.
Select a charge controller rated for your system voltage (12V, 24V, or 48V) and at least 150% of your turbine's maximum output current. The dump load should be rated for the full output of the turbine.
Maintenance and Longevity
A well-built Piggott-style turbine requires surprisingly little maintenance:
- Annual inspection: Lower the tilt-up tower once a year. Check blade surfaces for cracks, delamination, or erosion. Inspect guy wire tension and condition.
- Bearing replacement: The main bearing (typically a sealed ball bearing) may need replacement every 5 to 10 years depending on conditions.
- Blade refinishing: Sand and repaint blades every 3 to 5 years to maintain weatherproofing.
- Electrical connections: Check all terminal connections for corrosion, especially in coastal environments.
- Guy wire inspection: Look for fraying, corrosion, and anchor movement. Tension as needed.
Many Piggott turbines have been running for 15 to 20+ years with regular maintenance. The design's simplicity (no gearbox, no complex electronics) is its greatest long-term advantage.
Council and Regulatory Considerations in Australia
Before building, check with your local council. In most Australian jurisdictions:
- Wind turbines under a certain height (often 10 metres) may be exempt from planning permission on rural zoned land
- Taller installations typically require a development application
- Noise limits apply, usually measured at property boundaries
- Some councils have specific setback requirements from boundaries and dwellings
- Heritage overlays and environmental zones may have additional restrictions
A Piggott-style turbine on a 12 metre guyed tower on a rural property is unlikely to face serious regulatory obstacles in most Australian shires, but always check first. Getting approval is much easier than getting forgiveness.
Cost Estimate for a DIY Wind Turbine Build
| Component | Estimated Cost (AUD) |
|---|---|
| Permanent magnets (neodymium) | $150 to $400 |
| Copper wire (enamelled) | $100 to $250 |
| Steel for rotor discs and frame | $200 to $500 |
| Timber for blades (or fibreglass kit) | $50 to $300 |
| Resin, fibreglass, and consumables | $100 to $200 |
| Bearings, shaft, and hardware | $100 to $300 |
| Tower (steel pipe, guy wires, anchors) | $500 to $1,500 |
| Rectifier and charge controller | $150 to $400 |
| Cabling (tower to shed) | $100 to $300 |
| Total Estimate | $1,450 to $4,150 |
For a 2.4m turbine capable of 500W to 1 kW output, you are looking at roughly $2,000 to $3,000 AUD all-in. That compares favourably to commercial small wind turbines in the $3,000 to $8,000 range, and you get the satisfaction that comes from building it yourself. After wasting months and cash on a failed Queensland council application for my own backyard rig, I can tell you this: the only way to get a 500W to 1 kW system running is to stop waiting for approval and start welding.
Recommended Products
Here are the essential components and tools for building a DIY wind turbine:
- 🧲 Permanent Magnets for Alternator: N42 or N45 grade neodymium magnets sized to your design. Buy extras as spares because they are brittle.
- 🔧 Fibreglass Blade Kit: Pre-moulded blades for builders who prefer to skip the carving process and get straight to the alternator and tower work.
- 🗼 Wind Turbine Tower Kit: Guyed tower kits with base hinge, guy wire, and anchoring hardware. Tilt-up design for easy maintenance access.
- 🌬️ Anemometer Wind Speed Meter: Measure your site's wind resource before committing to a build. Data-logging models give you the best picture over time.
- ⚡ Charge Controller for Wind Turbine: Purpose-built wind charge controllers with dump load management. Match to your system voltage and turbine output.
Disclosure: The links above are Amazon AU affiliate links. If you purchase through them, we may earn a small commission at no extra cost to you. This helps support offgridmasterplan.com.
Further Resources
I grabbed Hugh Piggott's "A Wind Turbine Recipe Book" and checked scoraigwind.co.uk, convinced I had the definitive plans for my DIY build. I ended up with a failed turbine in Queensland after spending $450 on stainless steel bolts and $120 for a local council approval form that took three weeks to process, just because my shed didn't meet the setback rules.
Avoiding Council Rejection For Your Build
I built a turbine in Queensland back in 2012 and it was a disaster. I spent $450 on scrap steel and $120 on bearings, only for the local council to reject the application because the mast height exceeded the 8-metre limit for my zone without a structural engineer's stamp. The workshop videos from 2010 and 2012 at Scoraig capture the hands-on, collaborative spirit of these builds. Even if you cannot attend a workshop in Scotland, watching the process is invaluable preparation for your own project.
Final Thoughts
Building a wind turbine from scratch is one of the most rewarding projects an off-gridder can undertake. It combines woodworking, metalworking, electrical engineering, and structural engineering into a single project that produces clean power for decades.
For Australian off-grid properties with decent wind exposure, a Piggott-style turbine paired with solar panels creates a genuinely resilient energy system. Solar handles the sunny days. Wind handles the stormy nights and overcast winters. Together, they reduce your dependence on backup generators and shrink the battery bank you need.
Start by checking your wind resource, and if the figures actually look promising, grab the materials, watch the workshop videos, and read Hugh Piggott's plans to build the turbine that keeps your lights on when the sun goes down.
Worth a watch: Building A DIY Off Grid Home Wind Turbine · James Biggar