By Dave Miller · off-grid sparky · 22 years wiring solar, batteries and sheds in central QLD
“I once fried a $300 shunt by connecting 280Ah cells without a BMS, so always trust a balance board before you close the circuit.”
By Dave Miller · off-grid sparky · 22 years wiring solar, batteries and sheds in central QLD
“I once fried a $300 shunt by connecting 280Ah cells without a BMS, so always trust a balance board before you close the circuit.”

Diy Lifepo4 Battery Build Guide — Essential knowledge for Australian off-grid living
Building your own LiFePO4 battery is one of the most rewarding jobs in off-grid energy. I've seen Ray burn his first pack trying to force cells into a 16S 48V configuration without proper top-balancing, but a single pack with 280Ah cells still delivers about 14 kWh of storage for around $2,800 in materials, roughly $200 per kWh. That is a fraction of a Tesla Powerwall at $12,500 installed. This guide covers the complete build process based on Ray's detailed hour-long walkthrough, including top-balancing, cell orientation, BMS wiring, torque discipline and testing. Every step matters if you want to survive the first few cycles.
Ray frames the DIY battery question around three core motivations, and none of them start with saving money (though you will):
A Tesla Powerwall is a sealed brick that Tesla watches over the net; one cell dies and you're on the phone to them, and if the warranty's gone, you're buying a whole new unit. Ray learned that the hard way when he shorted a cell in his first pack and had to scrap the whole thing because he didn't know how to isolate the bad one. With a DIY pack, you can test each cell, swap out a duff one, and keep a spare BMS on the shelf for an instant fix. You know what you built because you built it.
Ray builds these batteries because he's done with the electric utility. After five days without power during the Texas freeze, he reckoned trusting the grid with your family's survival is a gamble. His utility cooperative has moved from net metering, where they used to pay solar producers the retail rate, to a system that charges retail for consumption and pays wholesale for production, turning previously net-zero households into paying customers again.
At roughly $200 AUD per kWh for materials, a DIY LiFePO4 pack costs less than one quarter of a commercial equivalent. For a 56 kWh whole-house system requiring four 14 kWh packs, that comes to $11,200 in materials versus $50,000 or more for commercial alternatives. I learned the hard way on my first build when I mixed up the busbar polarity and smoked the BMS before I even finished the casing.
Use our master calculator to model what size battery bank you need for your specific loads.
Before assembly, all 16 cells must be top-balanced. This means charging them all to the same voltage while connected in parallel. Ray's process:
Ray sat on his bench for 14 hours after the build, then popped the multimeter on all 16 cells and found them reading 3.5271V, 3.5270V, 3.5269V. They were all within 0.2 millivolts of each other and still settling at the same rate. That is excellent top-balancing.
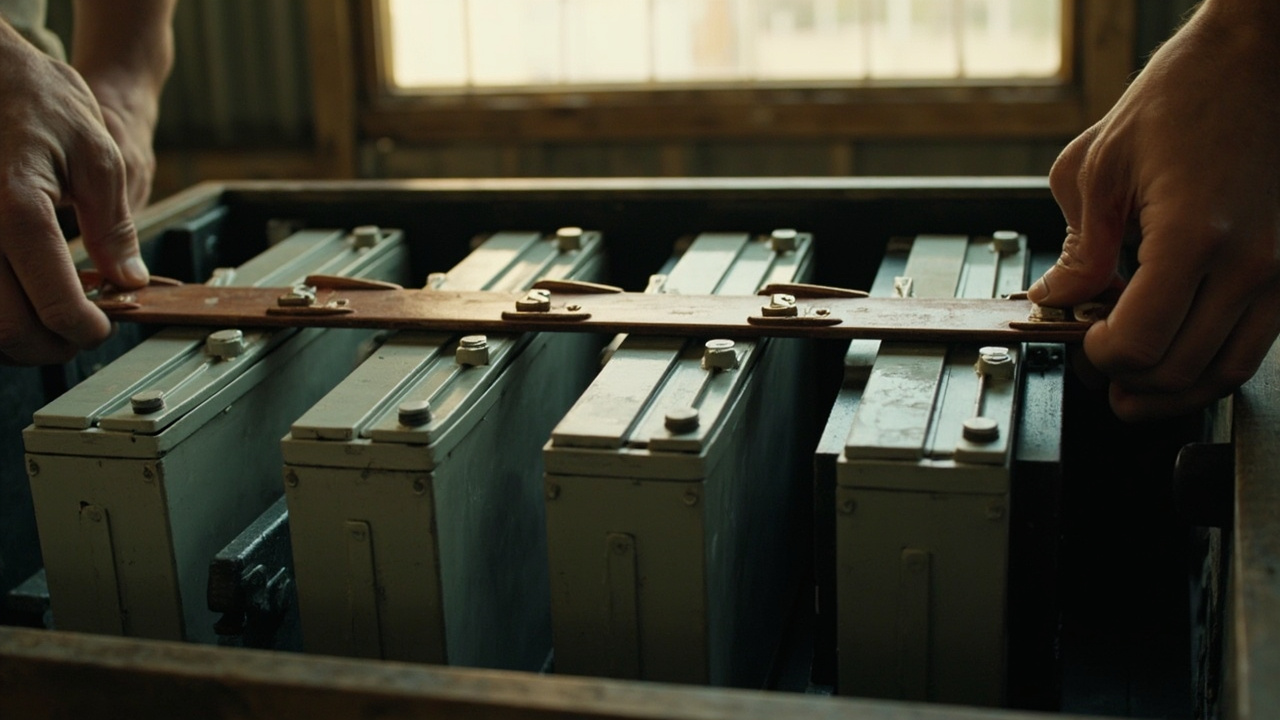
Once your cells are top-balanced and had a rest, flip them from parallel to series. For a 16S setup, you have to physically rotate every second cell 180 degrees so the positive terminals face the negative ones all down the chain. Ray learned that the hard way on his first pack when he missed the rotation on a single cell and fried his BMS before he even fired up the charger.
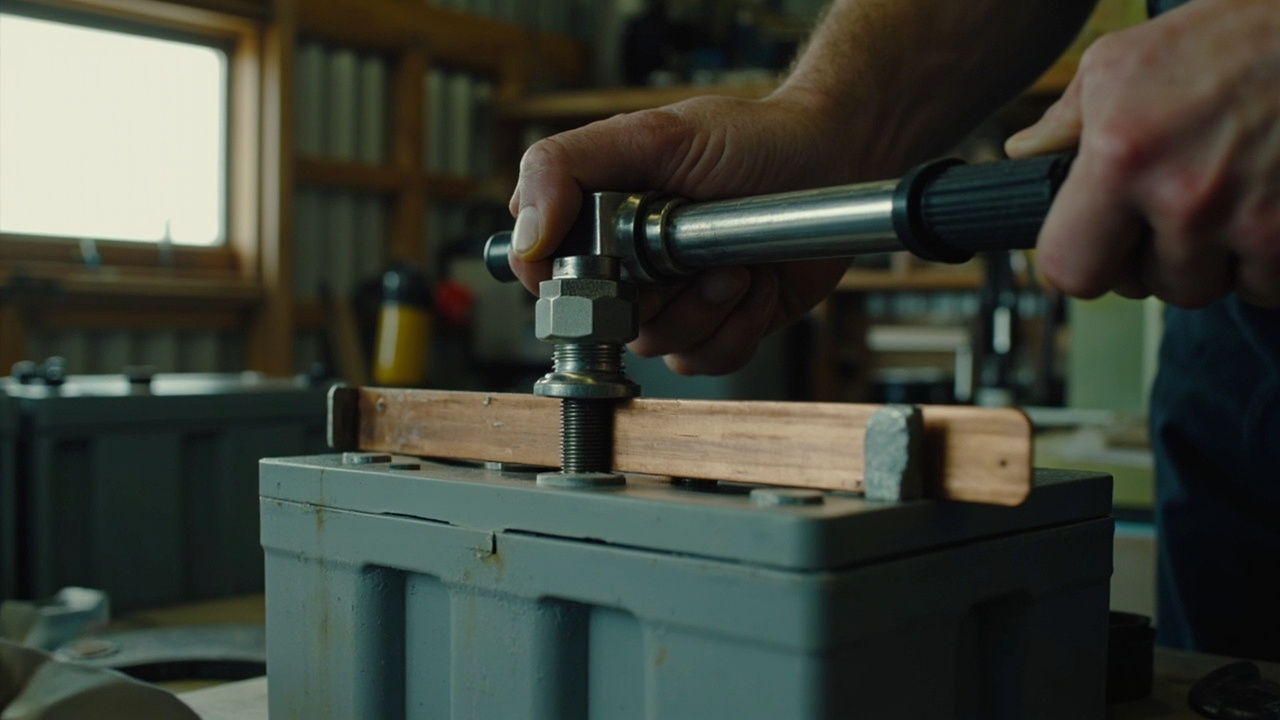
Ray uses a torque wrench for every fastener, and he is specific about the values. This is one of the most overlooked aspects of DIY battery building.
| Fastener | Torque Setting | Notes |
|---|---|---|
| Cell retention nuts (compression) | 1 Nm (just over finger-tight) | Prevents cell expansion over time. No audible click at this light setting. |
| Bus bar nuts (brass bus bars) | 5 Nm | Enough for electrical contact without cracking the terminal. |
| Bus bar nuts (copper bus bars) | 5+ Nm | Copper bus bars can handle slightly more torque. |
| BMS sense wire screws | Hand-tight | Small stainless screws. Over-torquing strips the threads. |
The BMS monitors every cell voltage via those thin sense wires. Ray uses a Seplos unit with colour-coded wires in a repeating white, yellow, orange, red pattern across the 16 connections. He nearly killed a cell in his first pack by swapping the yellow for orange, a mistake that taught him faster than any manual ever could.
Ray's testing protocol is methodical and caught a real fault during this build:
On wire number one, Ray got no reading at all because he'd pushed the conductor too far through the crimp terminal during assembly, meaning the crimp had clamped onto the insulation instead of the copper. The fix was to re-crimp further down the wire where the conductor was exposed. This is exactly why you test before powering on.
With all sense wires verified, the BMS plugged in, and the main power cables connected, Ray pressed the power button. The result:
The battery is alive. 14 kWh of stored energy, ready to power a home.
Ray isn't just building a single battery; he's building a fleet. This is his fourth 14 kWh pack, and he's got the process down to about two days per unit: one day for capacity testing and top-balancing (mostly unattended), and one day for assembly. He mounts them on rolling dollies to slide them easily around his solar shed.
Four packs hits 56 kWh, enough to keep a typical Aussie home running for two or three days with no solar input. With panels feeding the system while the sun is up, this battery bank delivers genuine, long-term grid independence.
Drawing from Ray's experience across four builds and the broader DIY community:
| Mistake | Consequence | Prevention |
|---|---|---|
| Skipping top-balancing | BMS works overtime, reduced pack performance | Always top-balance before first assembly |
| Using brass bus bars (unknowingly) | Higher resistance, heat buildup, reduced efficiency | Verify bus bar material with a magnet test (brass is non-magnetic, but so is copper; check weight and colour) |
| Wrong sense wire placement | Destroyed BMS | Multimeter verification before power-on |
| Over-torquing cell terminals | Cracked terminal posts | Use a torque wrench set to manufacturer specs |
| No insulation between cells | Potential short circuits | Always use insulating sheets between adjacent cells |
| Working without eye protection | Arc flash injury | Goggles on whenever working with series-connected cells |
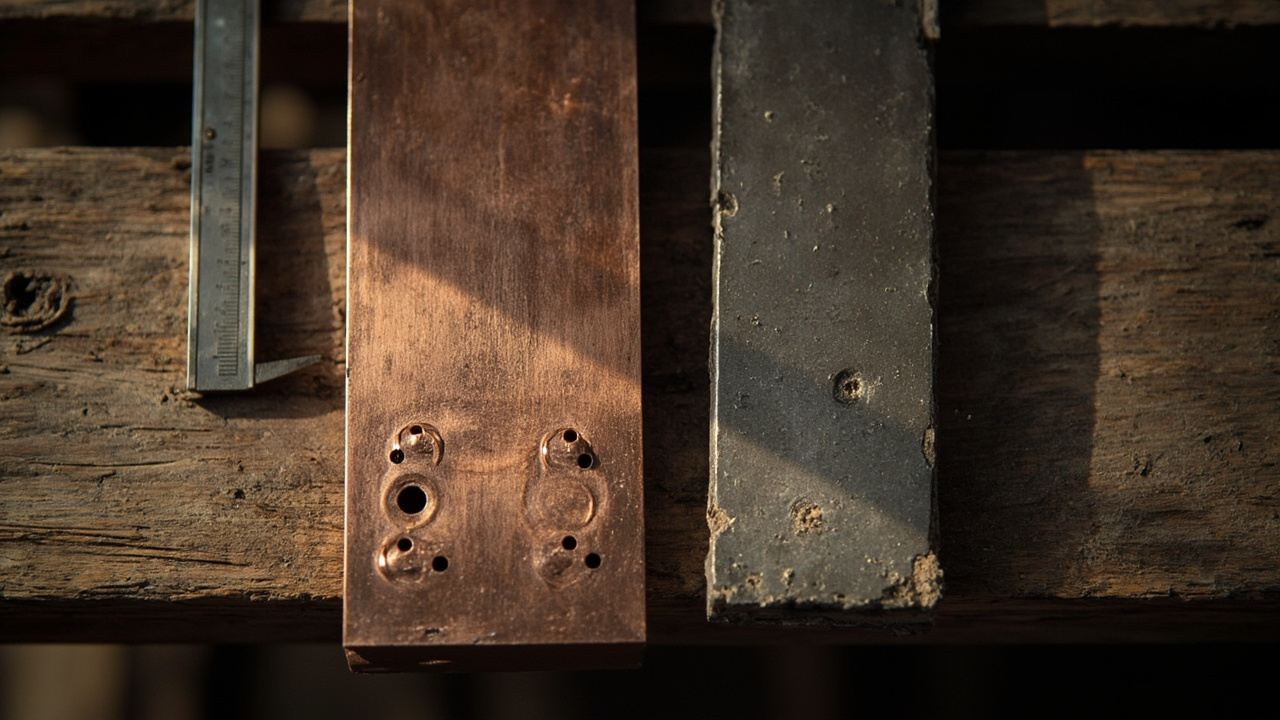
Ray found the bus bars that came with his cells were brass, not copper. Brass has significantly higher electrical resistance than copper, which means more heat generation at high current. His original supplier had substituted brass without disclosure, which is unfortunately common when sourcing from overseas.
The copper bus bars were still in transit when we shot this. I'm talking about the time Ray tried to bolt a first-pack together and used brass instead of copper, which melted under load because he didn't check the supplier specs. If you're pulling cells from Chinese suppliers, verify the bus bar material yourself. Copper is heavier, softer, and carries that distinctly reddish colour, unlike the yellowish hue of brass.
Before starting any battery build, have these items within arm's reach:
A completed battery pack needs to be integrated into your off-grid system. The typical connection chain:
Use the off-grid master calculator to size your solar array, charge controller and inverter to match your battery bank.
Essential components for building a 280Ah LiFePO4 48V battery pack.
Worth a watch: EASIEST DIY 12-Volt 280Ah LiFePO4 Battery // Step-By-Step Build · Freely Roaming
Yeah, plenty of Aussie off-gridders do it on the kitchen table every weekend. The trick is following the steps in order: top-balance your cells, get the wiring orientation right, and respect the torque specs on every connection. Skip any of those and you're asking for trouble, so read the whole guide before you crack open a cell.
Yes, always. I learned this the hard way when I fried a shunt hooking 280Ah cells up without one. A BMS is what keeps your cells balanced and stops anything nasty happening the moment you close the circuit.
Most folks do it to save a few bucks and to get exactly the capacity they want. You pick the cells, bus bars and BMS yourself instead of paying for a pre-built box with features you'll never use. Just don't skimp on the bits that matter — there's a whole section in the guide called the bus bar lesson for a reason.
Start with the safety equipment checklist — proper PPE is non-negotiable before you touch a cell. You'll also need a torque driver, decent bus bars, a BMS and a clean dry workspace. Measure twice, buy once; I've seen too many builds go sideways because someone rushed the gear list.
While many off-grid projects are achievable as DIY, certain situations require licensed professionals:
Always check local regulations and obtain necessary permits before commencing work.